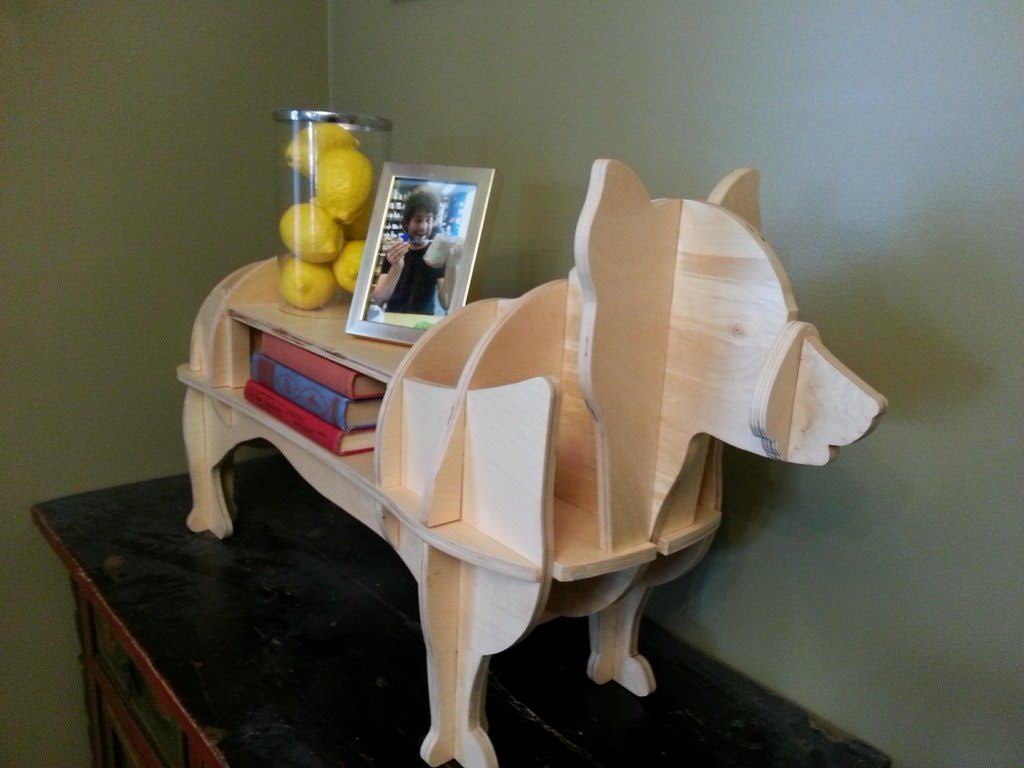
Finish product first. The project is made with less than 1 sheet of 5' by 5' 1/2" baltic birch plywood. I designed the corgi in AutoCAD 3D to make sure everything would mesh together correctly. I then laid out everything in 2D on 8.5" by 11" paper sections with overlaps so that I could print out 1:1 scale and simply tape the pieces together to create my cutting templates.
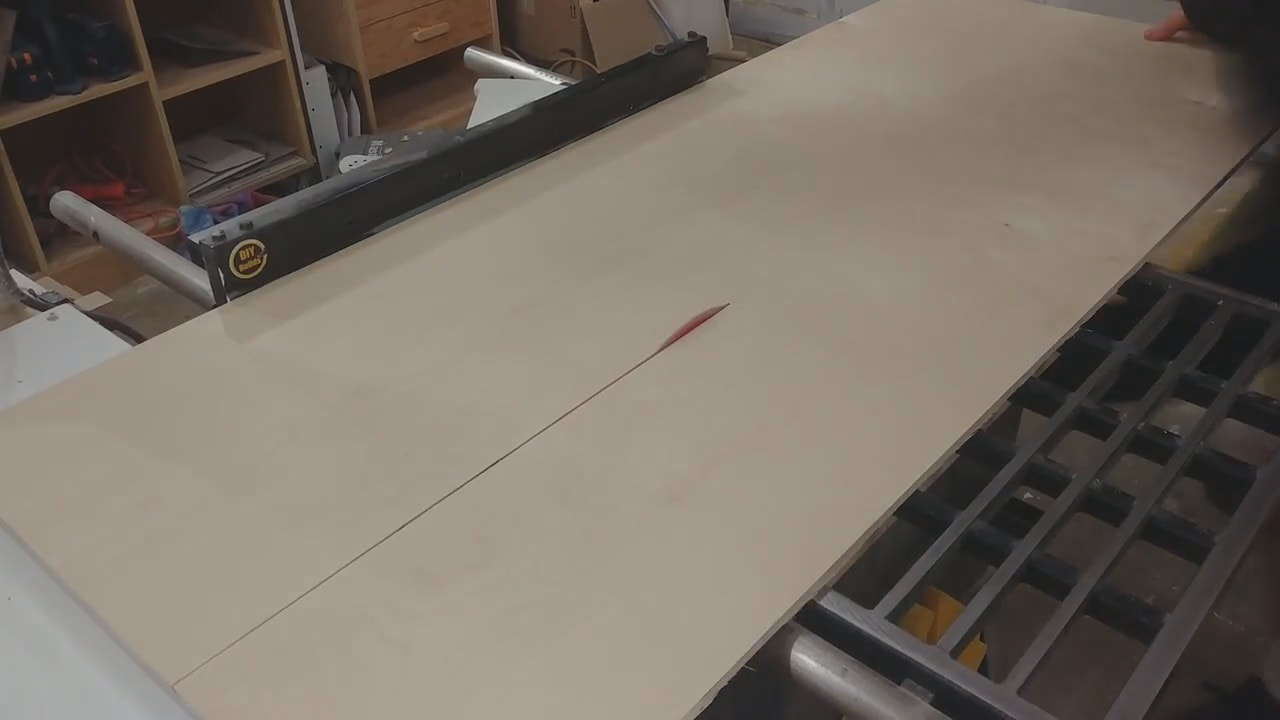
The first step was breaking down the 5' by 5' sheet to reduce waste. I laid out everything in CAD before hand to figure out best use of material (see my website's free plans if interested).

Once all templates were printed out and pieces cut to rough size I used spray adhesive to attach them together.
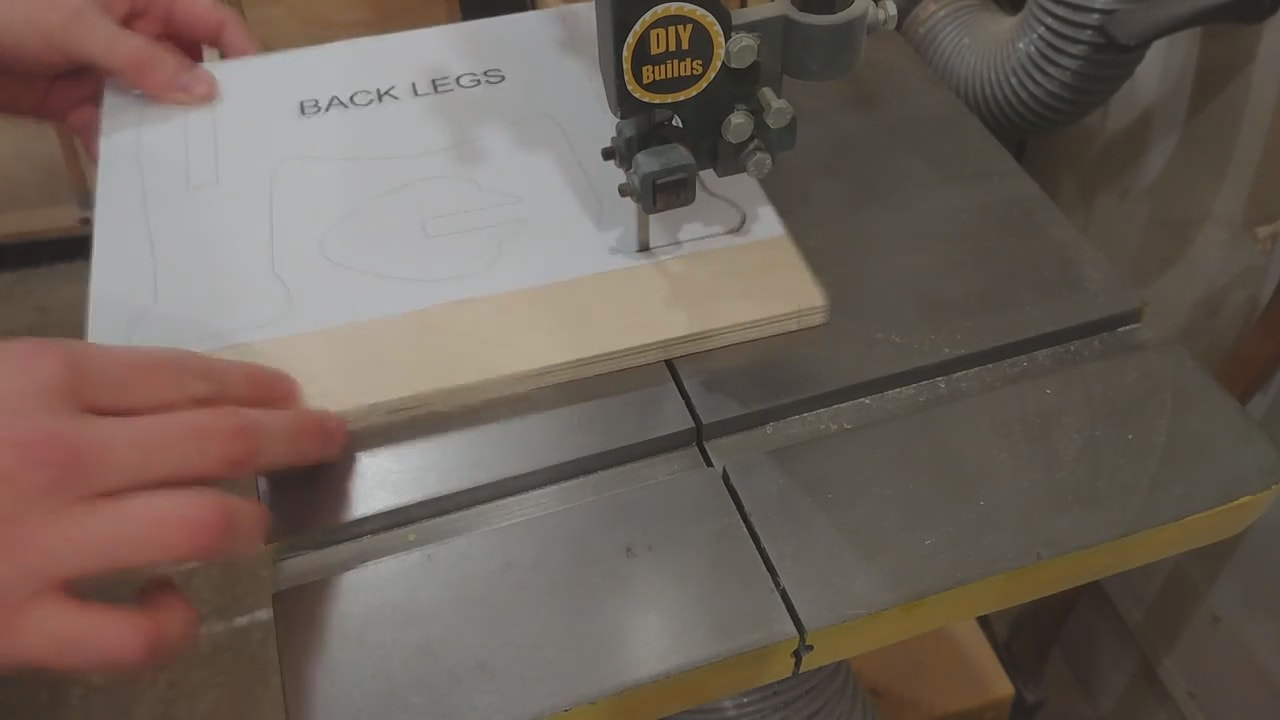
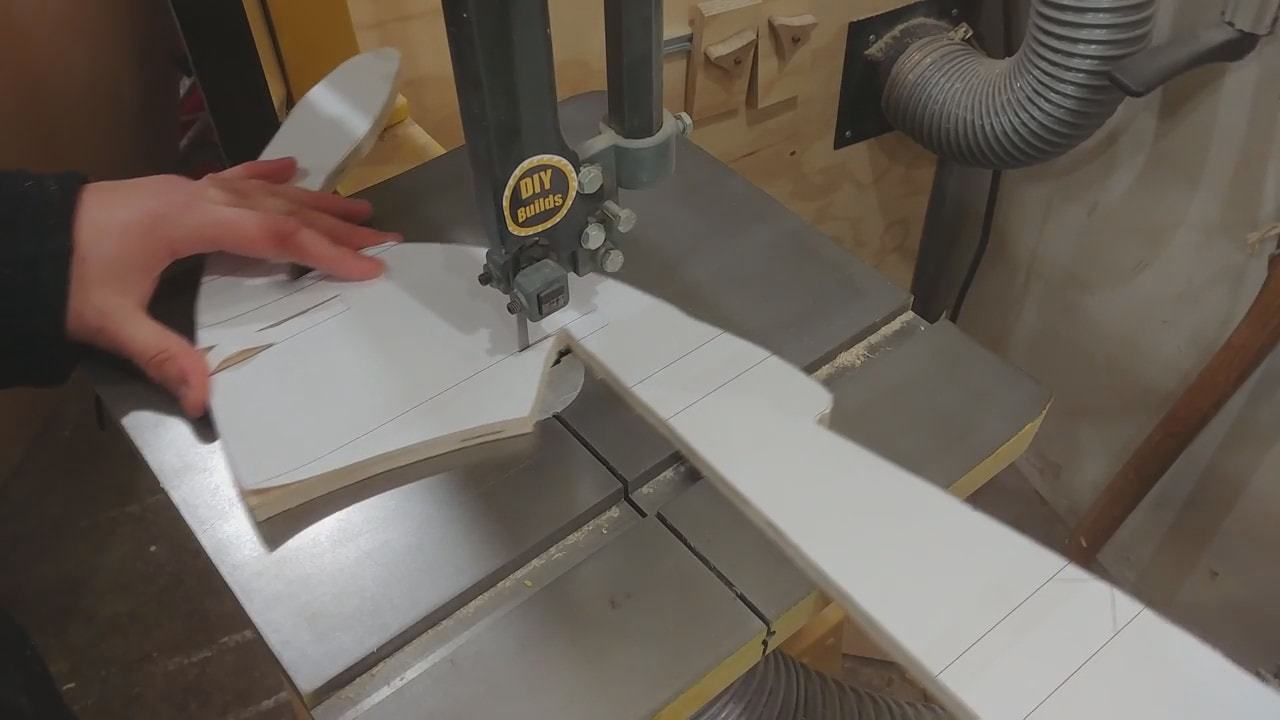
Everything was cut as close as possible to the line using my band saw.
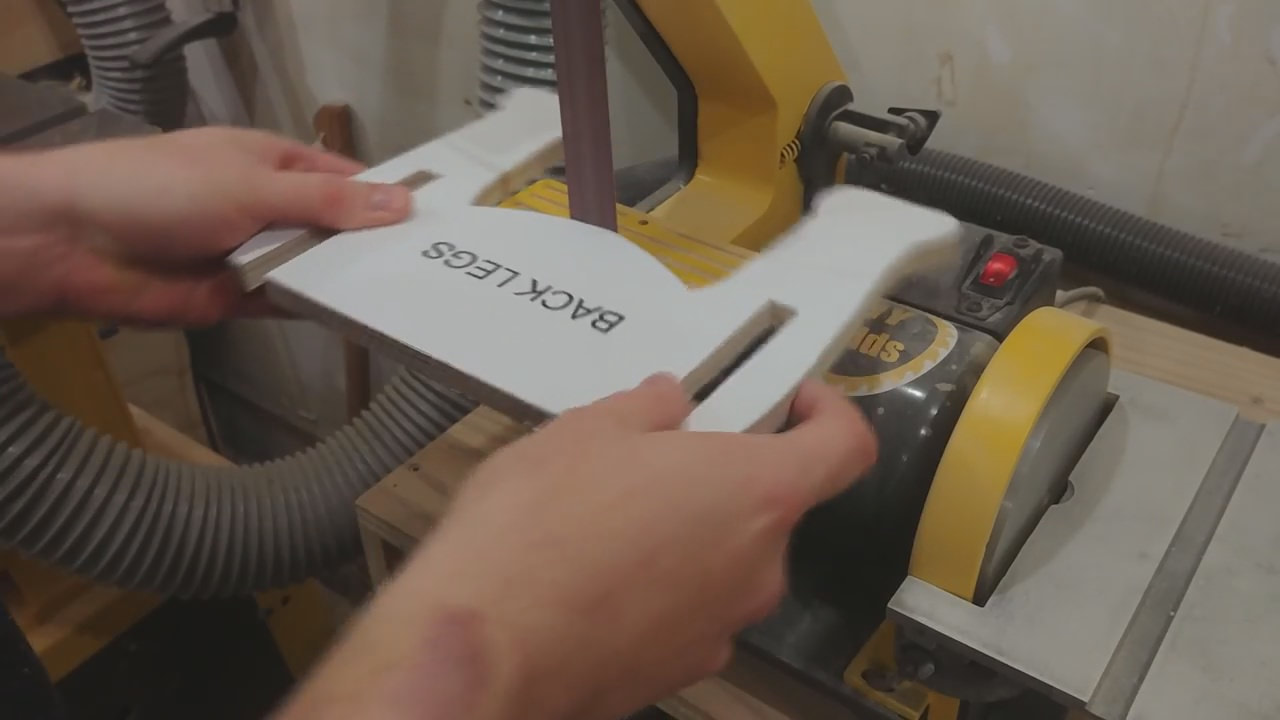
I used the strip sander when I could as it leaves a nicer edge at half the time of the spindle sander. I sanded to the line.
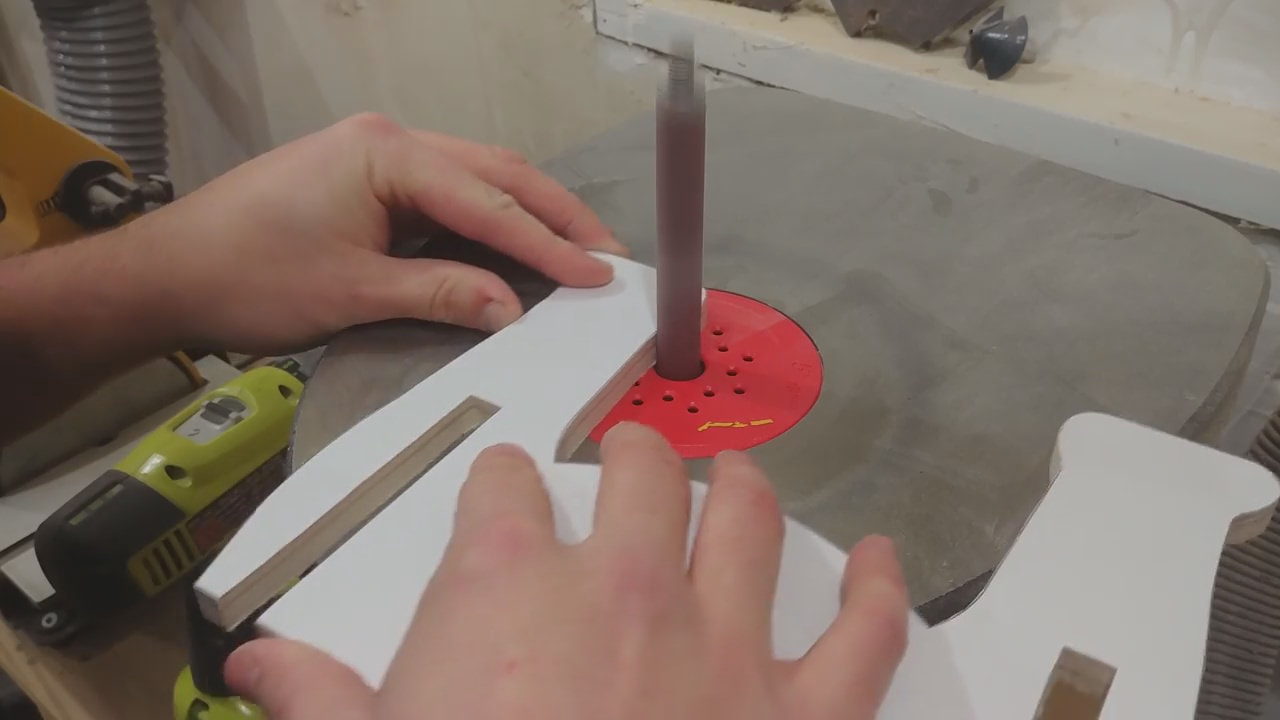
Anything the strip sander could not get I used the spindle sander to get.
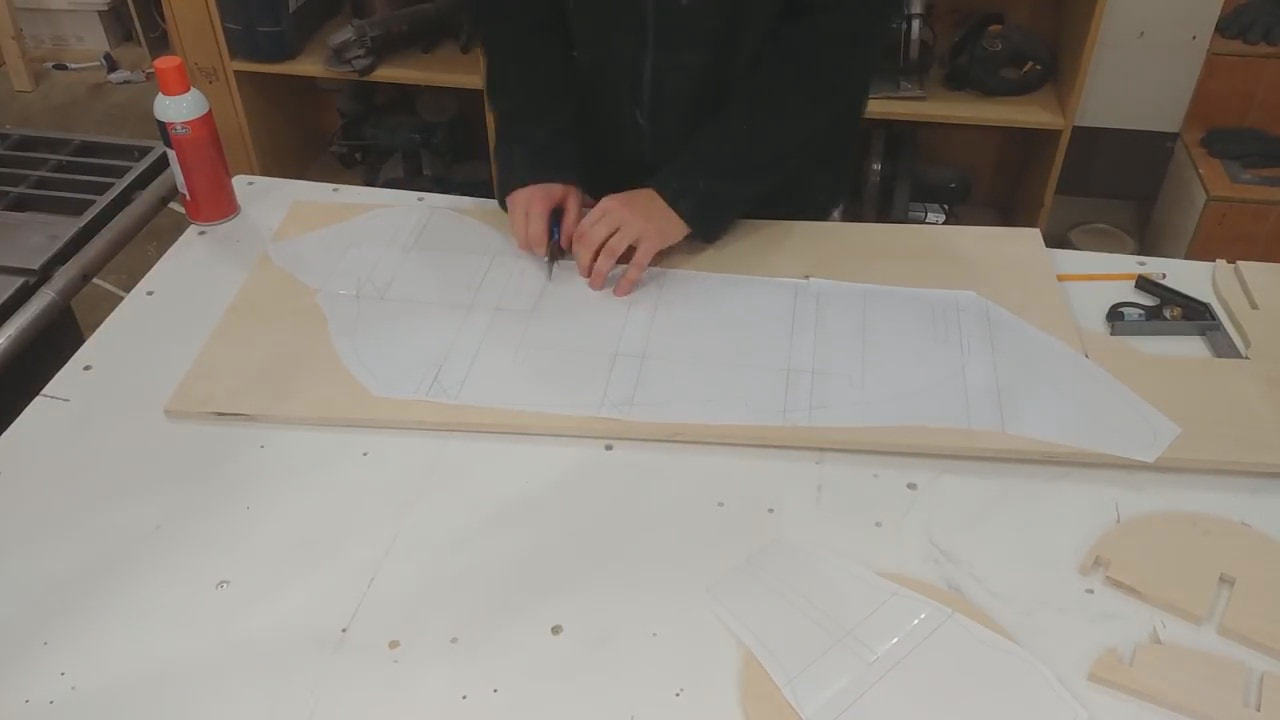
The larger pieces had to have several sheets of standard printer paper lined up and taped together.
The large pieces were cut out 95% on the bandsaw and 5% with the jig saw where the bandsaw was impossible.
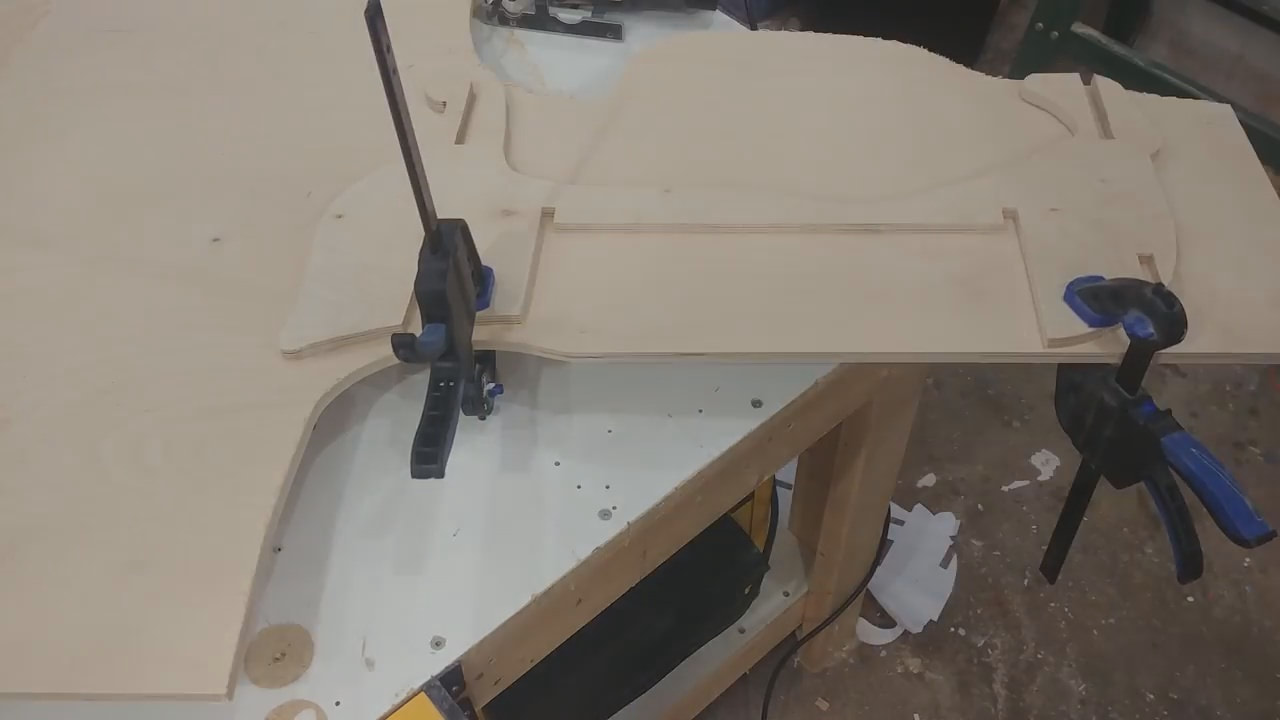
This was the only piece that is duplicated so I clamped down the finished first side and traced it out with a pencil and repeated the process.

The jig saw was the best way to cut out shapes to minimize waste.

I glued and tacked on with brads 4 cleats to help support the shelf in the center should anyone put something heavy on him (like a tv).
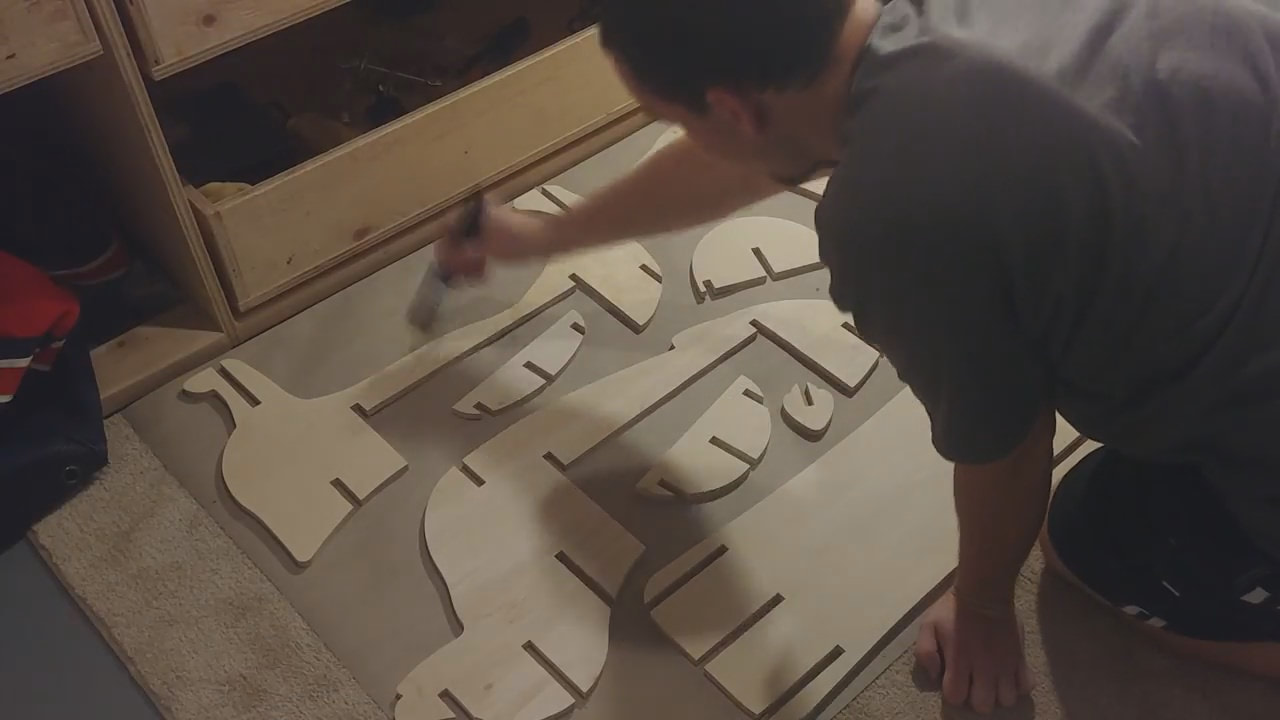
I sealed the dog with water based polyurethane.
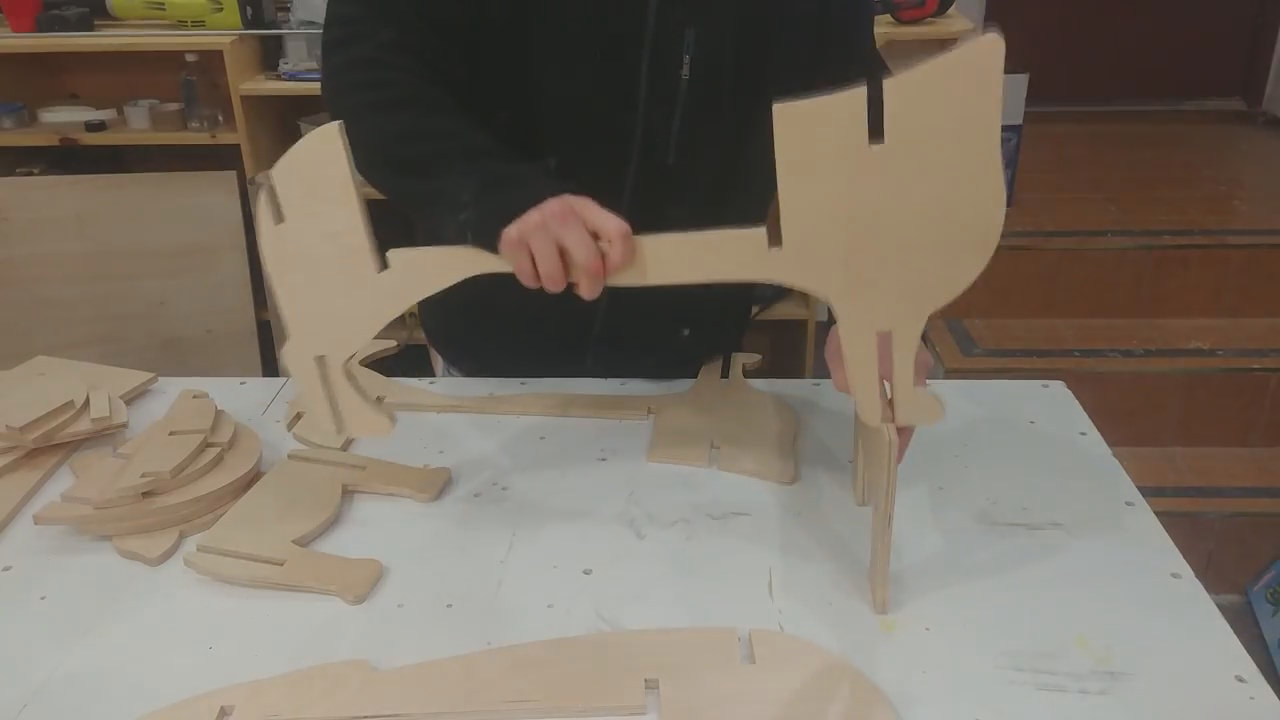
Step 1 in assembly was to put the front legs on with both sides.
Next the back legs.
Then the center (main) piece.
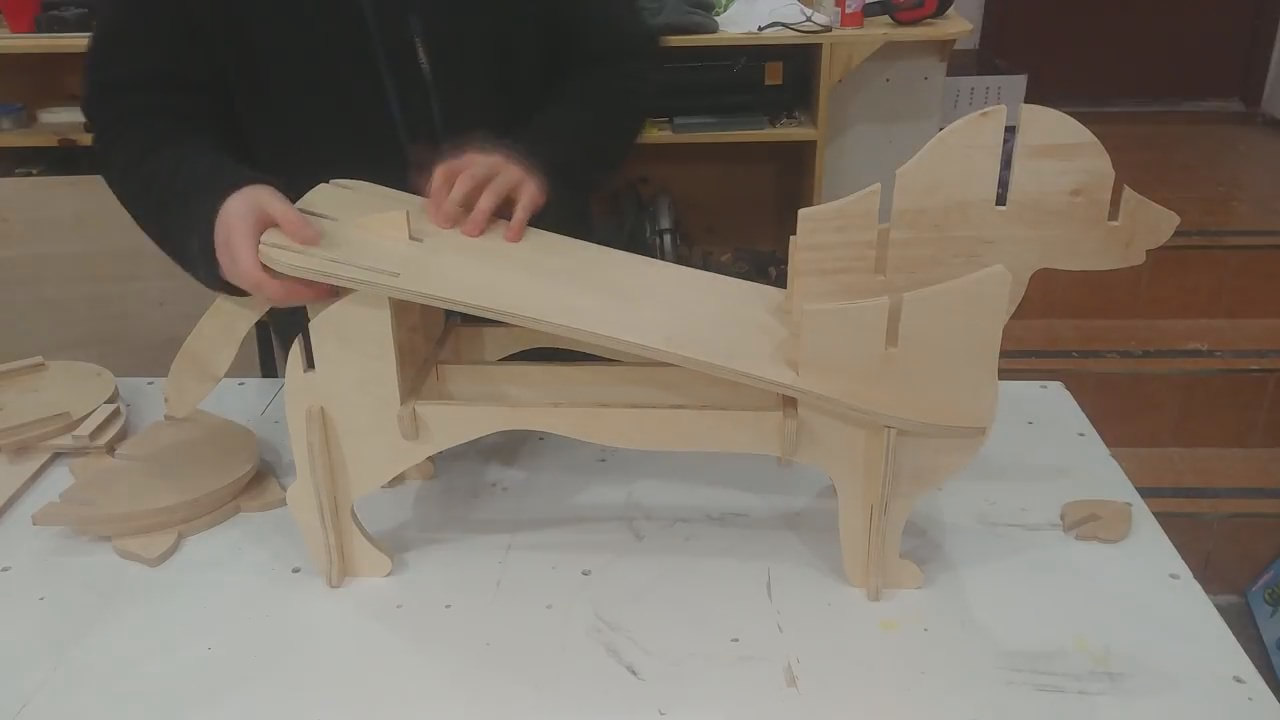
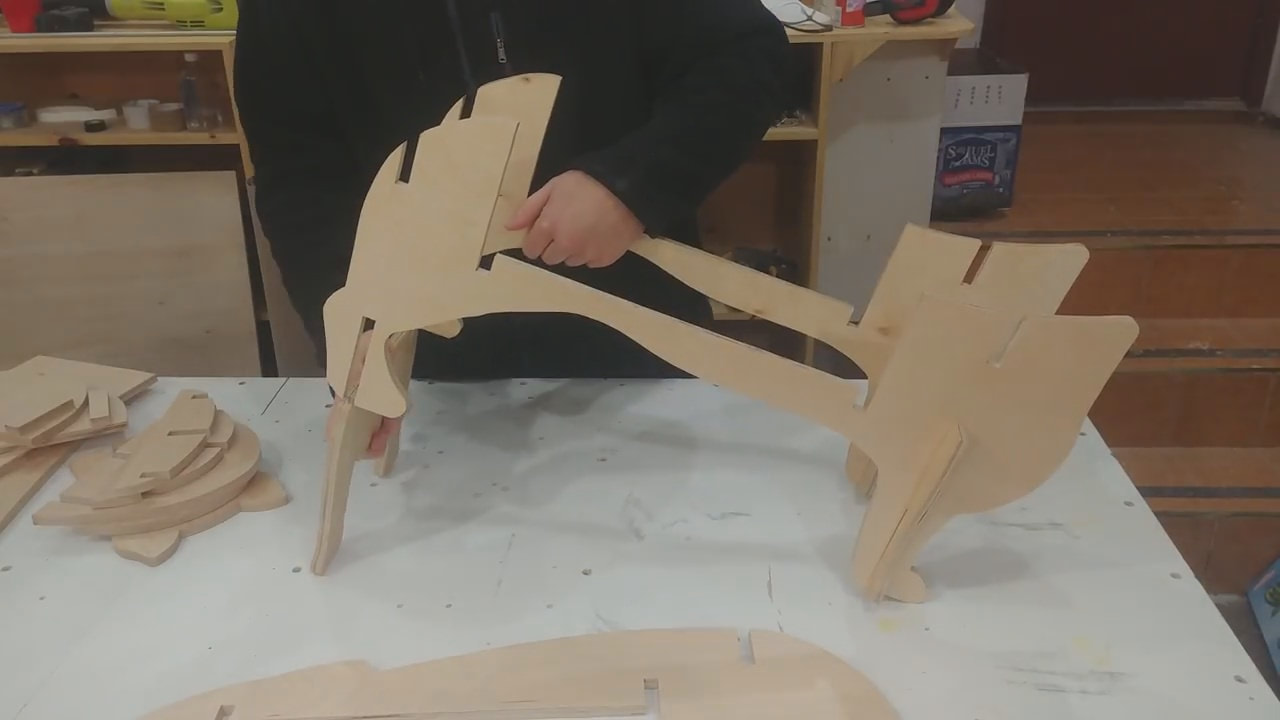
After the 2 inside dividers where placed the middle shelf was knocked into place.
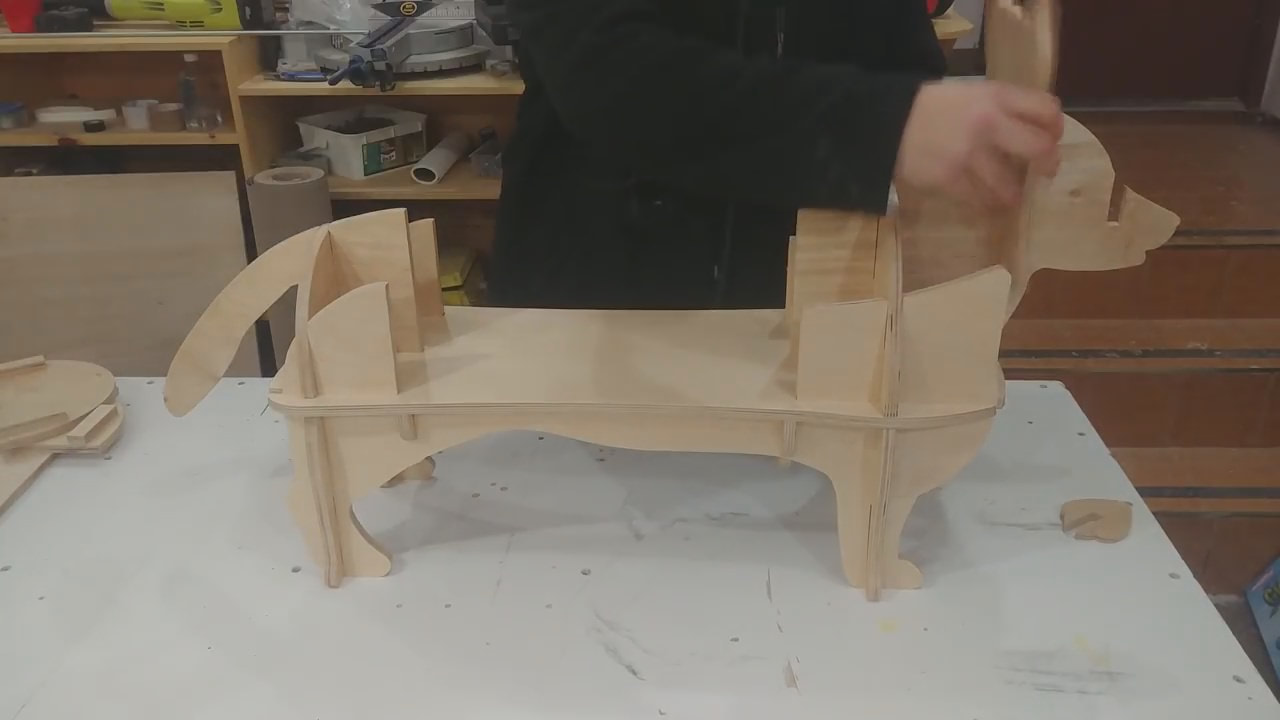
Top front and back dividers where placed and then the face and nose.
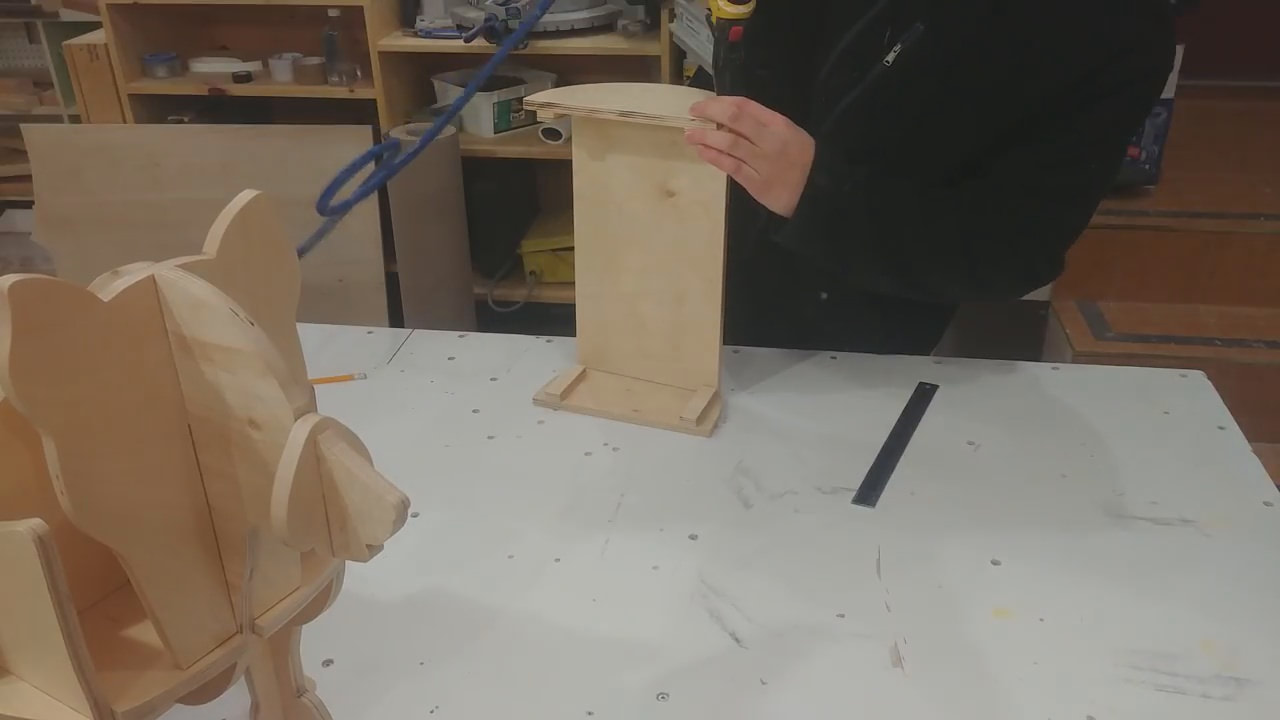
I butt nailed the top shelf where I previously attached cleats to the center 2 vertical pieces.
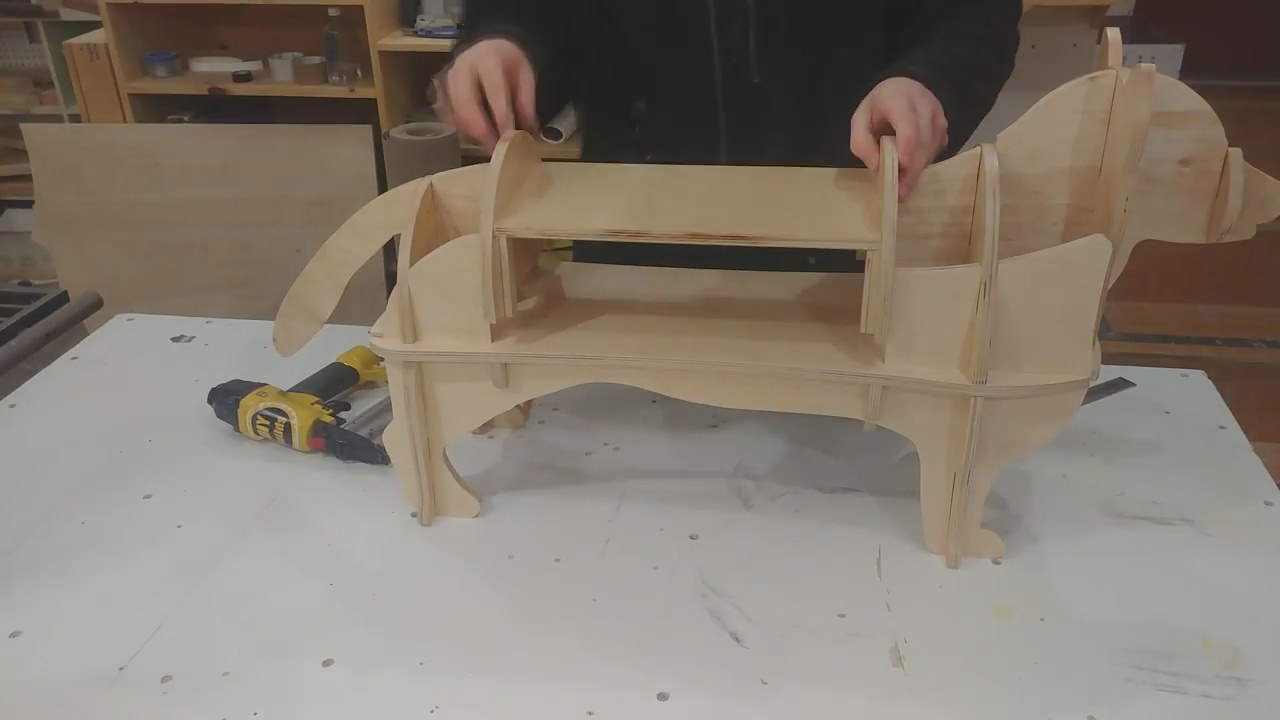
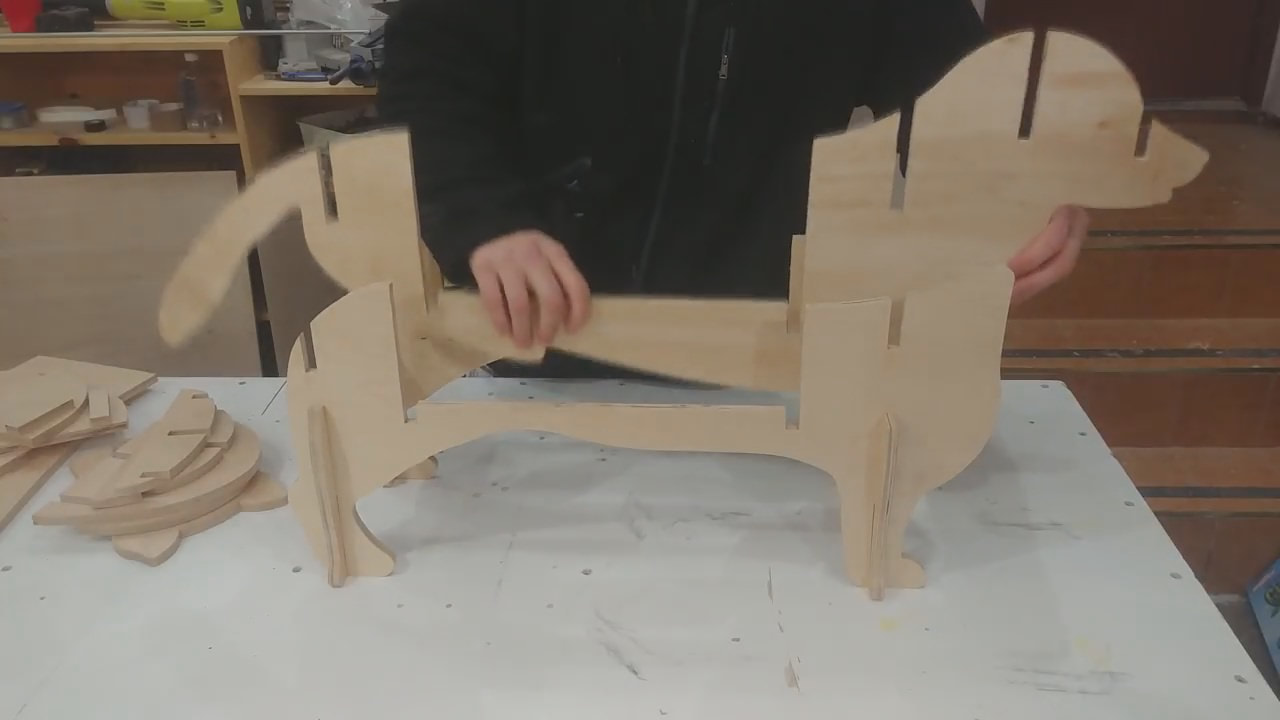
The top shelf assembly then slips into place.

It gets held in with a couple brads in each side.

To keep the face and nose from racking or being taken off I fired a few brad nails in the bottom.
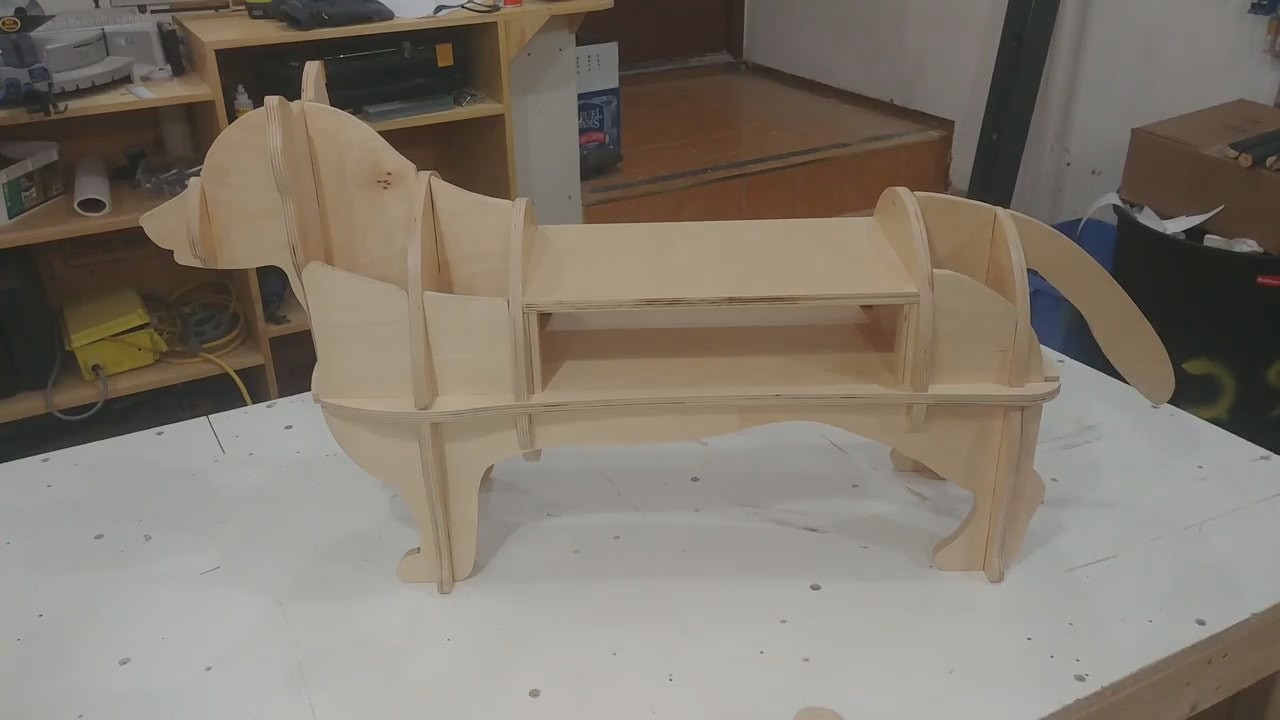
With that I can call this Corgi complete.
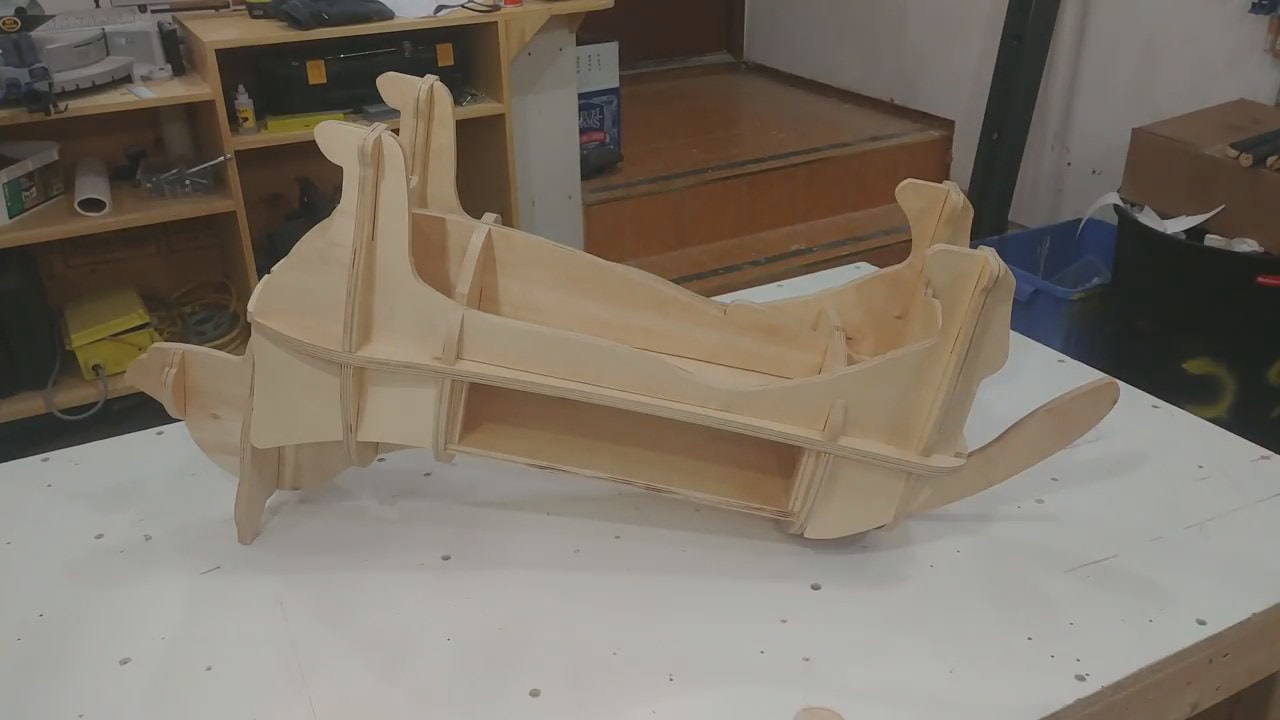
Roll over... Good boy!
|
|
Copyright © 2018