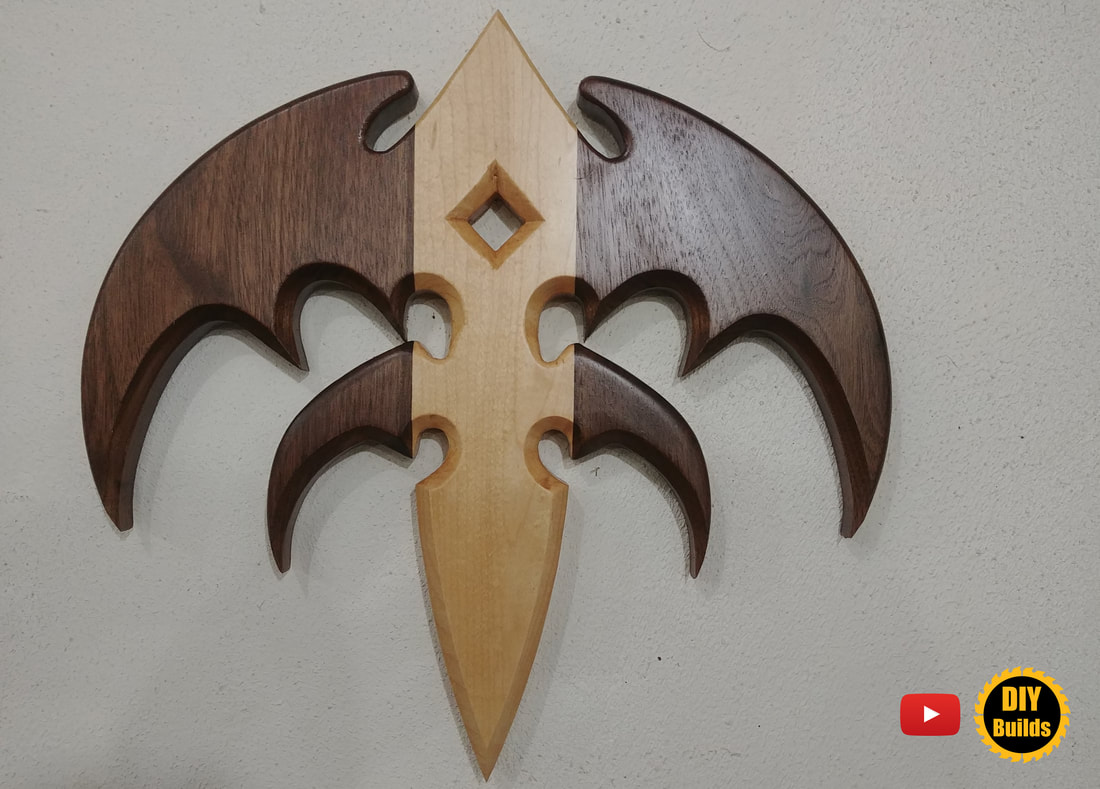
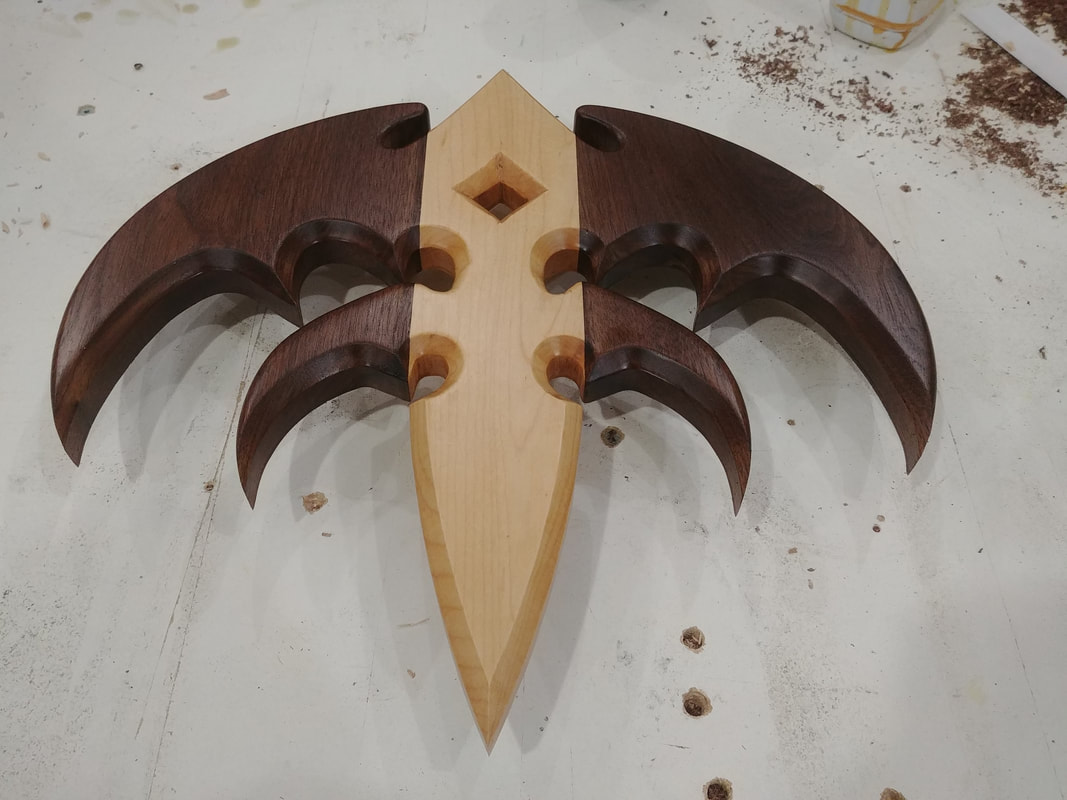
To show some love to my favorite band Queensryche, I created their iconic Tri-Ryche logo out of a chunk of maple and walnut.
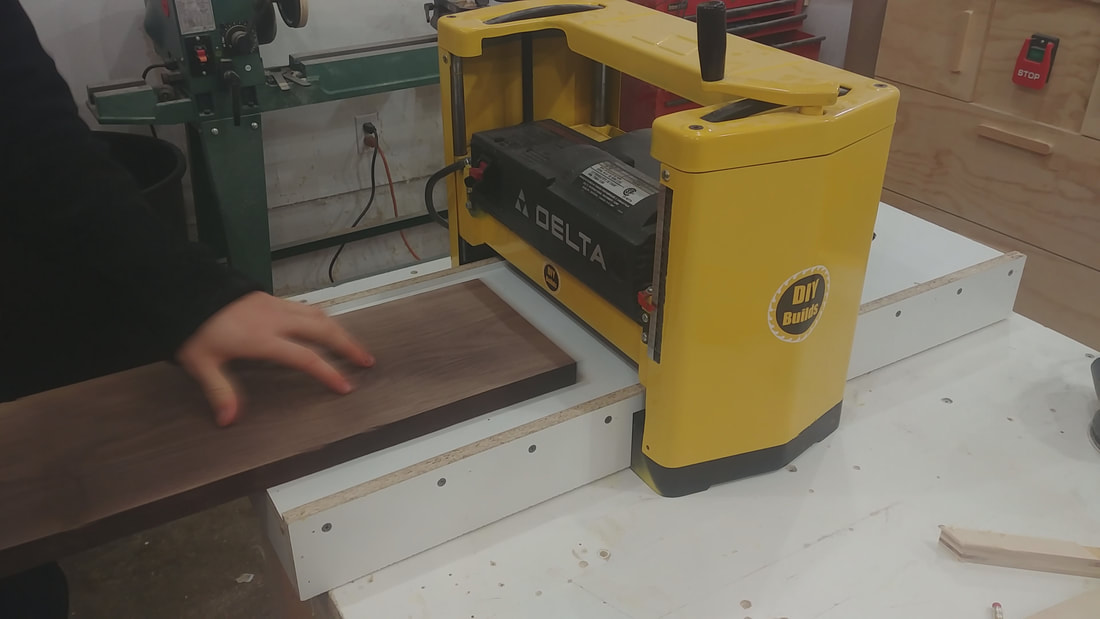
I started by planing my walnut and maple to around 7/8" thickness.
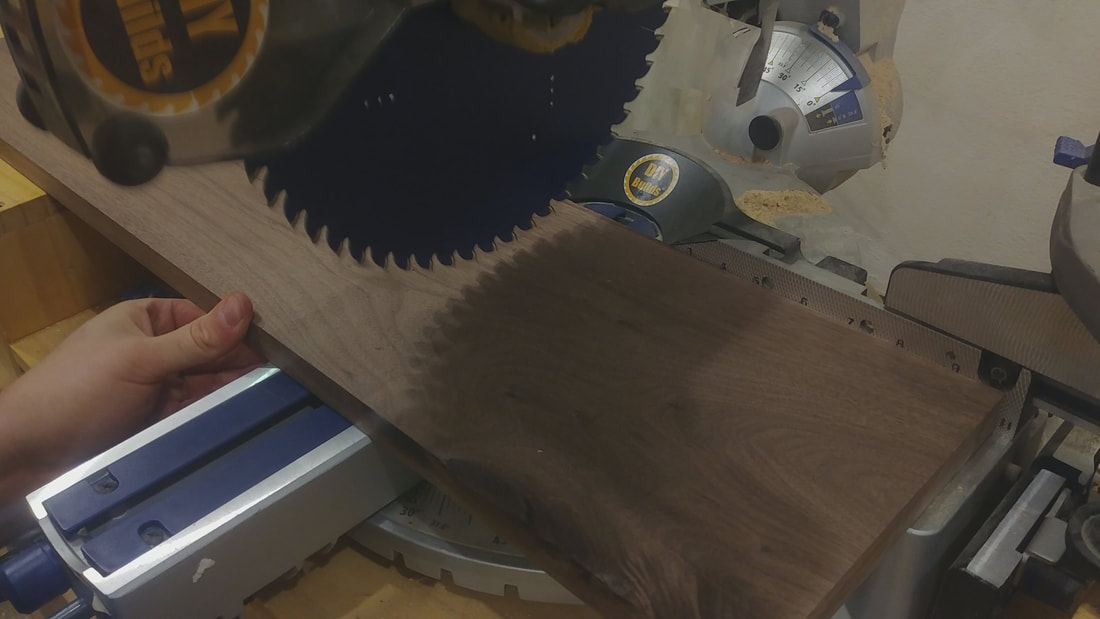
I then used the miter saw to cut the pieces to length.
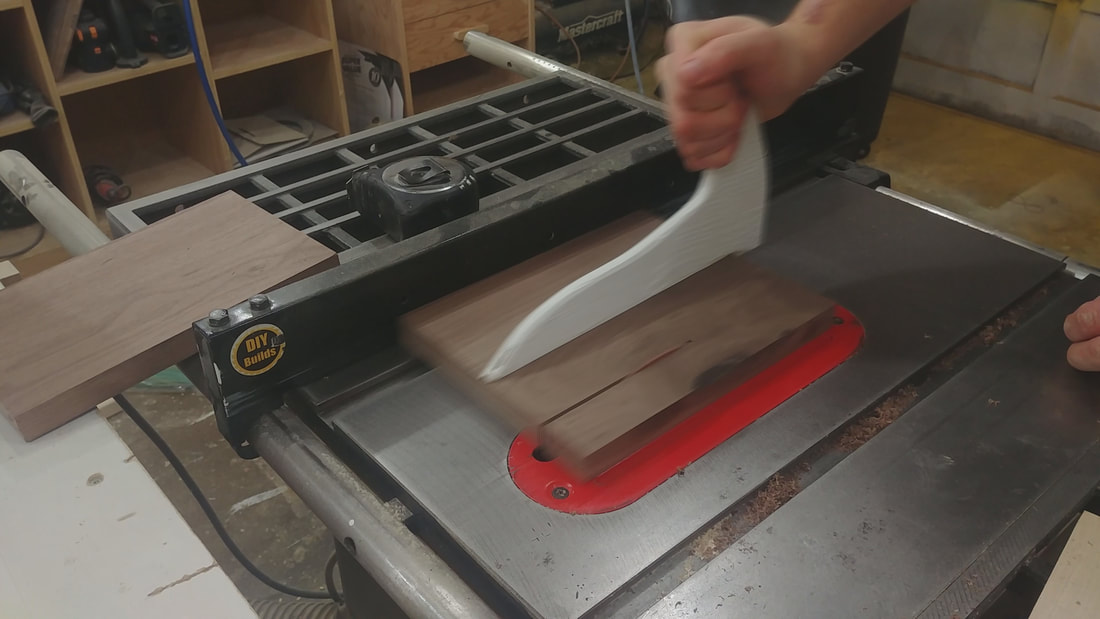
I then ripped the pieces to width on the table saw.
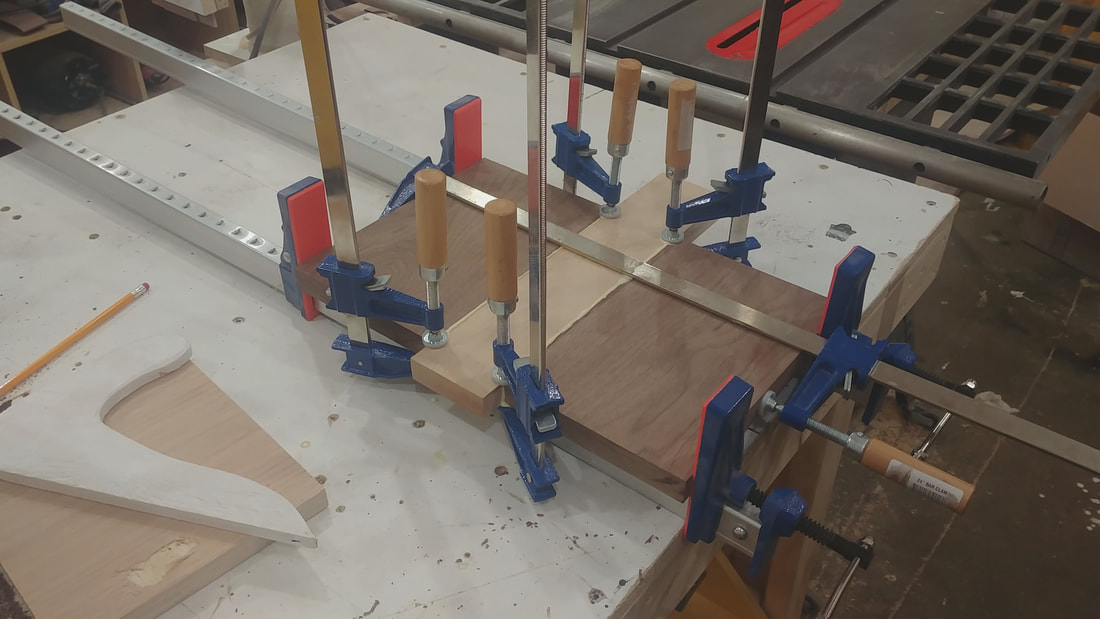
I used 2 long bar clamps as a base t o keep the pieces aligned/straight and 4 small clamps to keep the joints aligned.
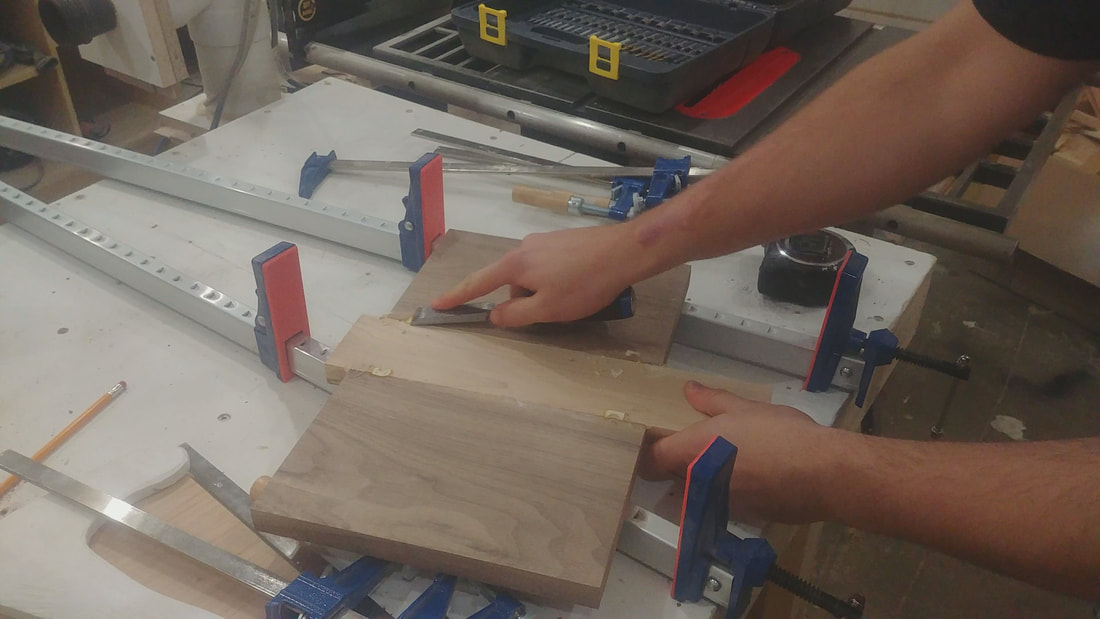
After the glue up a removed the glue squeeze out with a chisel.
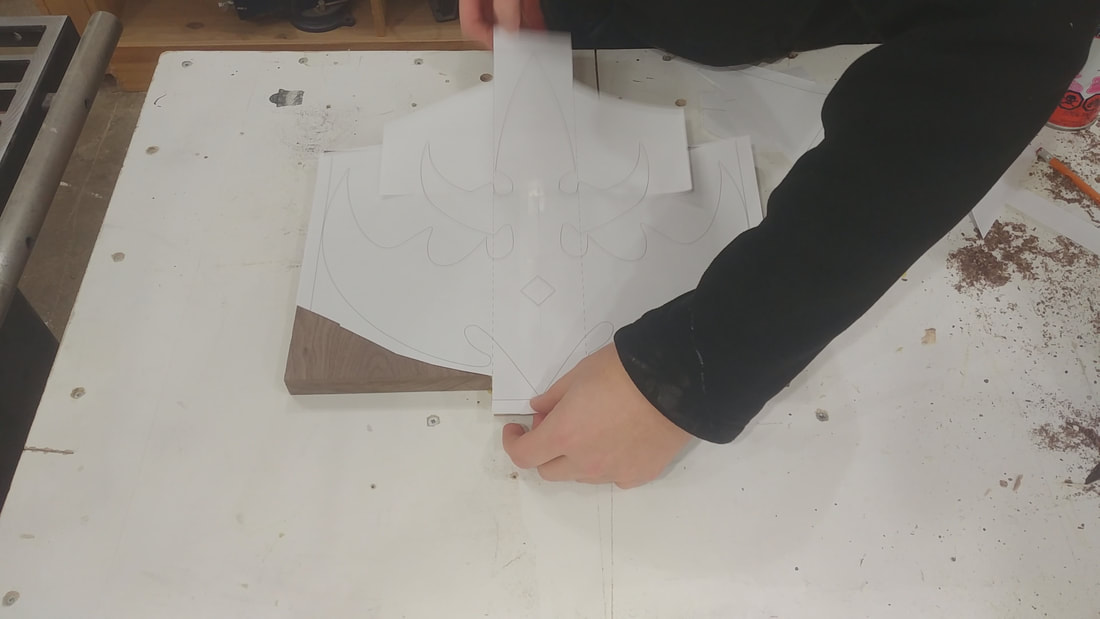
I created a 1:1 template in CAD and printed it out on 3 pieces of 8.5" by 11" paper and taped them together. I stuck the paper to the wood with spray adhesive. You can download the template on my website.

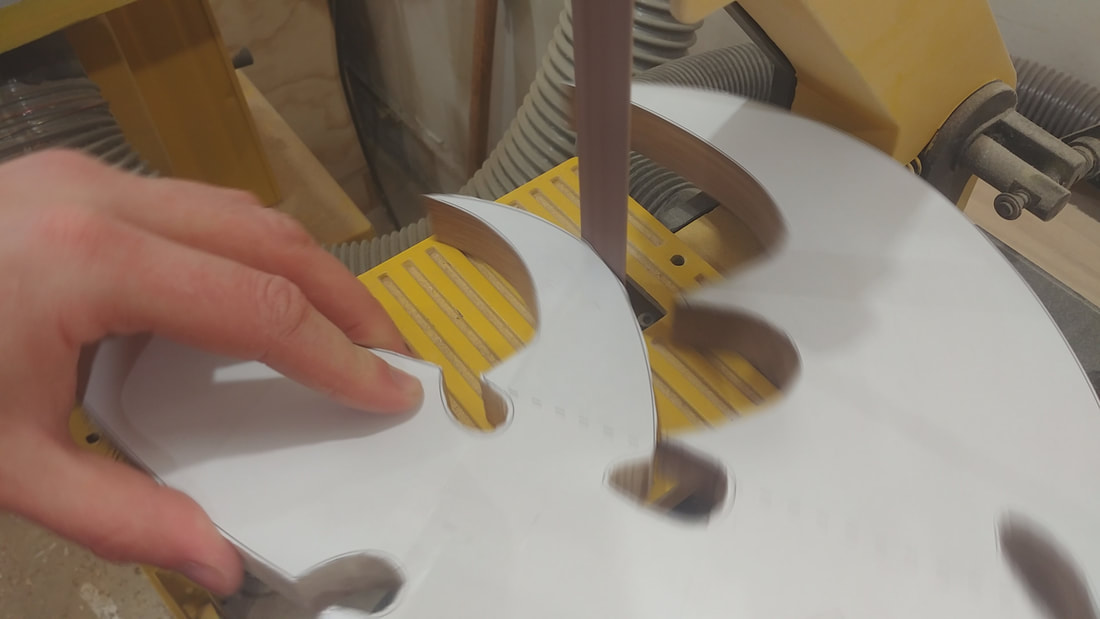
I then cut the Tri-Ryche out on the bandsaw.
I used a strip sander, disk sander and spindle sander to sand to the line.
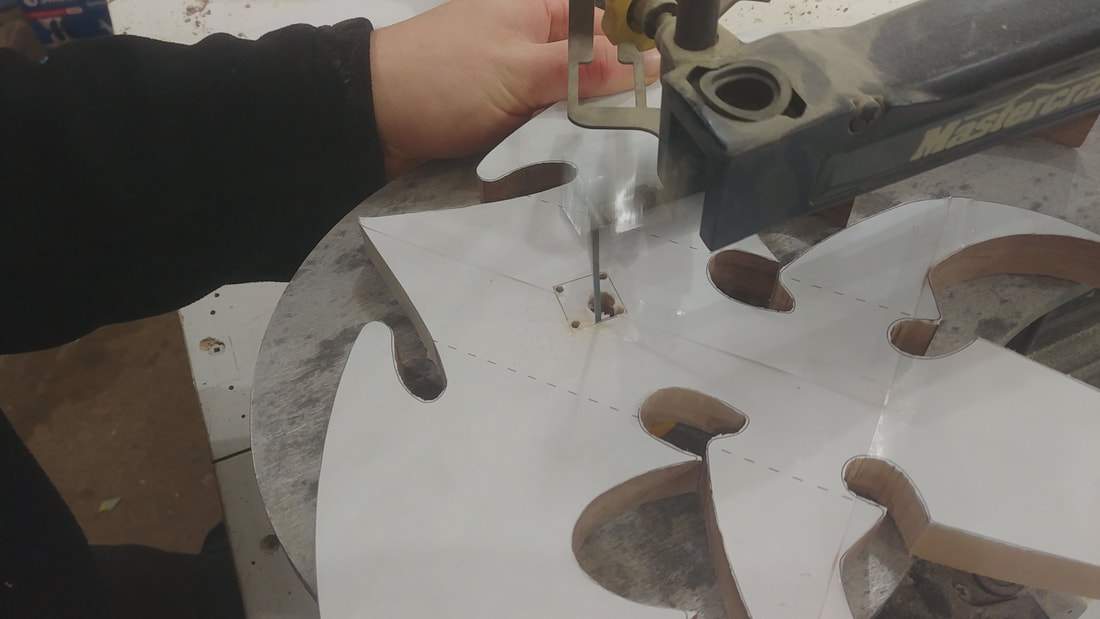
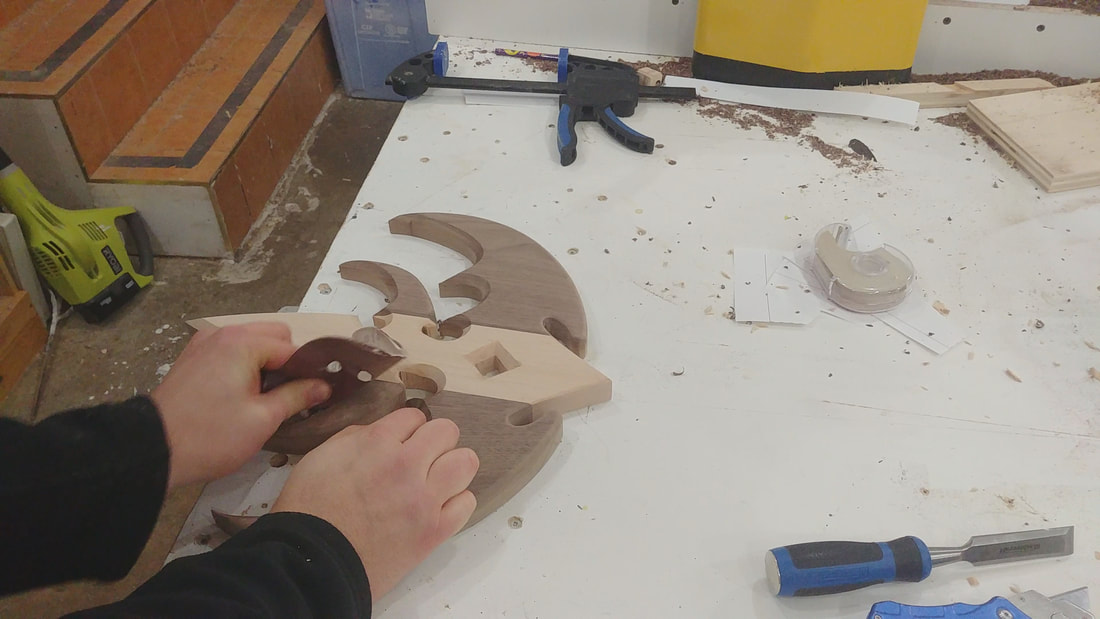
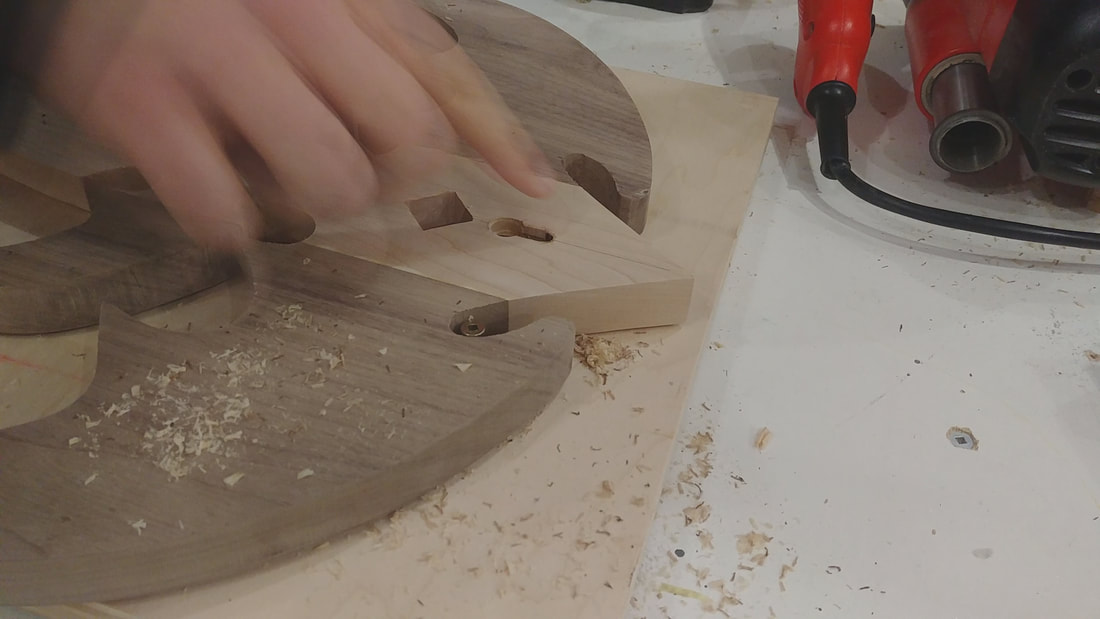
I drilled 4 small holes in each corner of the center diamond shape and one large hole in the middle for the scroll saw blade to pass through. I then cut the diamond out with the scroll saw.
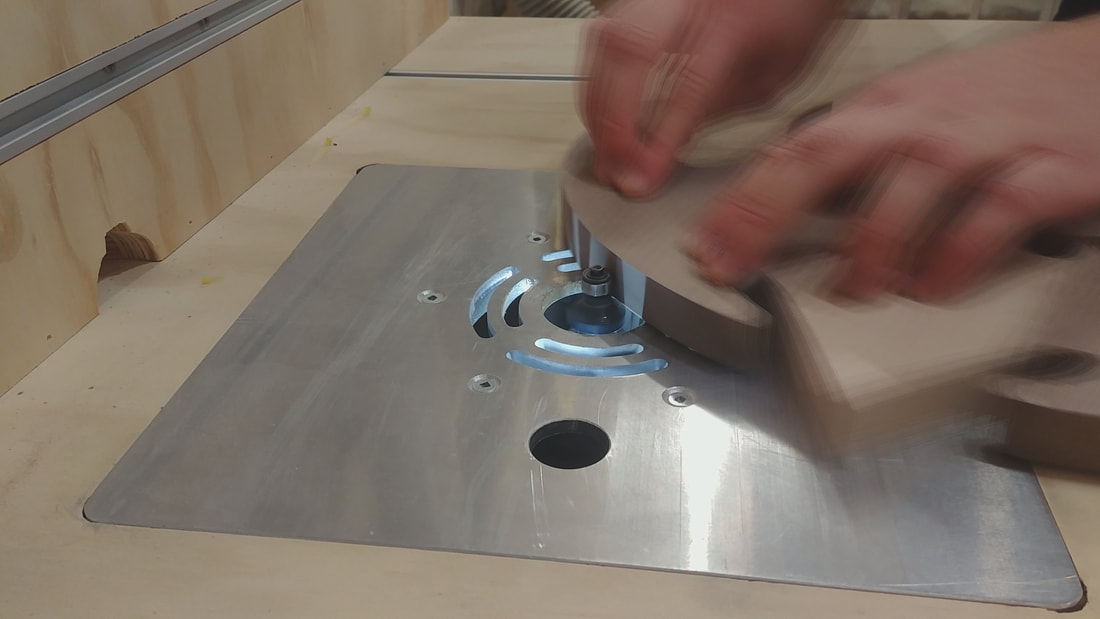
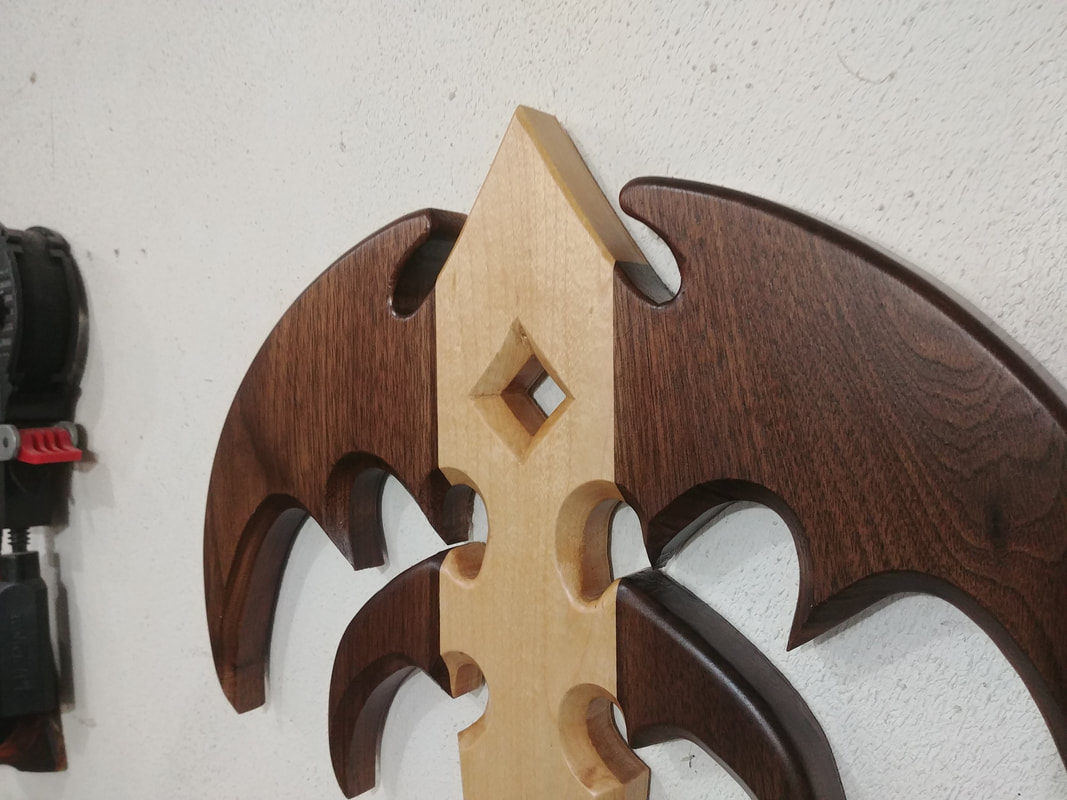
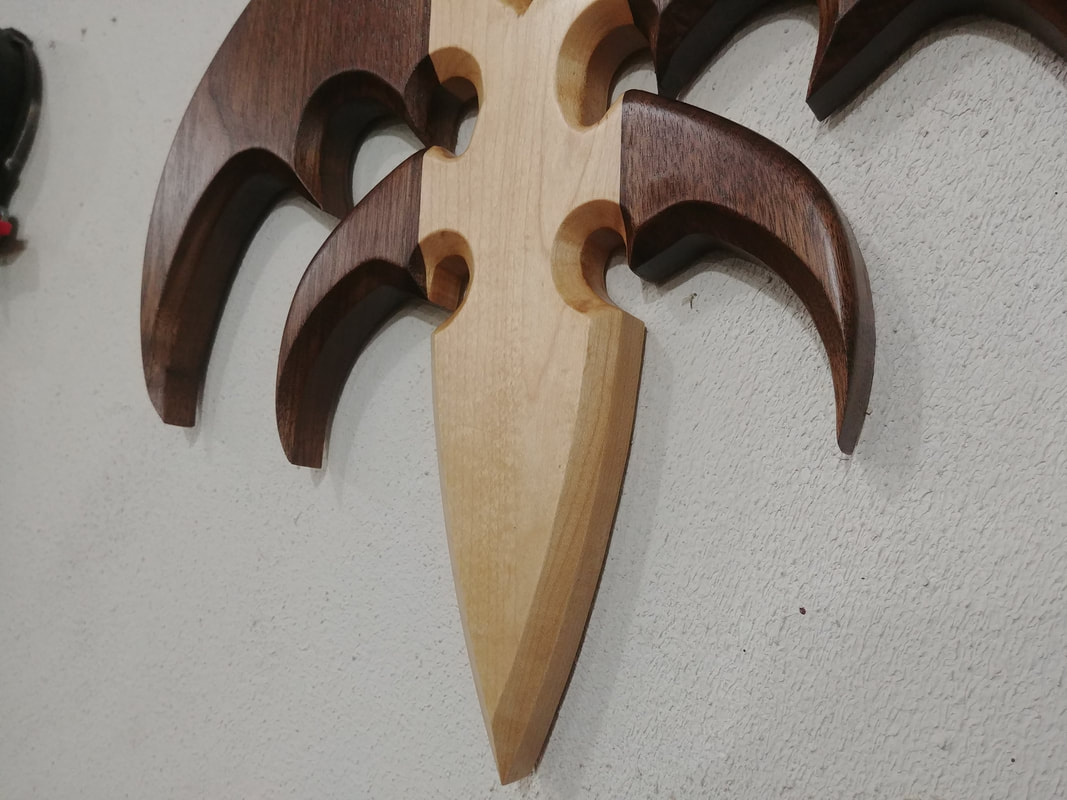
The tops received a 1/4" round over on the router table.
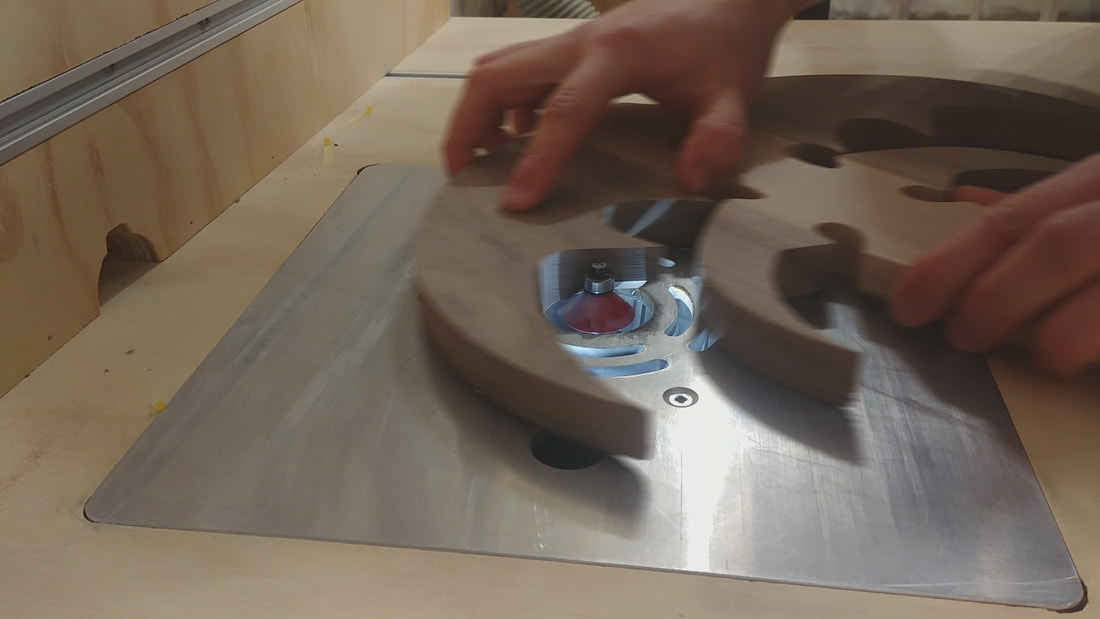
All other edges received a chamfer edge profile to create a sharp knife look.
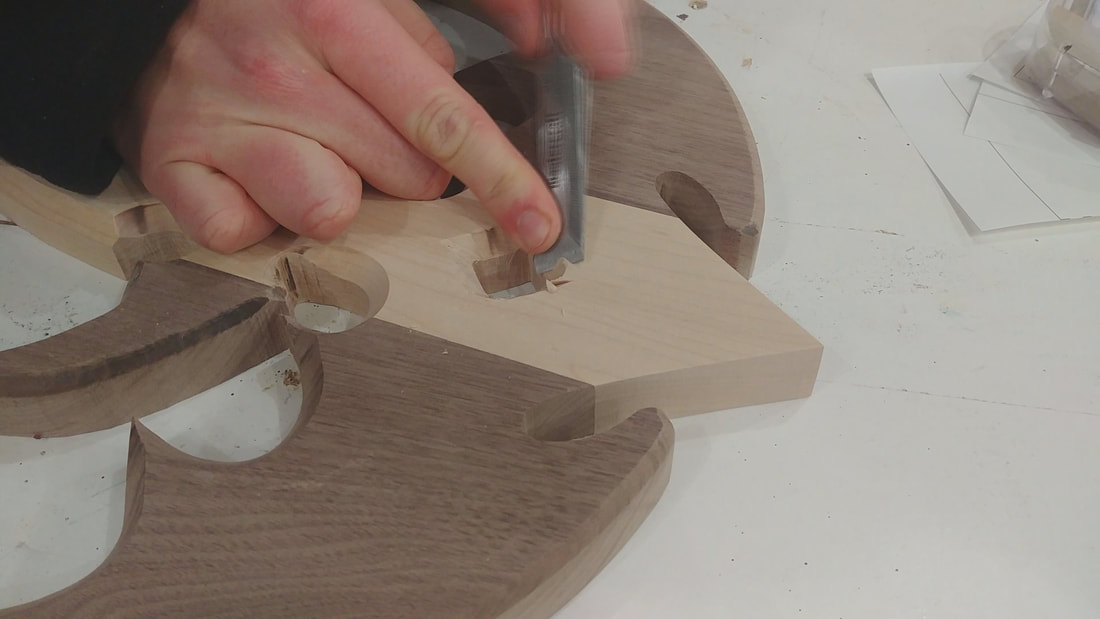
The chamfer bit left rounded corners in the middle diamond so I created a sharp corner with a chisel.
I then sanded to 220 grit.
To hang the Tri-Ryche on the wall I used a keyhole bit in the router to create a recess for a nail or screw.
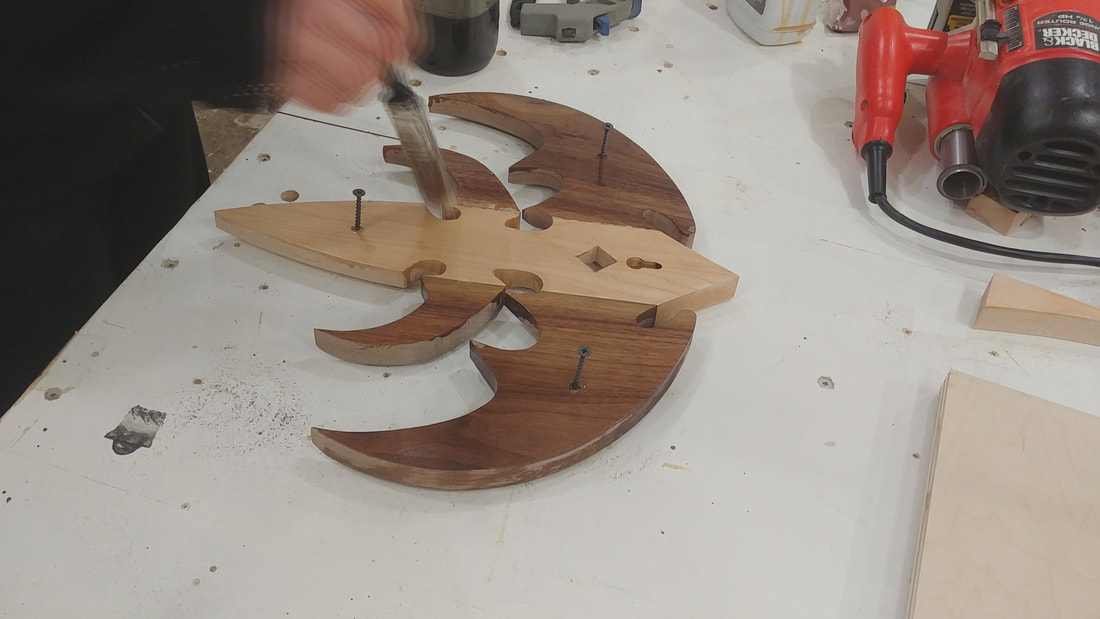
I added 3 drywall screws to the back to stand the logo off the bench while adding finish to the front.
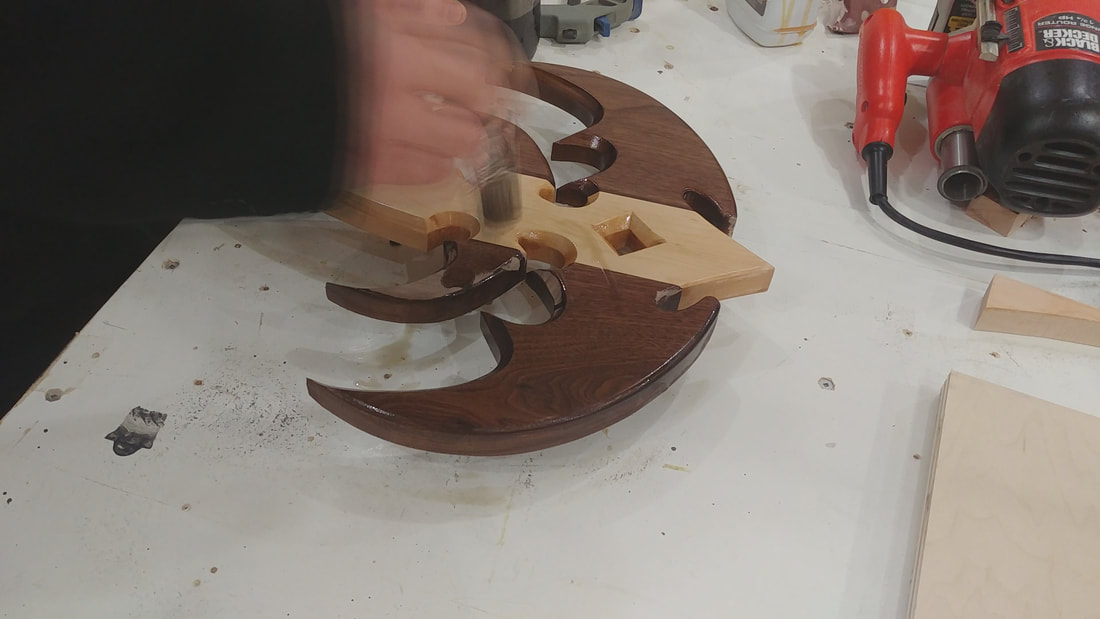
I finished the logo with 2 coats of oil based polyurethane.
|
|
Copyright © 2018