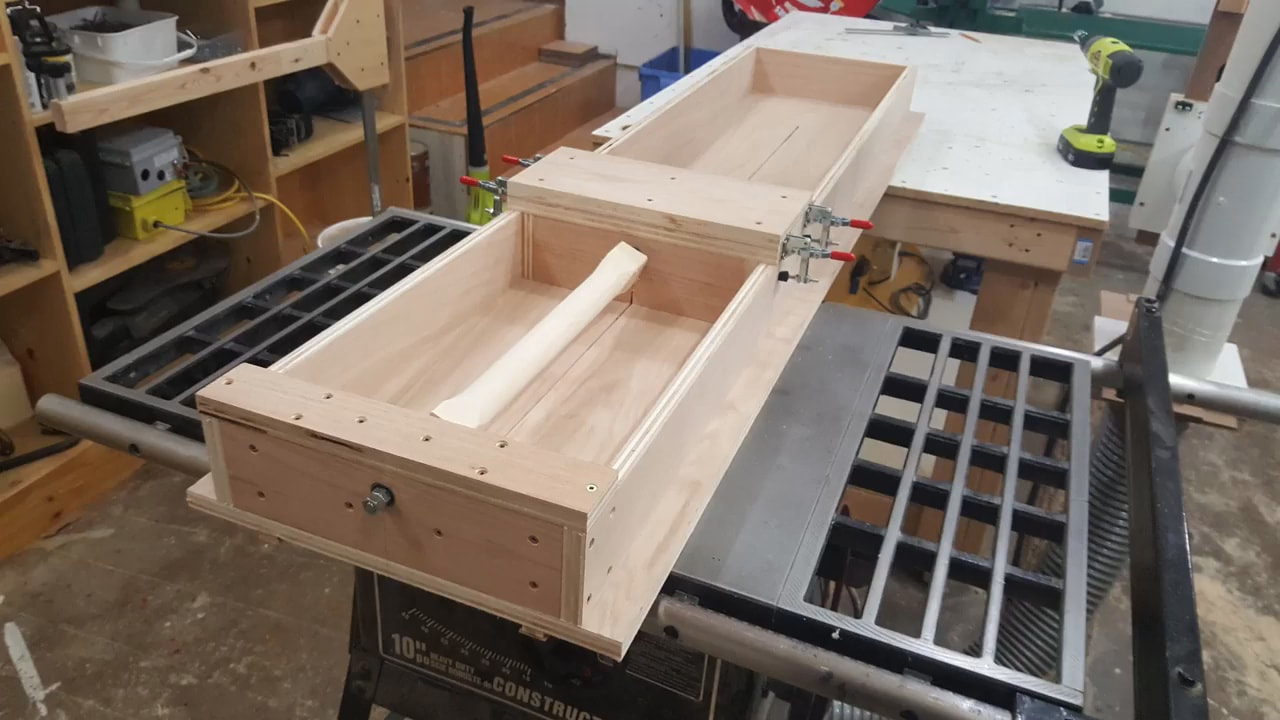
Finished product first.
I used half a sheet of 3/4 plywood to create this table saw lathe. I will be mostly using it to round out stock and create spindles. It can be used as a tenoner and dowel maker as well. I have a free set of plans available on my website.
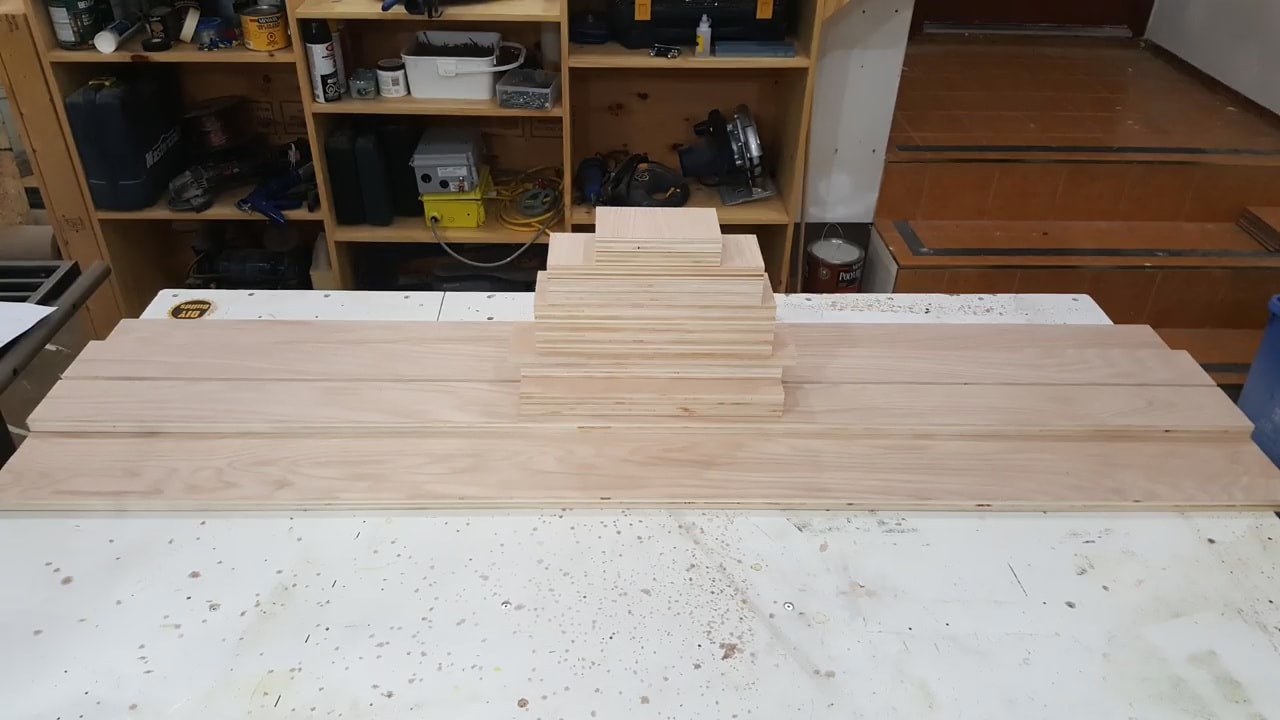
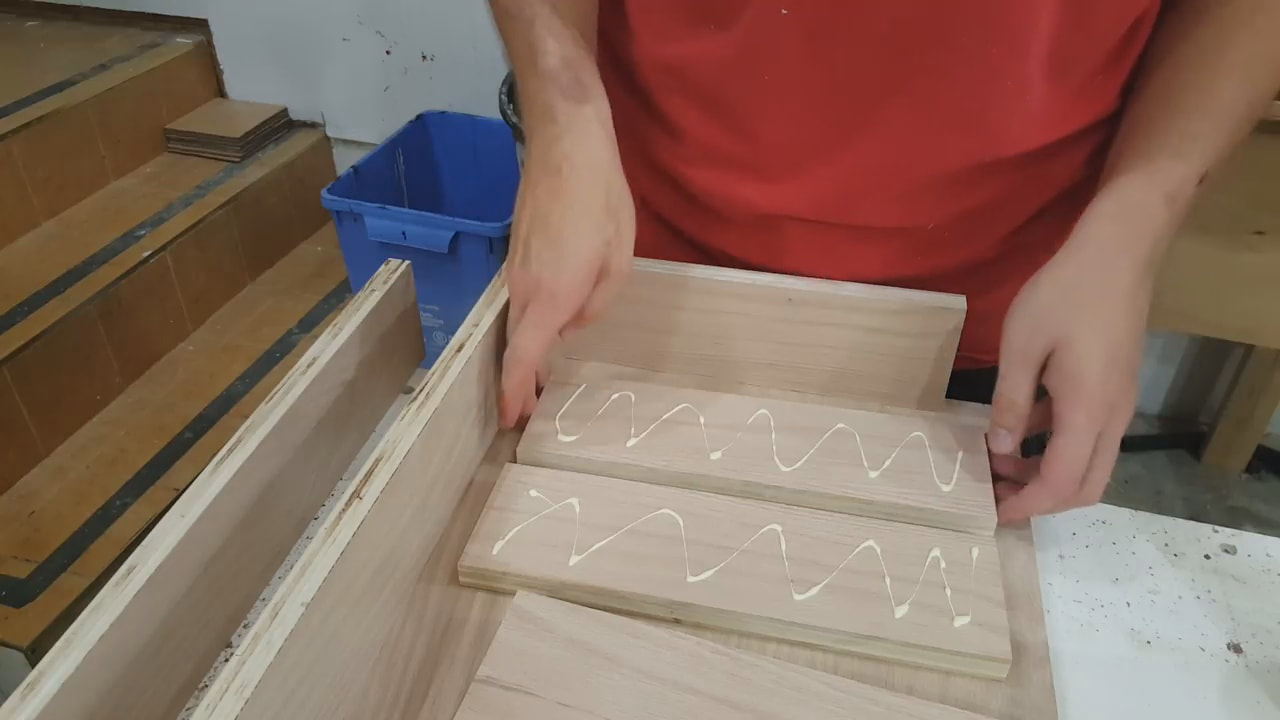
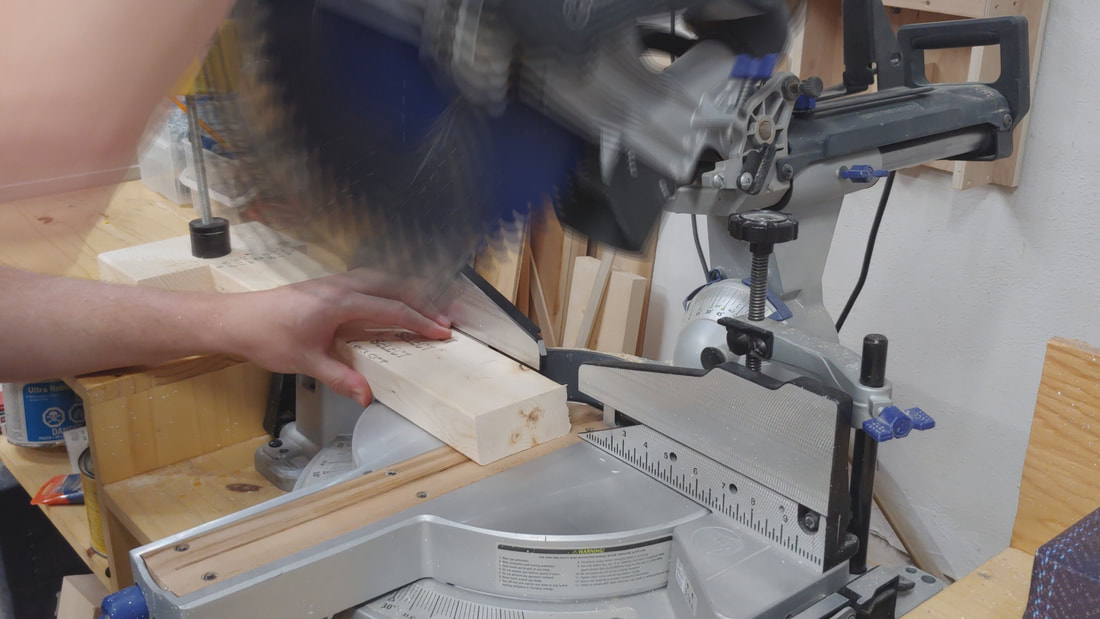
I started by cutting up all the stock required for the build. I used 3/4" oak veneer plywood but any good quality plywood will work.

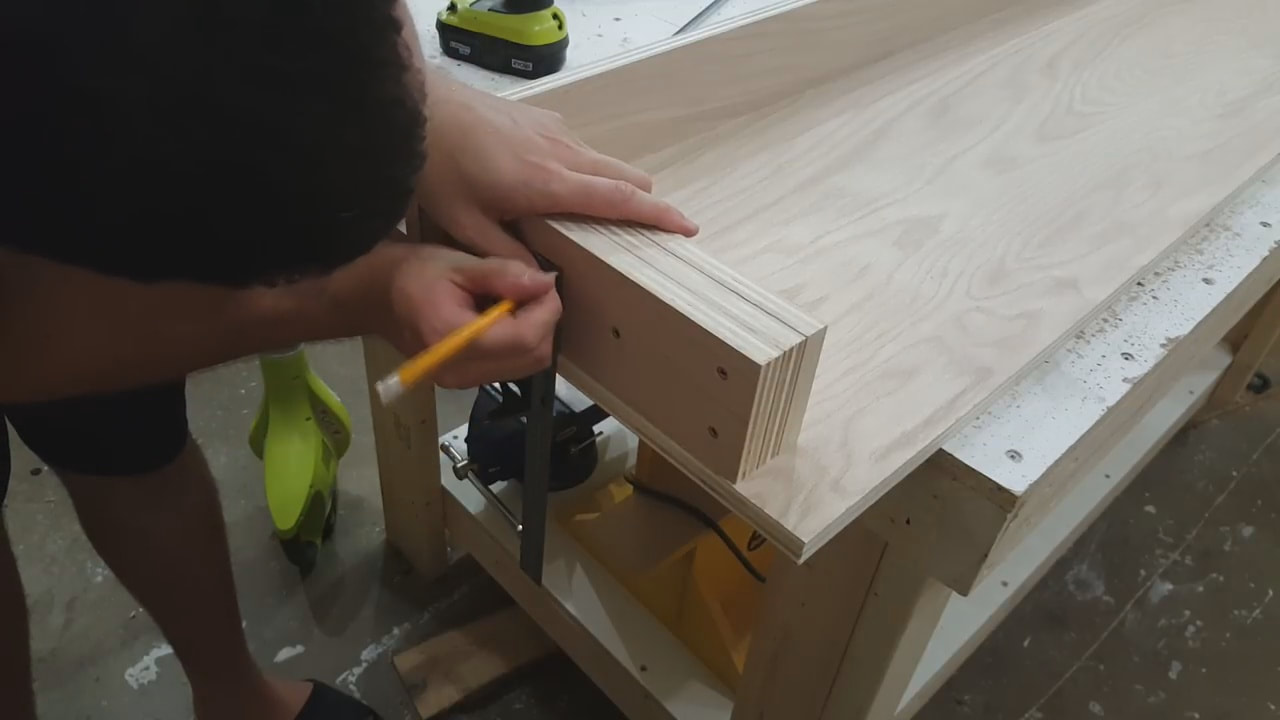
I laid the base on top of both edges and marked a line 2 inches in from the edge of the base piece.
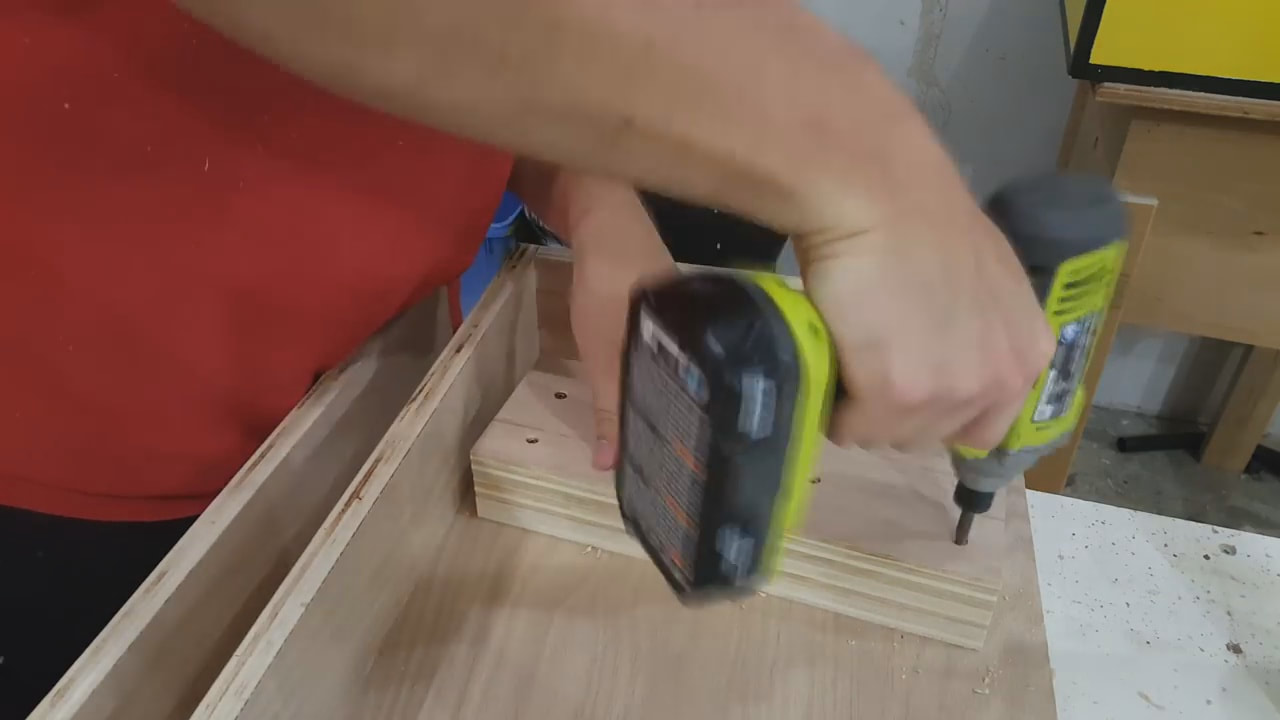
I pre-drilled, countersunk and screwed in several 2" coarse construction grade screws through the base into the edge piece making sure to keep straight.
I glued together the front piece of the tail stock making sure to use a square.
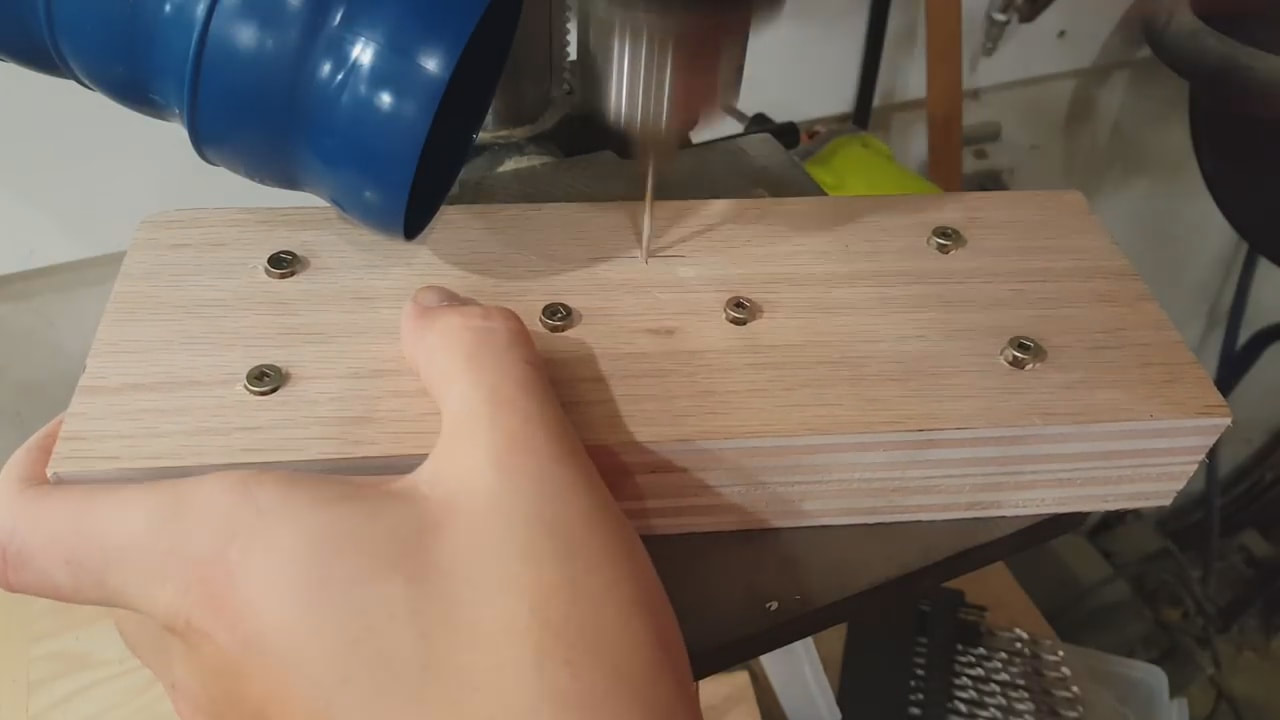
After the glue was added several screws keep it together. I marked and drilled a through hole to be used to located the forstner bits for the bearing recess.
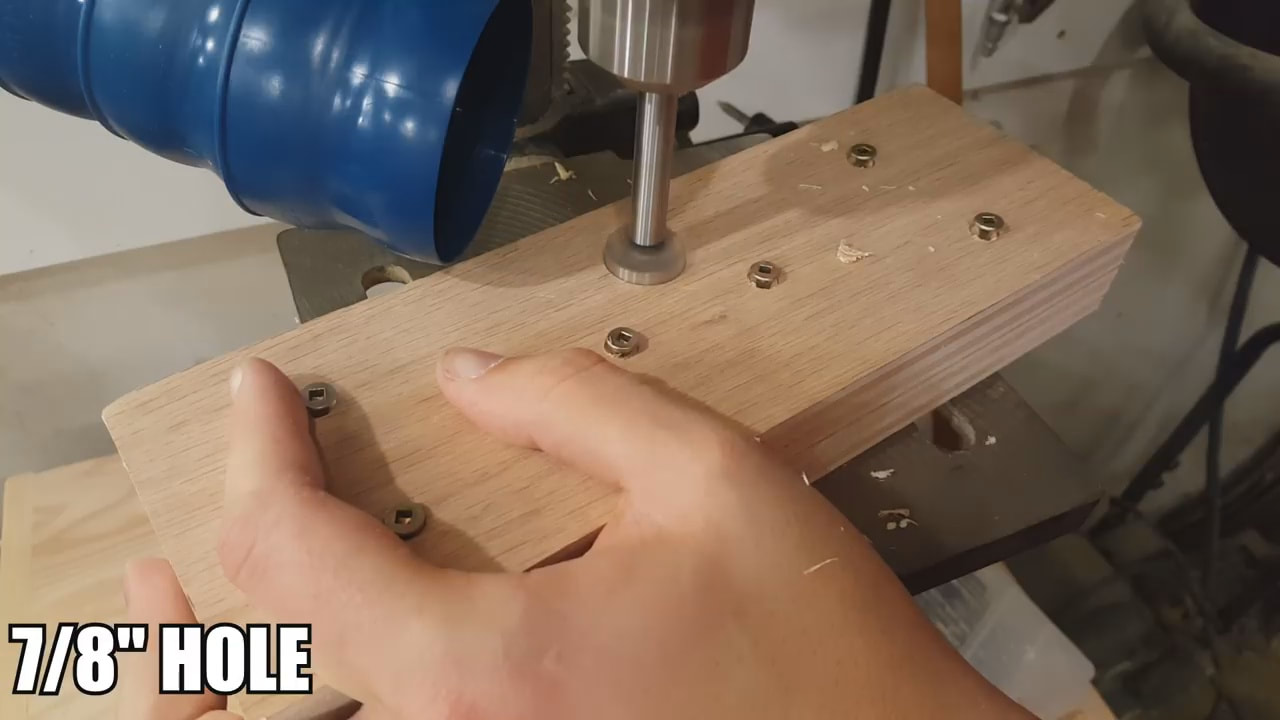
I started by drilling out the 7/8" hole to the depth of the 3/8" bearings I bought.
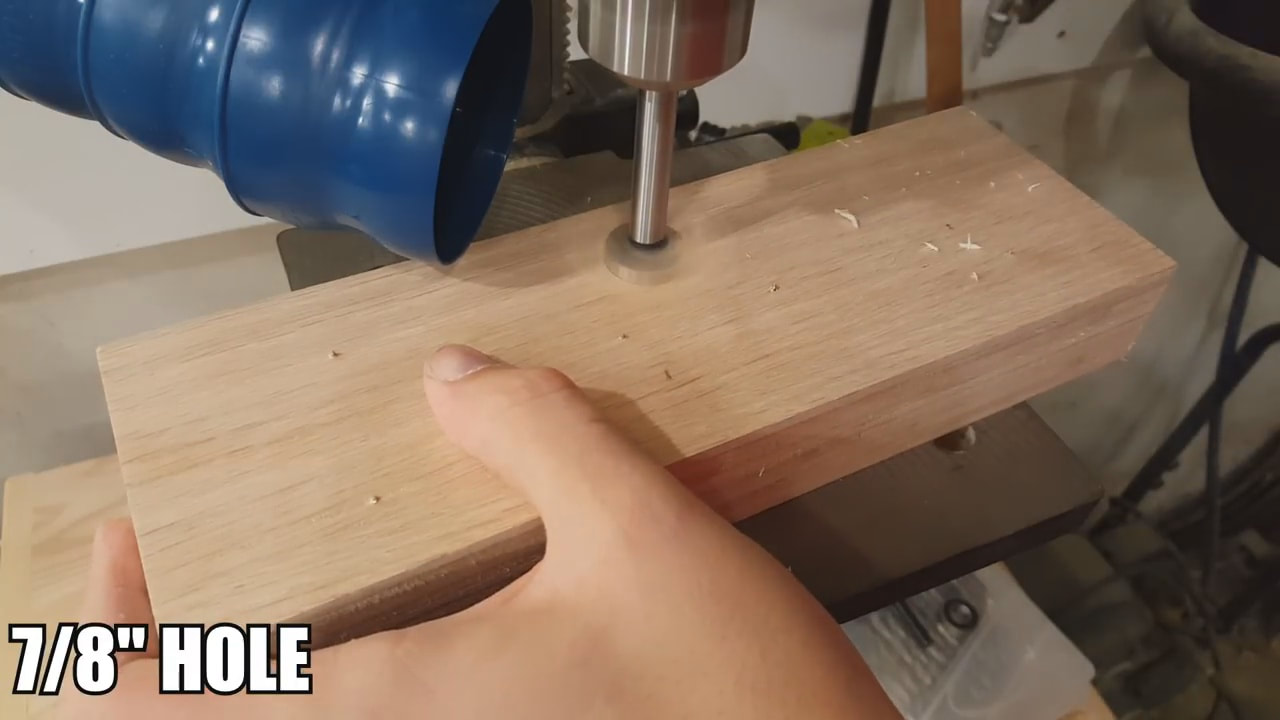
Again on the other side.
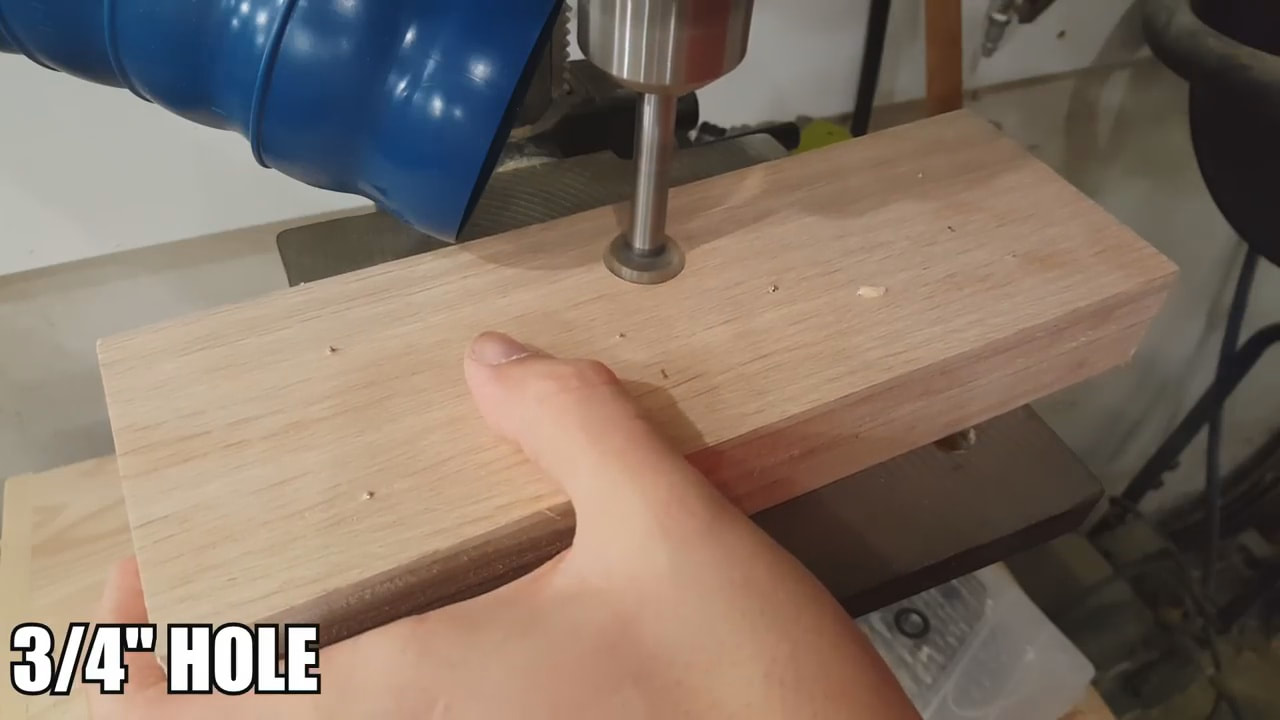
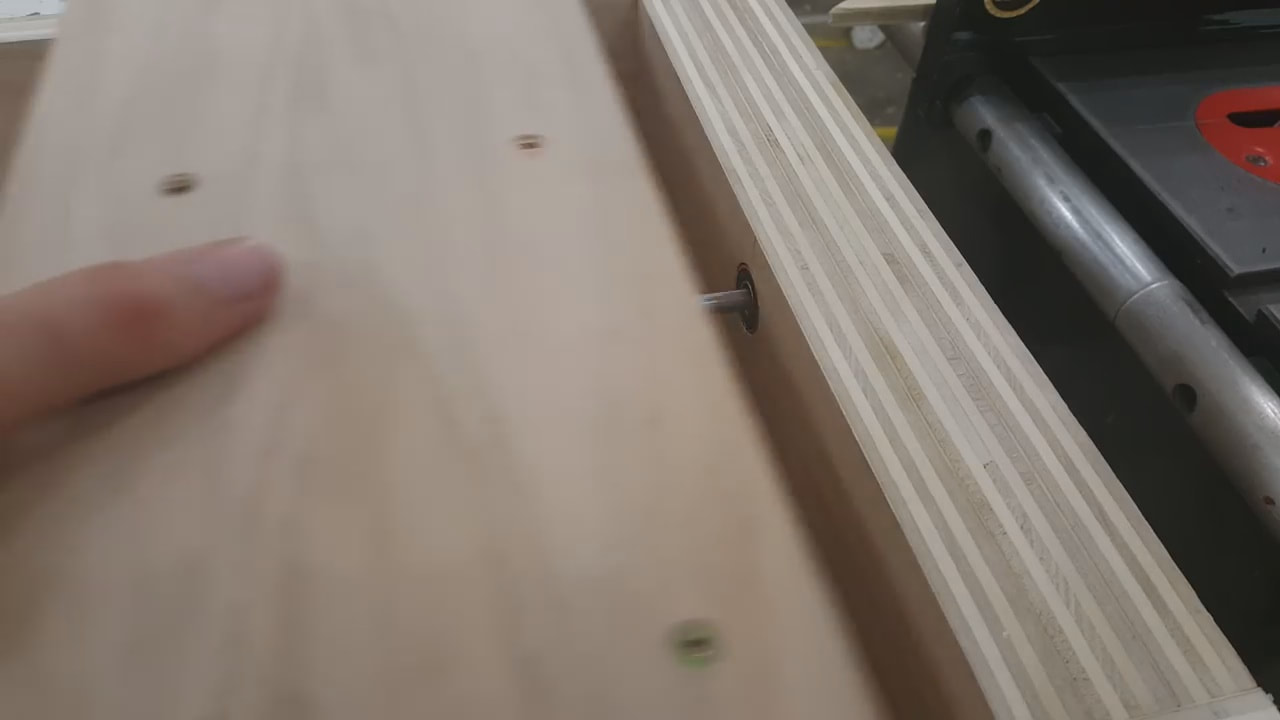
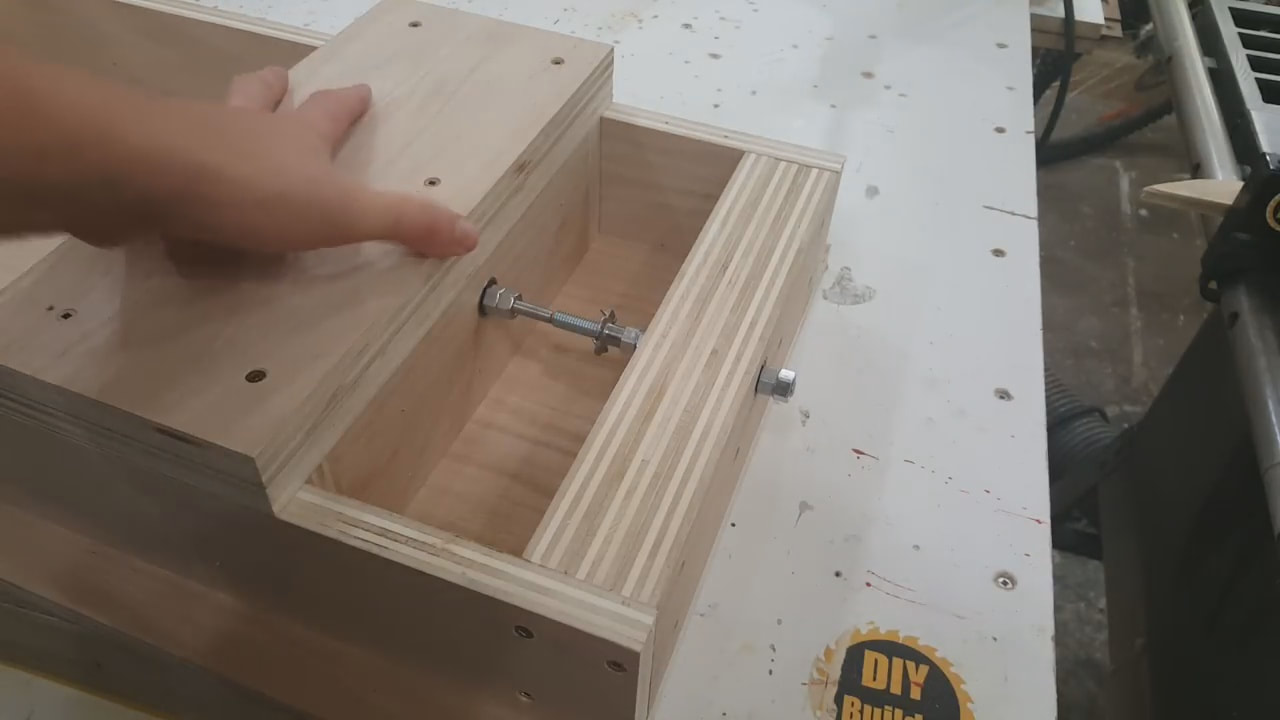
I then drilled through with 3/4" bit to create a 1/16" shoulder that the bearing rides against and allowing the bolt to spin freely.
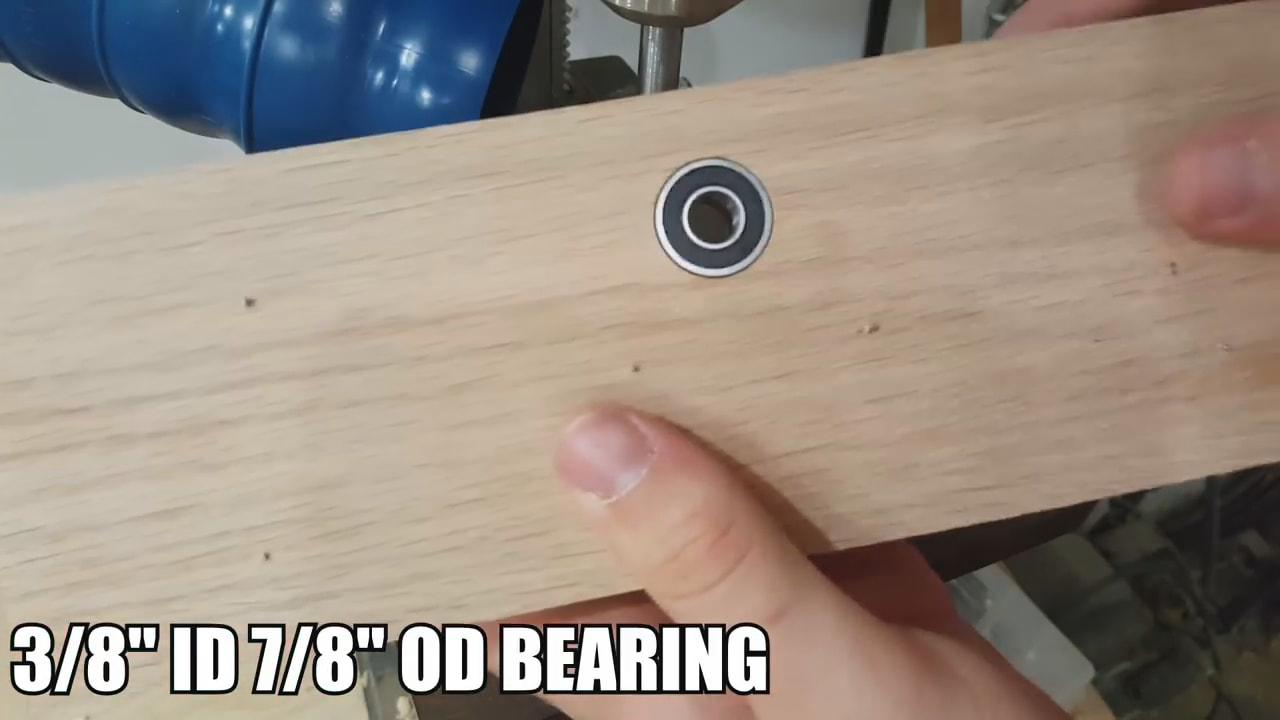
Bearing fits nicely into the hole and stops at correct depth.

I cut a piece of 3/8" threaded rod and jam nutted 4 nuts onto it to keep it locked in place. 1" of rod sticks out the front to act as a live center on the lathe.
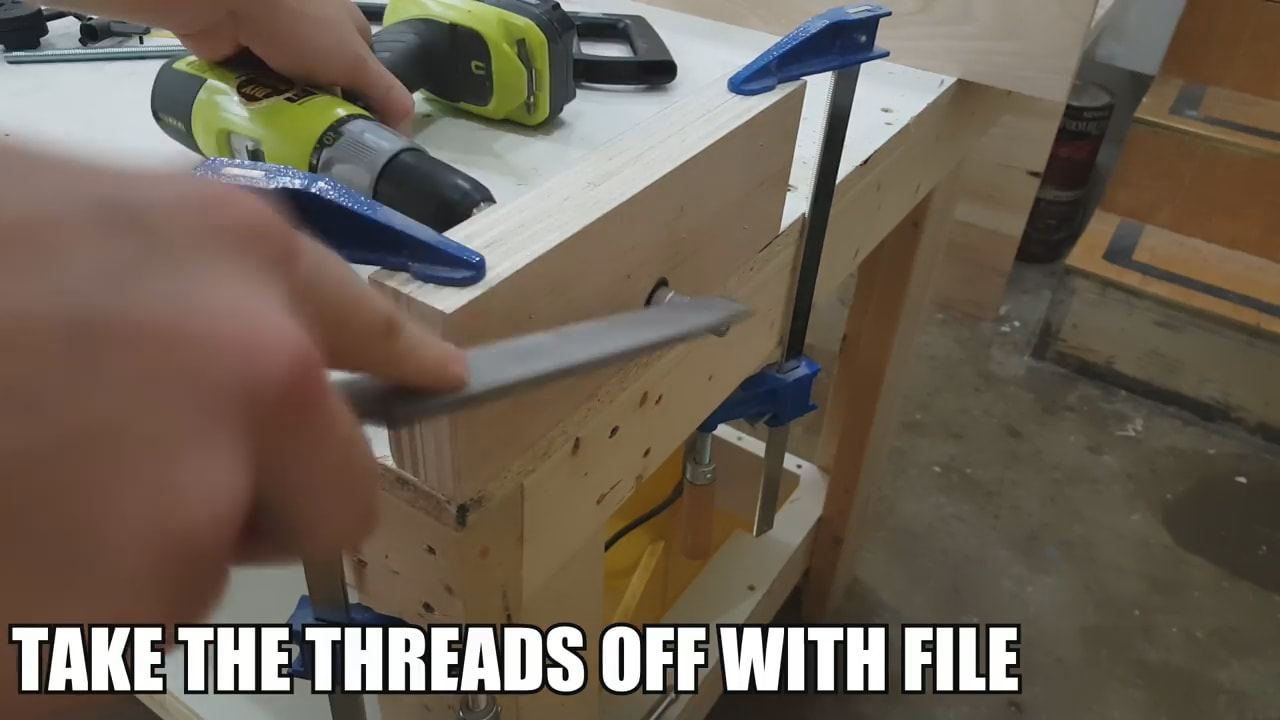
I then removed the threads on the live center with a file while spinning it with a drill.
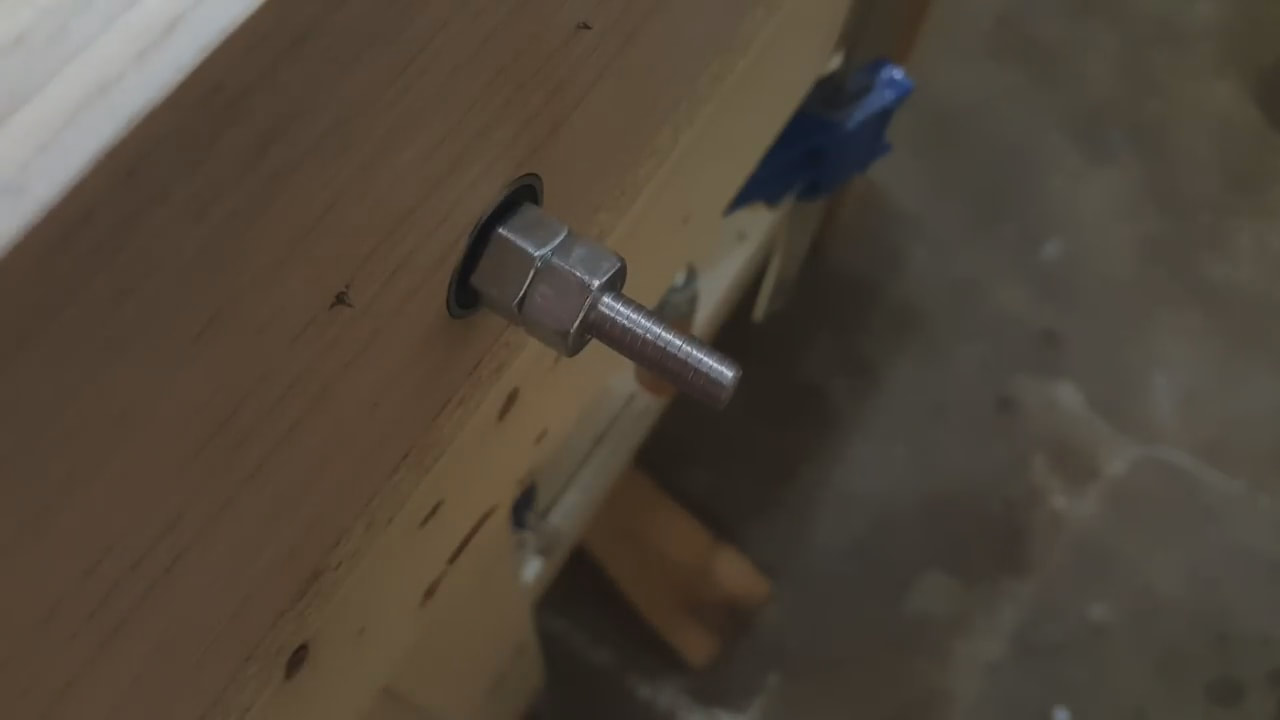
Here is how it looks with no threads. This allows the tail stock to slide easily into the work piece's hole.
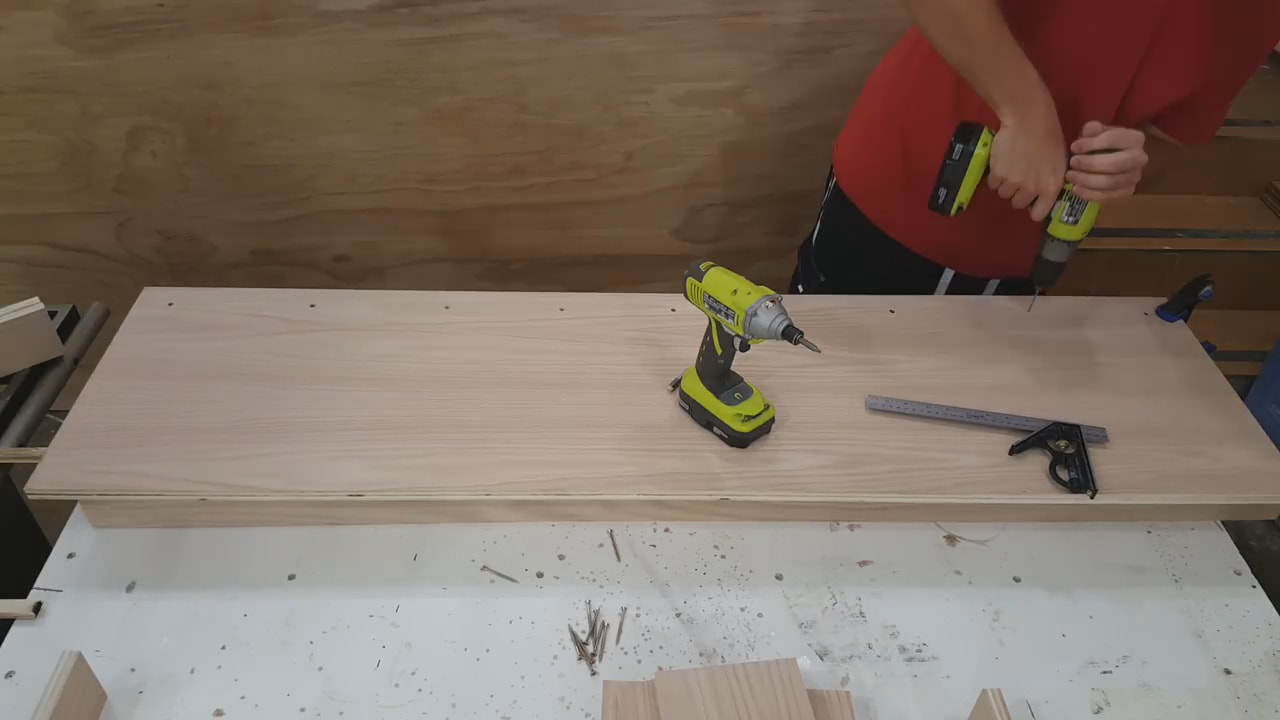
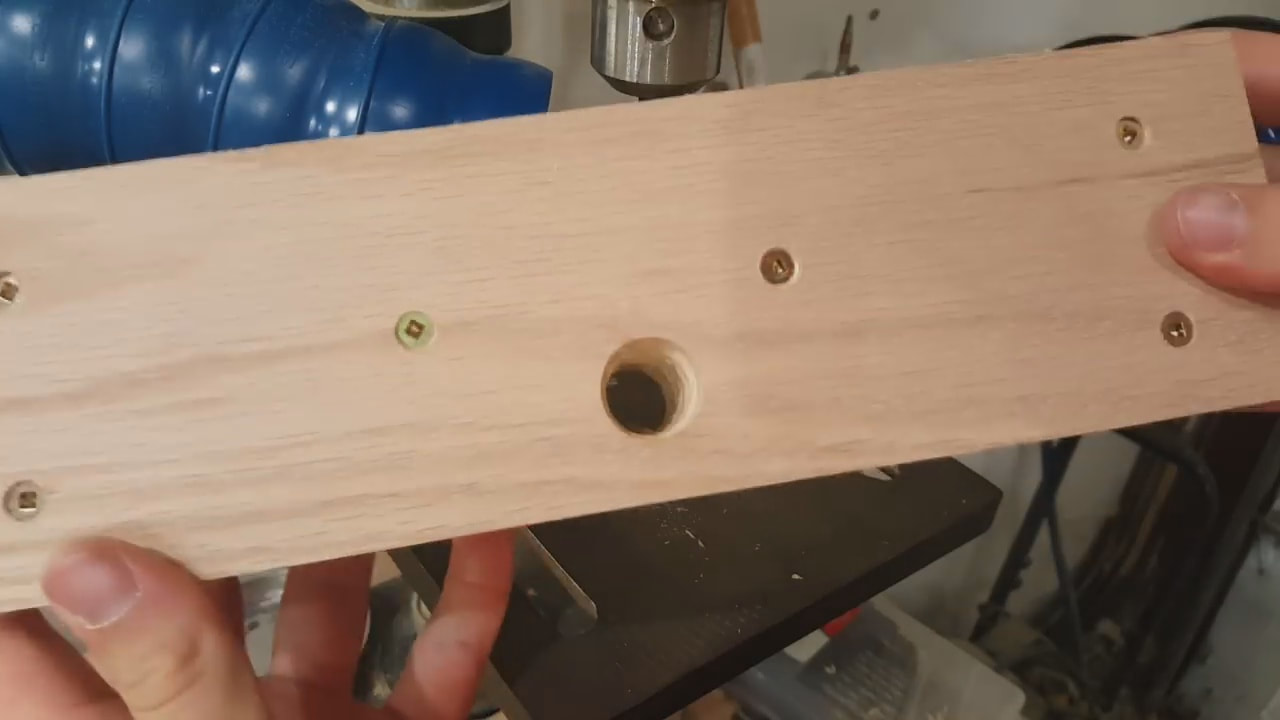
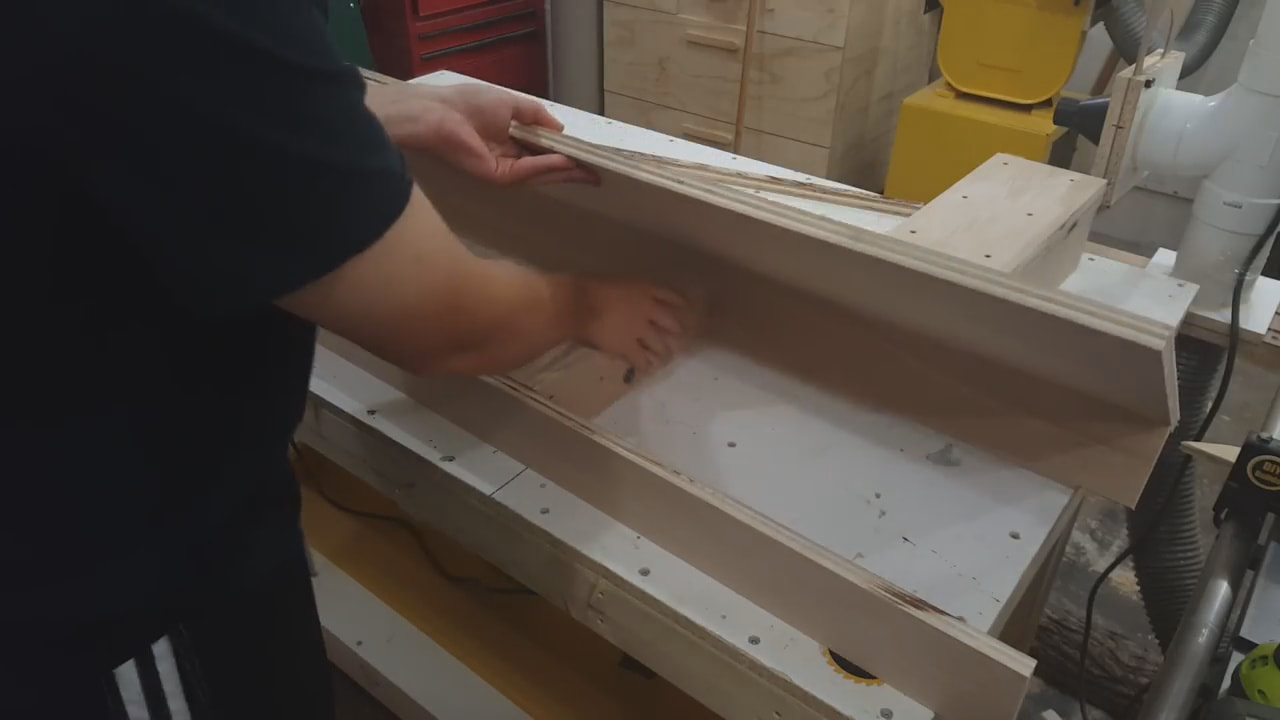
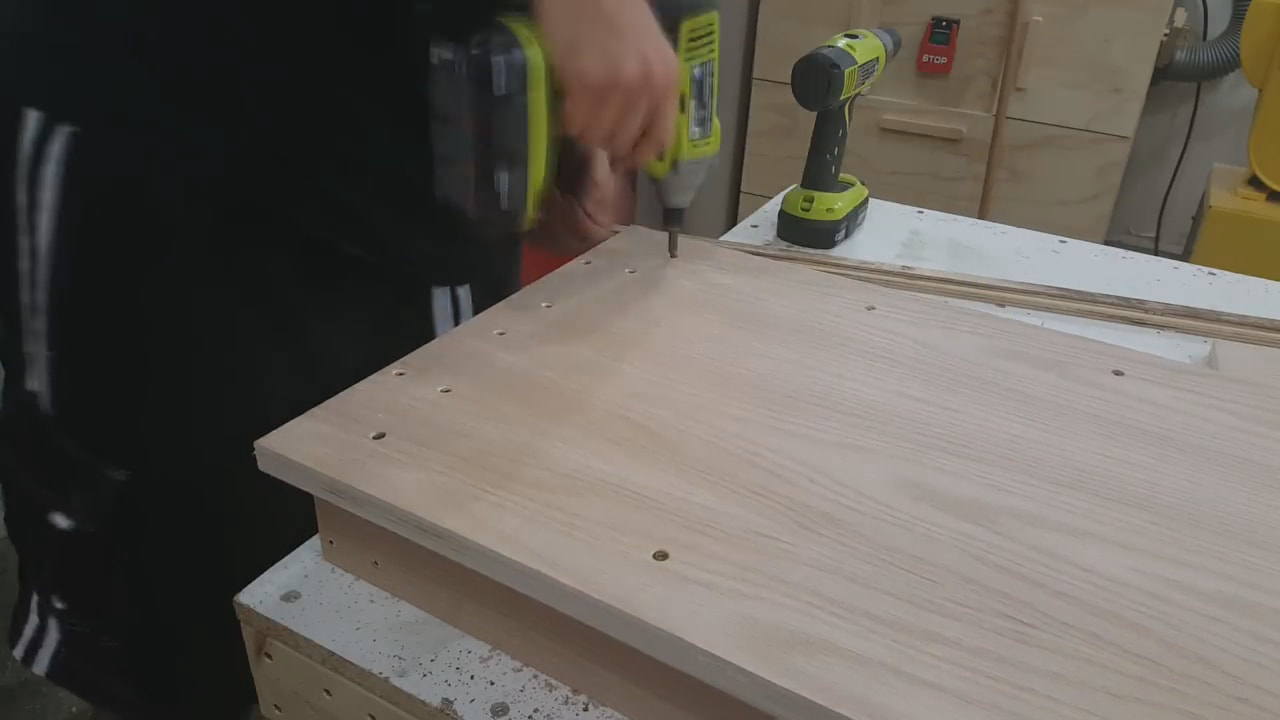
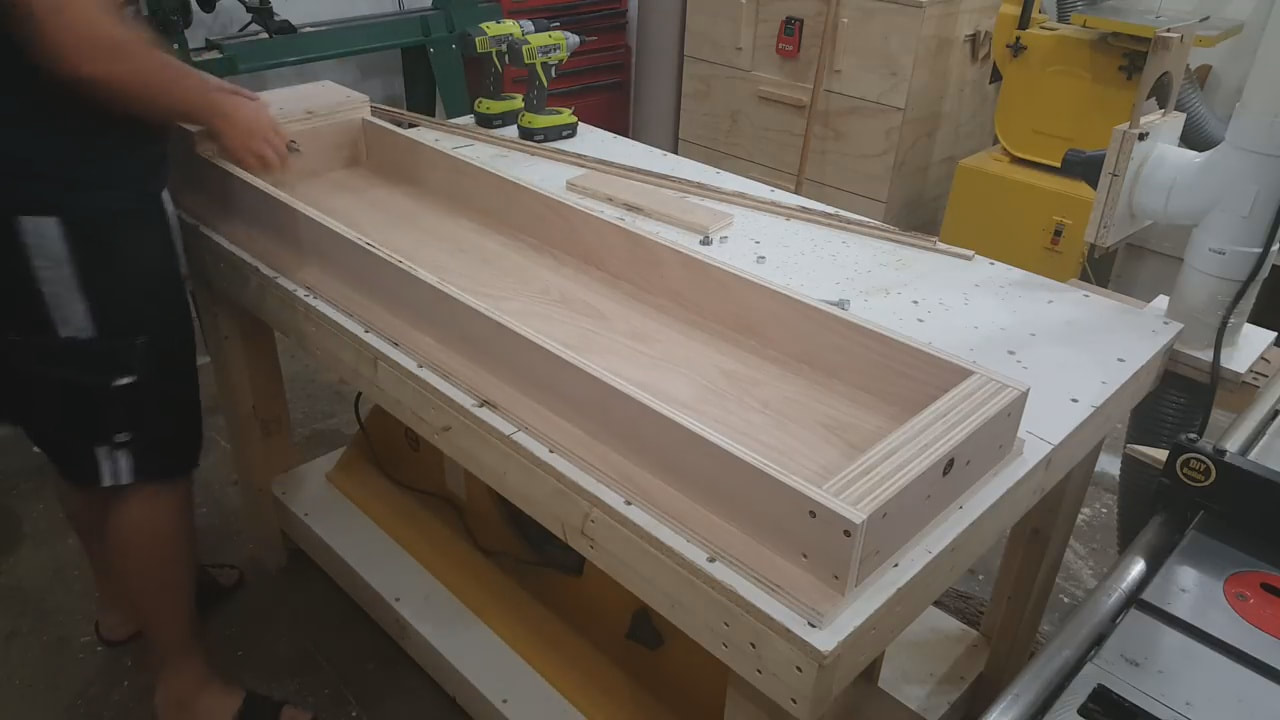
The width of the tail stock is required for smooth moment from front to back of the lathe. Everything is held together with 2" screws.
Top piece screwed on and over hangs by 3/4" on each side.
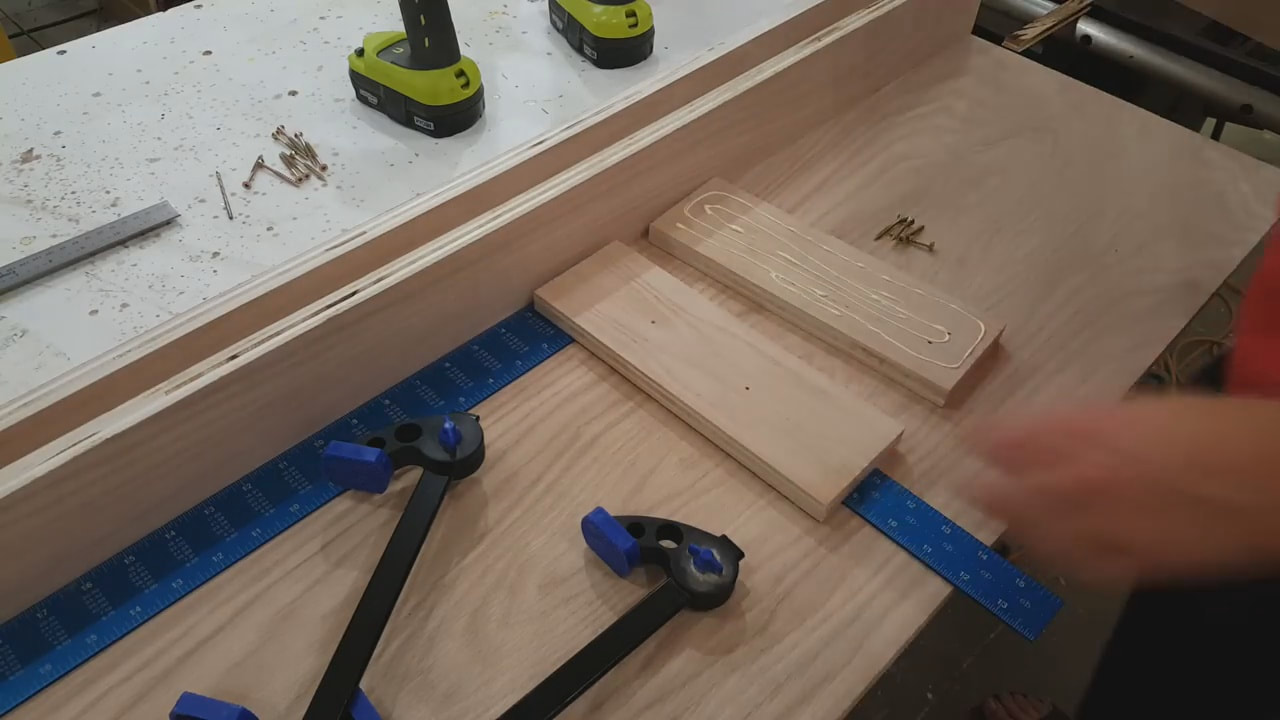
Another top pieces is added to increase thickness of the top piece for the latches to mount to.
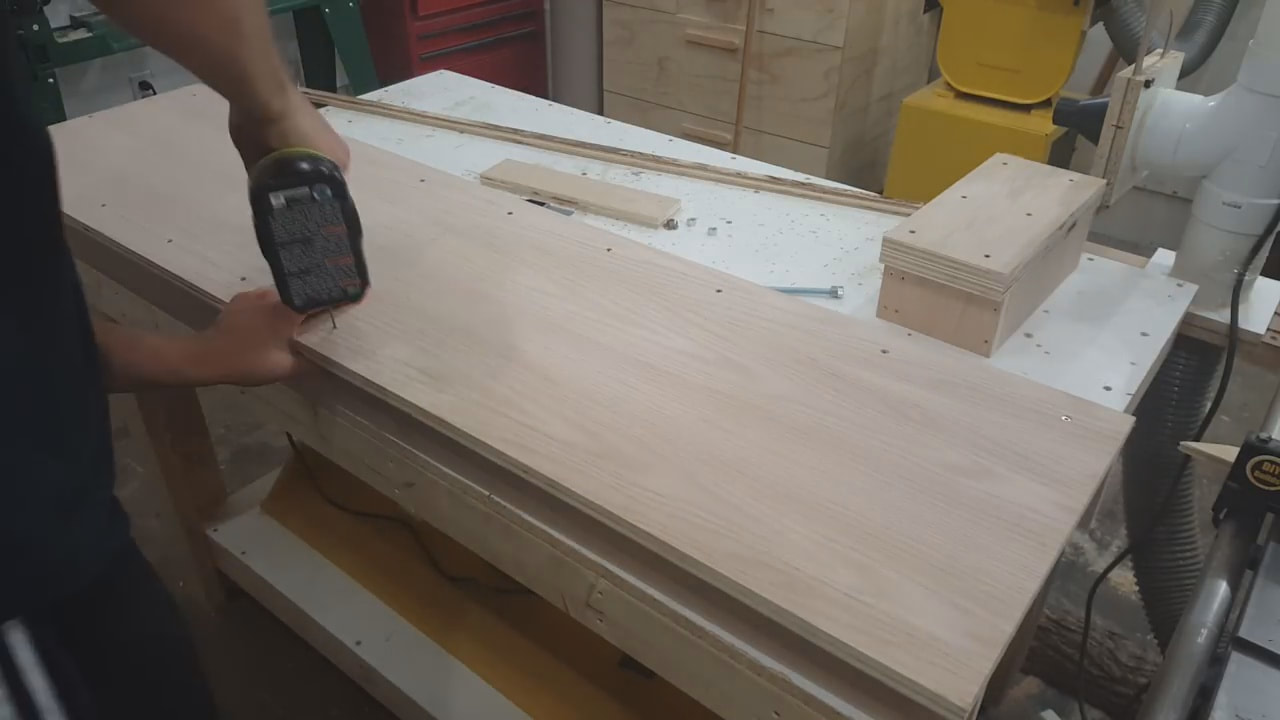
I screwed on the back piece that holds it all together when it gets cut down the center.
Back stop gets more screws in the bottom being sure not to put any in the middle where the blade could go.
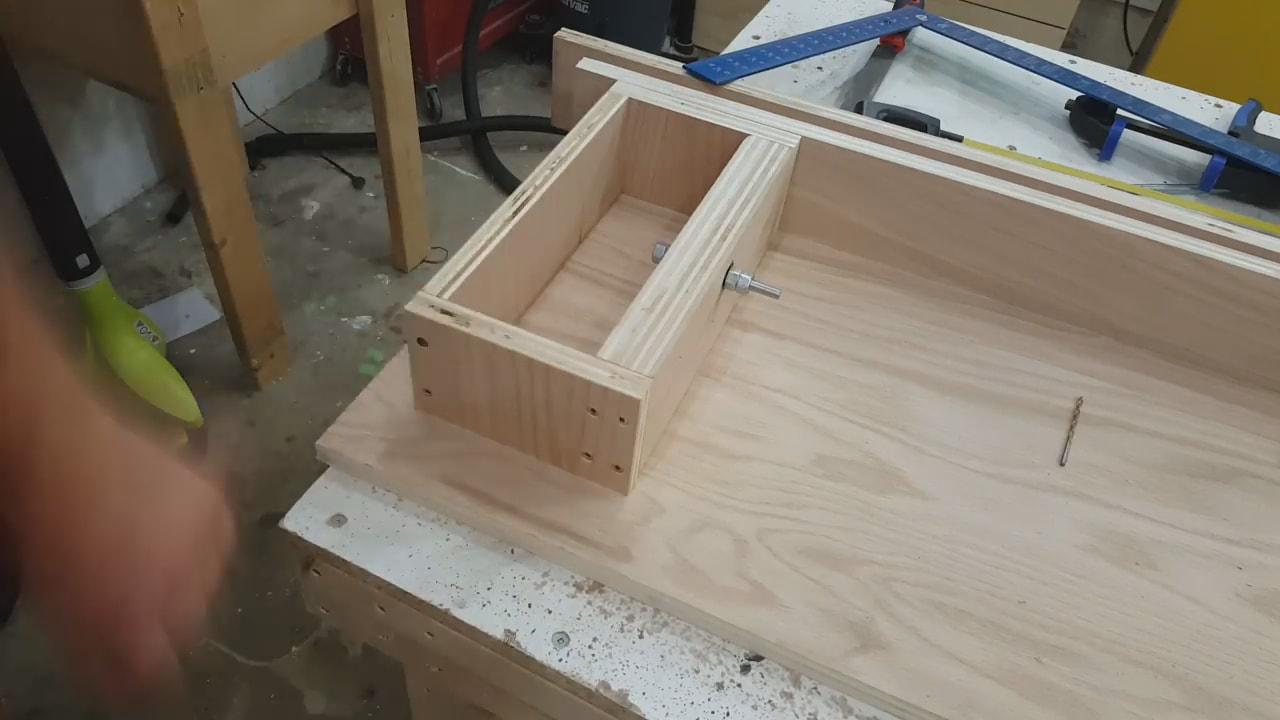
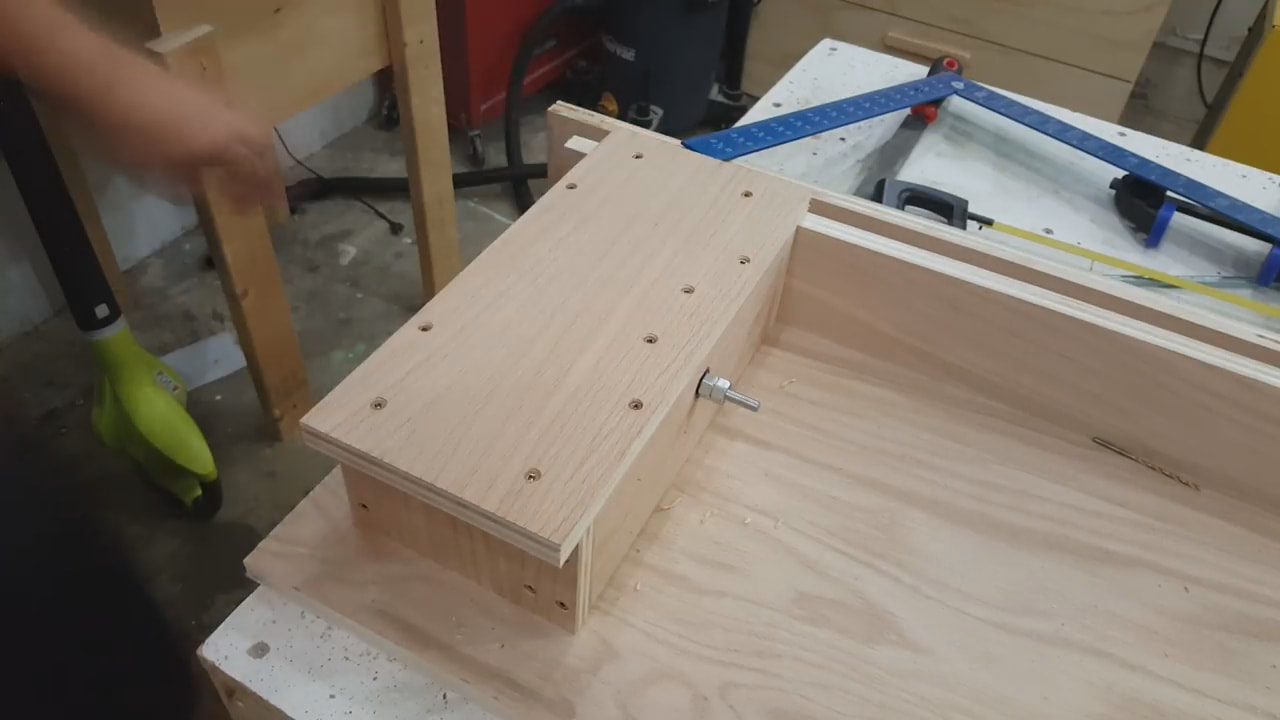
I made up the head stock from 3 pieces of plywood glued and screwed together.
I made up the head stock from 3 pieces of plywood glued and screwed together.
I then marked out where the bearing should go.
Bearing holes cut in head stock.
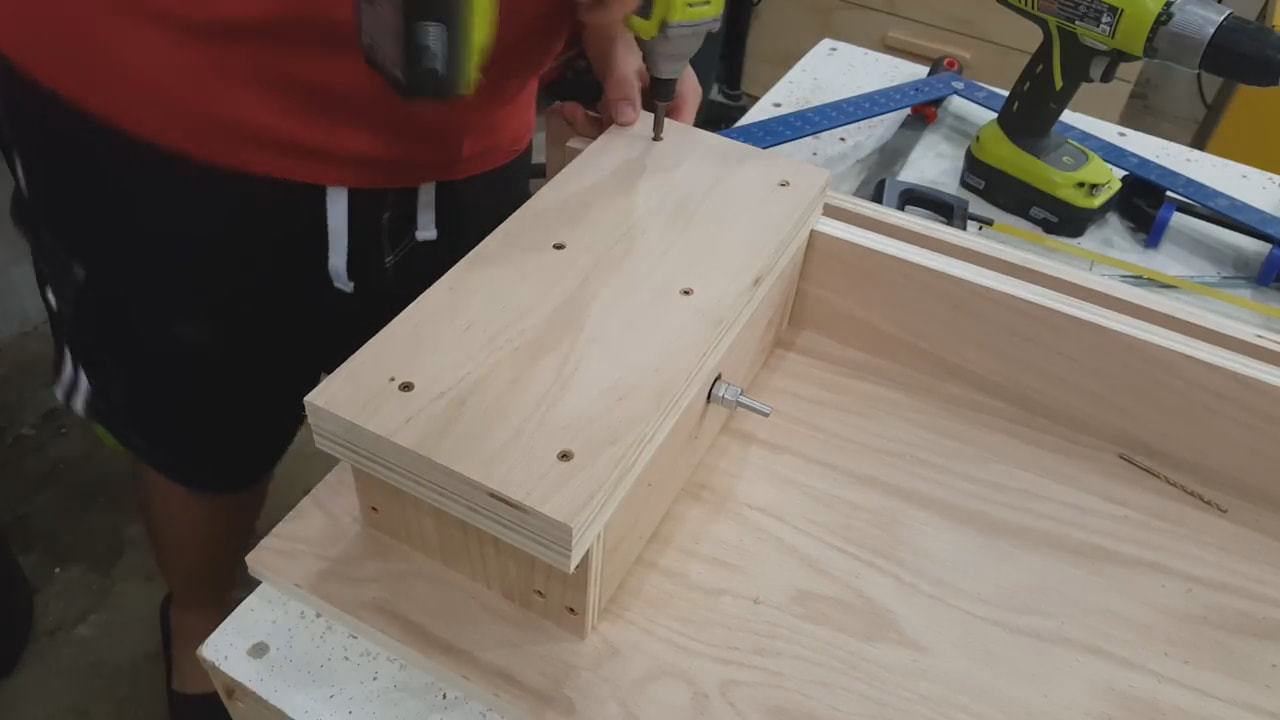
I used head stock as a spacer to screw on the other edge piece.
The edge piece gets many 2" screws to hold it in place.
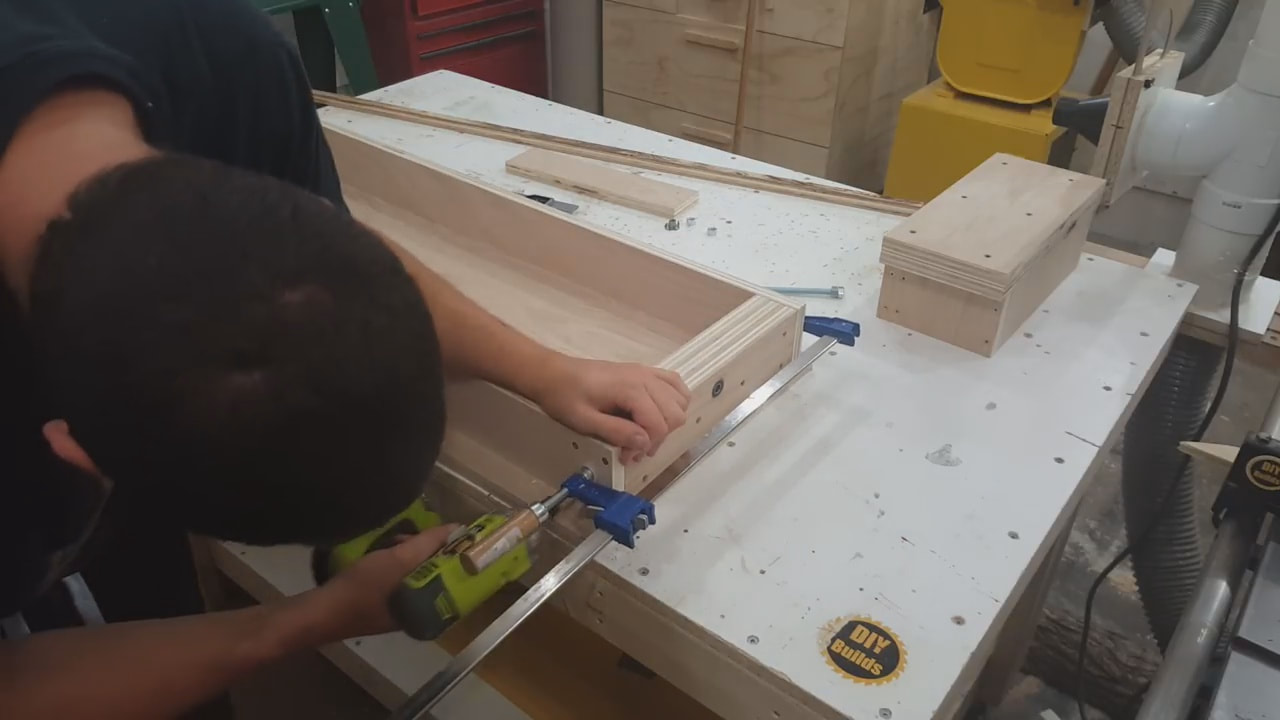
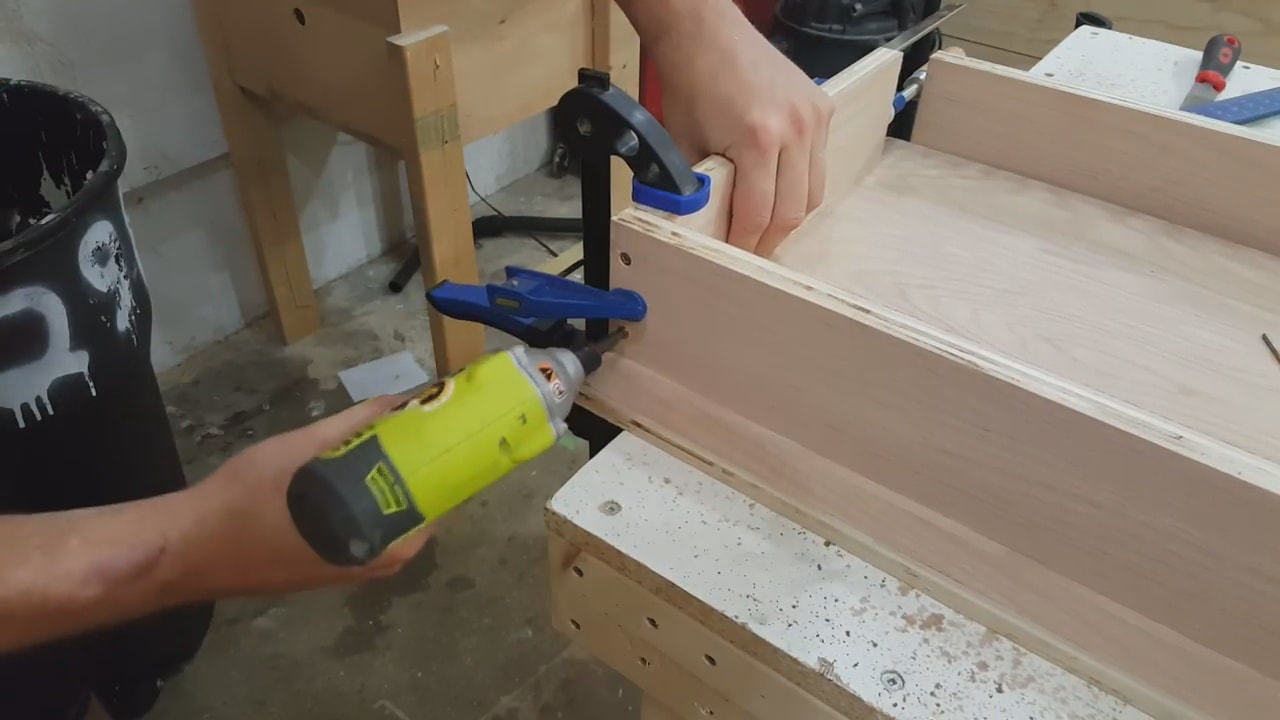
The front stock holder piece gets attached to both edges with many 2" screws while being clamped down.
Then screwed to the base to strengthen.
The tail stock can now move freely up and down the lathe
I checked to make sure the tail stock lined up with the head stock.
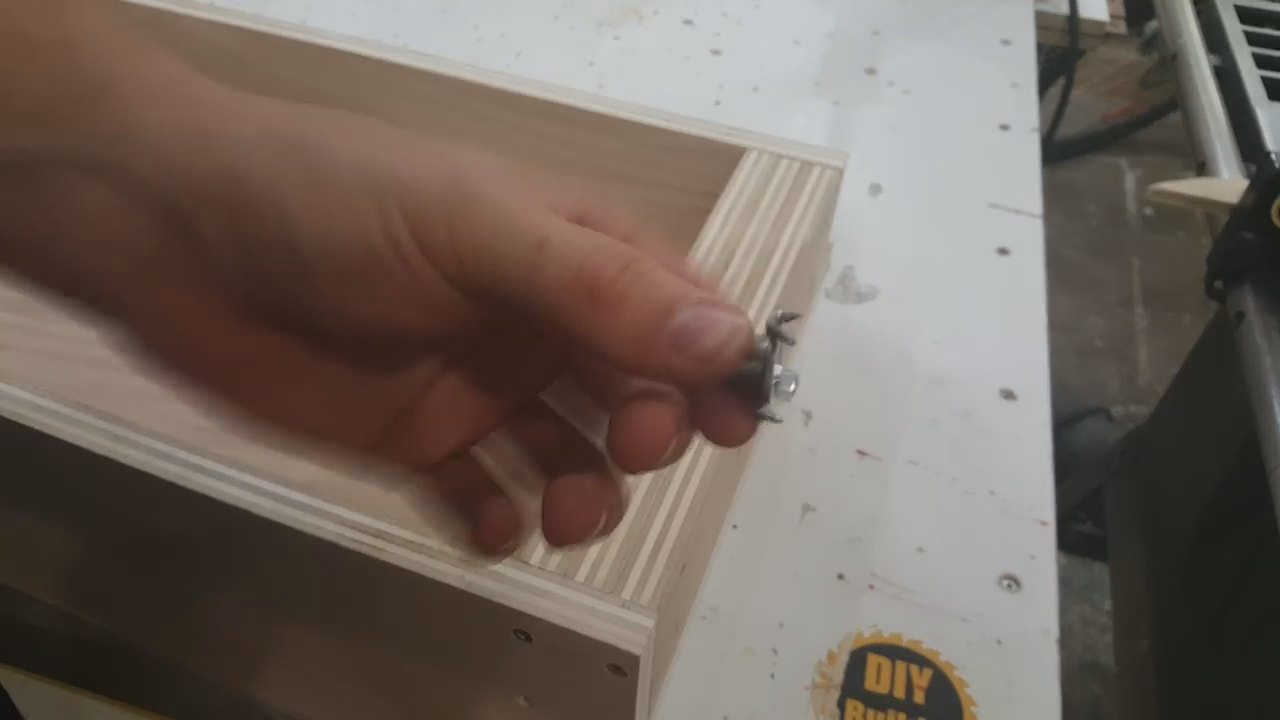
I bent a t-nut the opposite direction to act as a catch to stop wood spinning, even though it really doesn't need it because of how well the threaded rod grabs it.
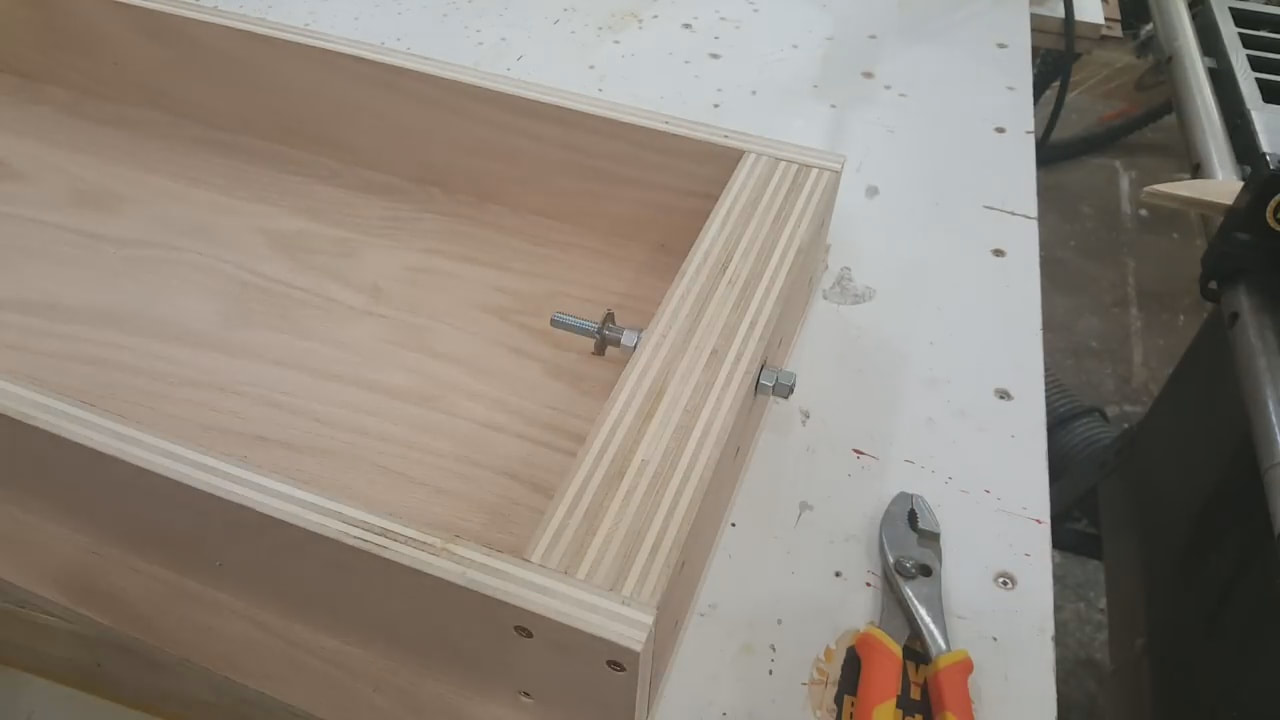
I then jam-nutted another 3/8" threaded rod on and added the t-nut.
Making sure they line up.
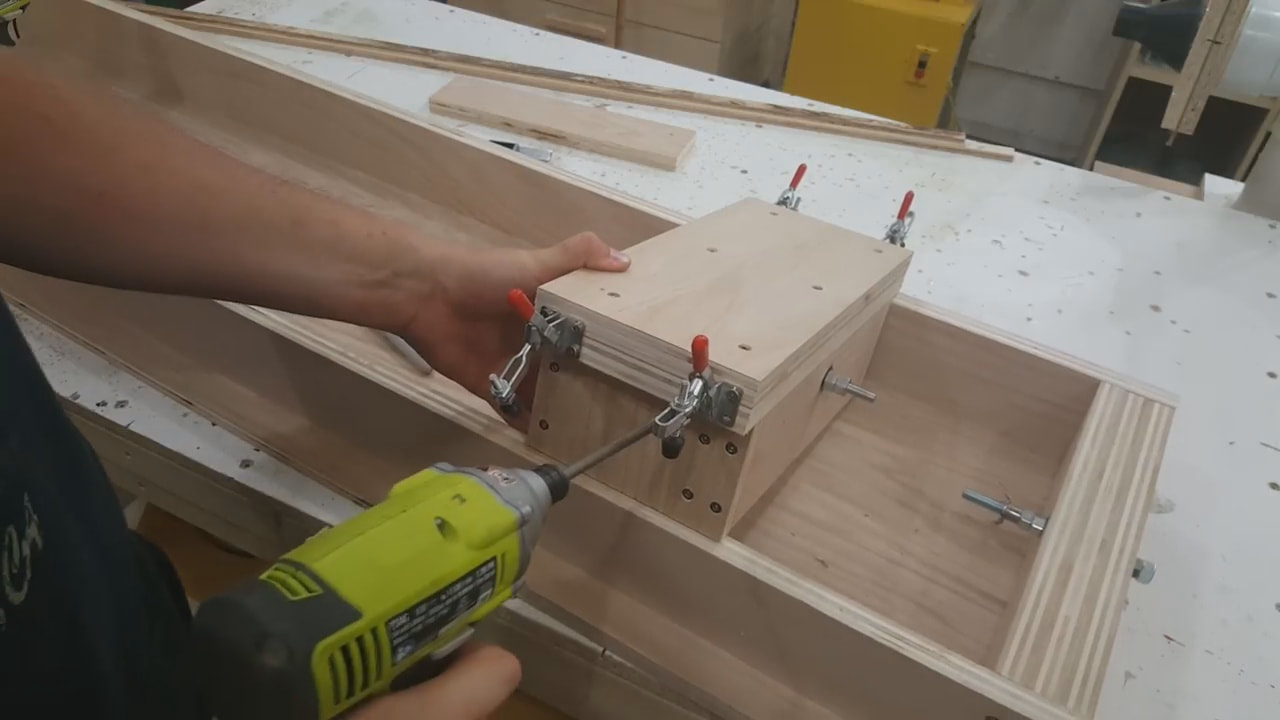
I added 4 toggle clamps to stop tail stock movement.
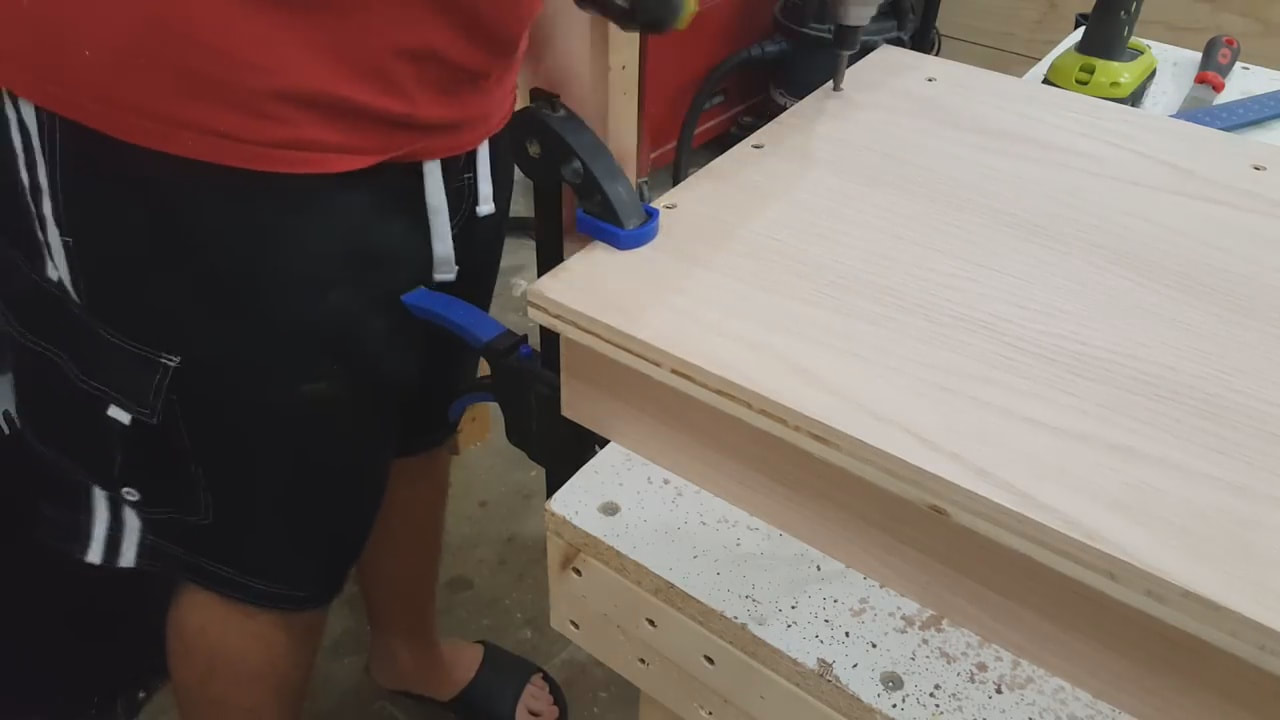
Added the top of the head stock once everything was in working order.
I ripped 3/4" plywood to the depth of my miter slots and then cut rabbits in each side to lock the lathe to the table saw.
I added double sided tape to the top of the runners.
I used the table saw rip fence to align the lathe and then stuck it to the runners.
The runners then received many small screws to hold them in place.
It is complete time for the first cut to get the blade up
Drill holes in both ends of the work piece.

Thread the head stock on and slide the tail stock in and start spinning the piece, turn on the saw and raise the blade.
The table saw lathe cuts away material extremely fast and really only requires one pass on most things but I was being cautious for my first time here taking several shallow passes.

After done cutting you can use the drill to keep it spinning and sand everything smooth.
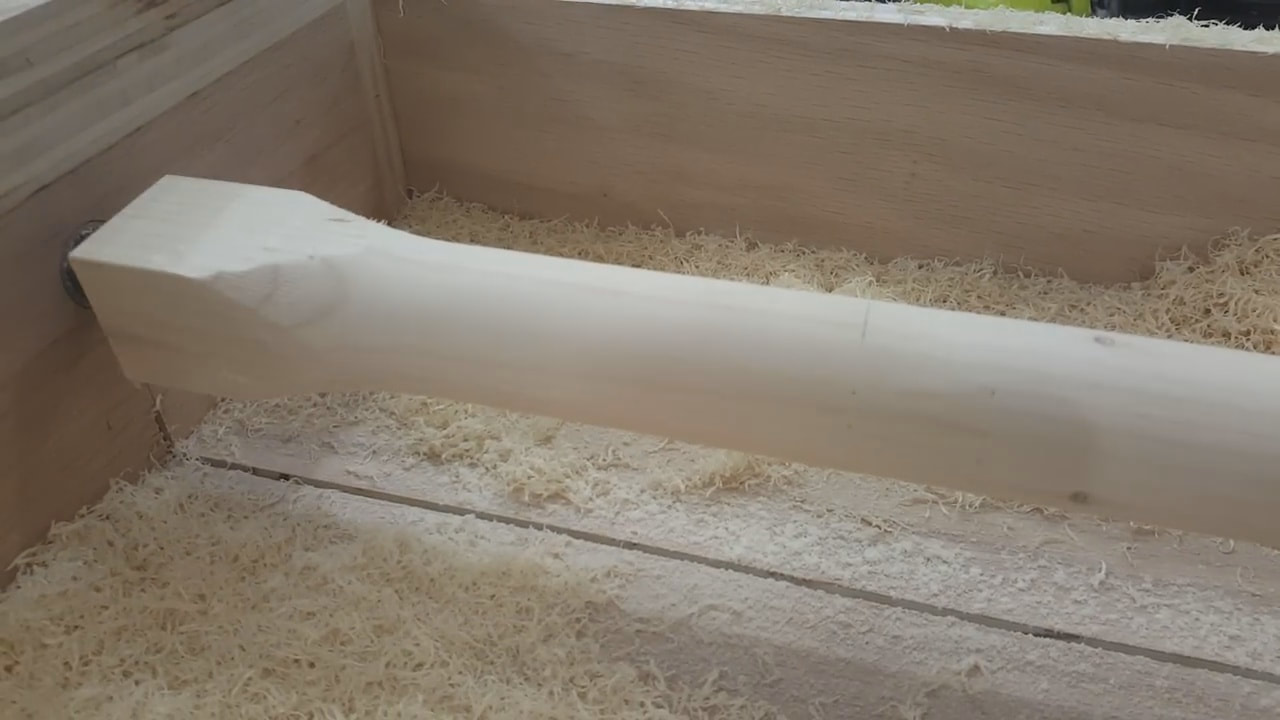
Finished work piece.

A closer look a the table saw lathe.
|
|
Copyright © 2018