Using some scrap plywood I created a few clamp racks to hold all my clamps: squeeze clamps, bar clamps, F-clamps and long reach C-clamps.
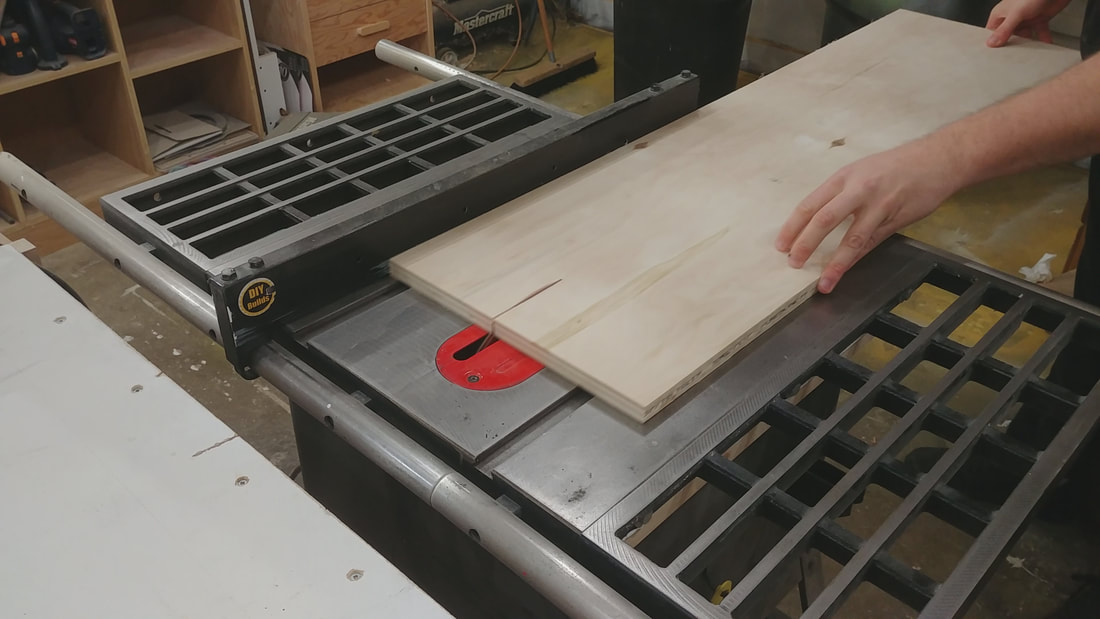
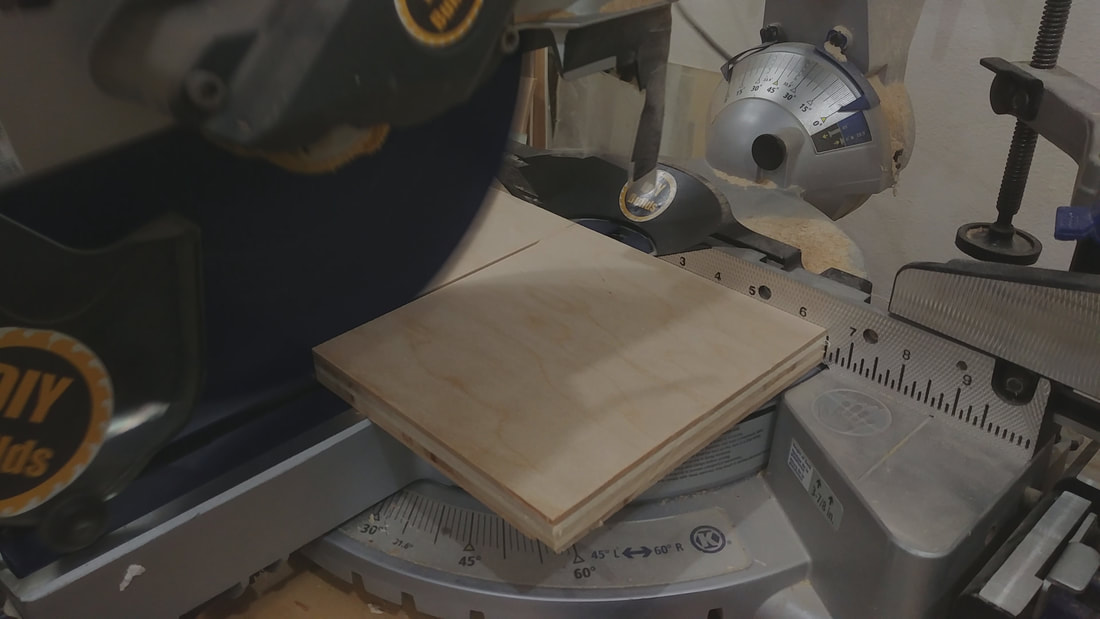
I started by ripping the top of the clamp rack to 6" wide from a piece of scrap plywood. The off cut will be the back piece that holds the rack to the wall.
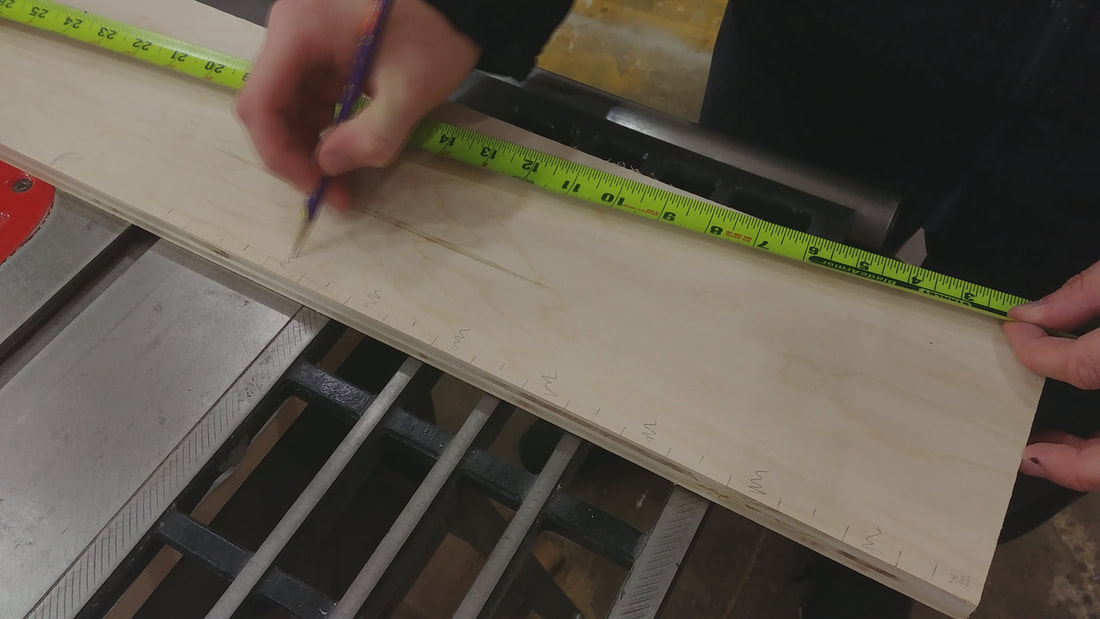
I then marked out the spacing of the clamps to maximize the space available and. I marked with a squiggle line the area to be removed so I don't confuse myself while making cuts.
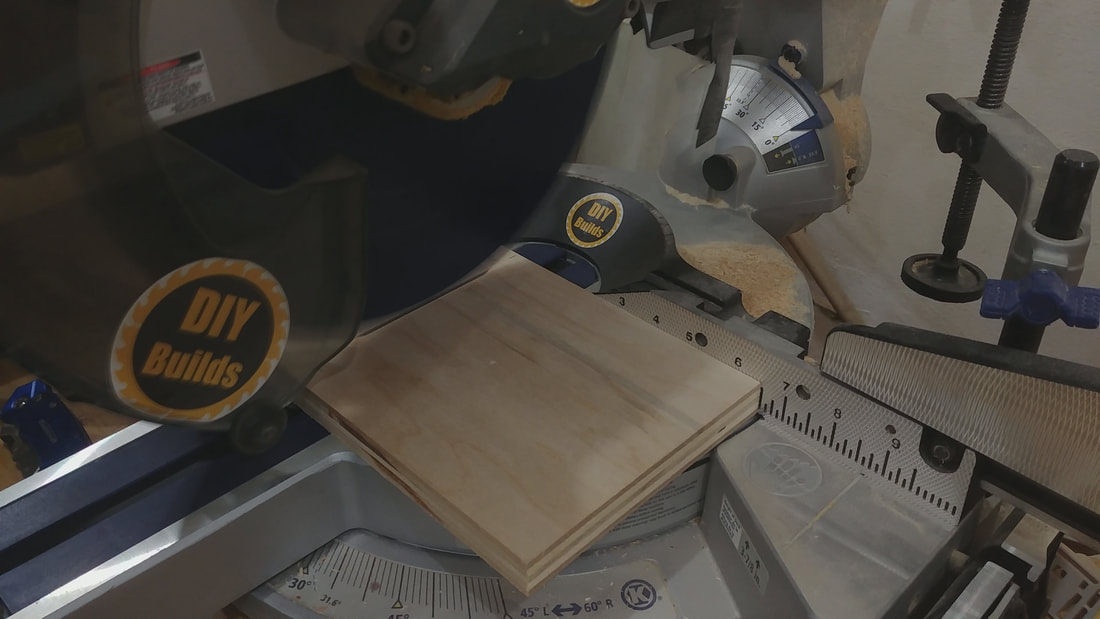
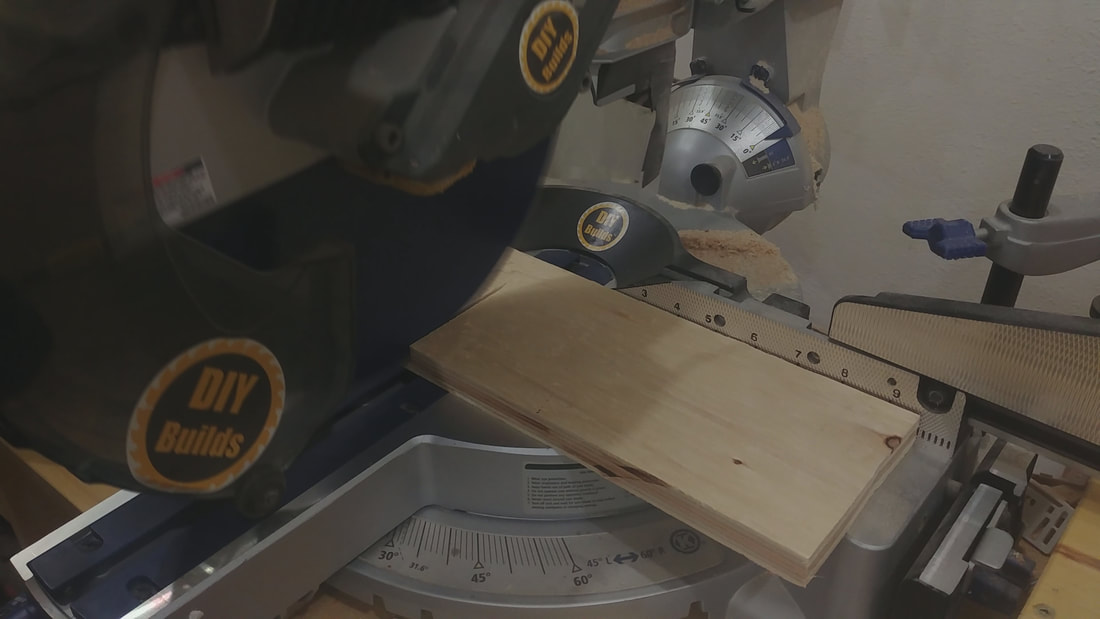
After layout was complete I cut the top to length on the miter saw.
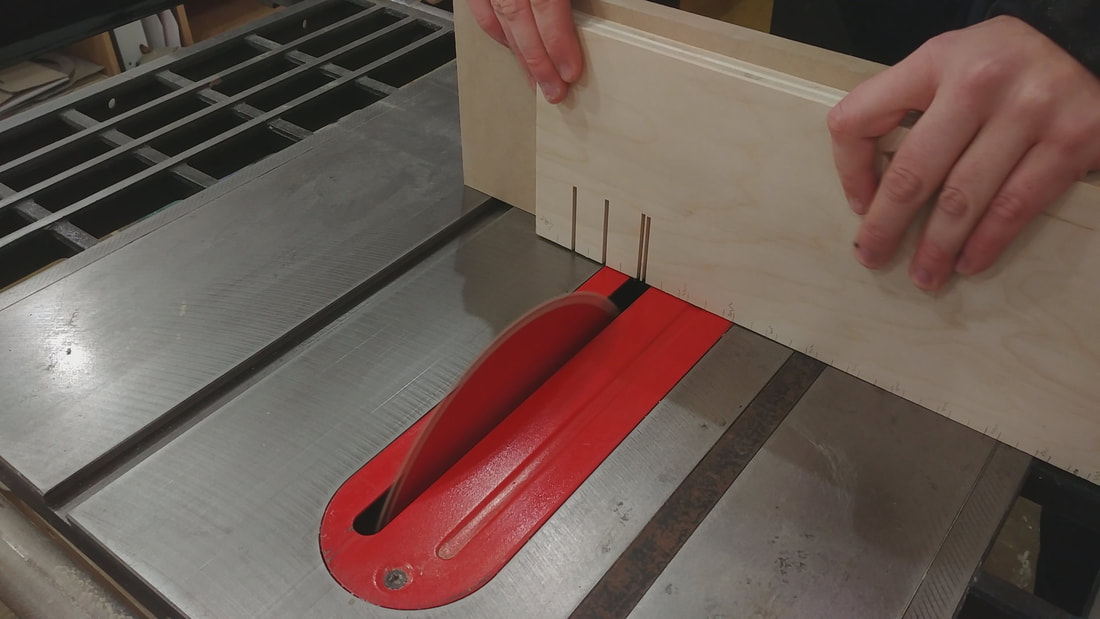
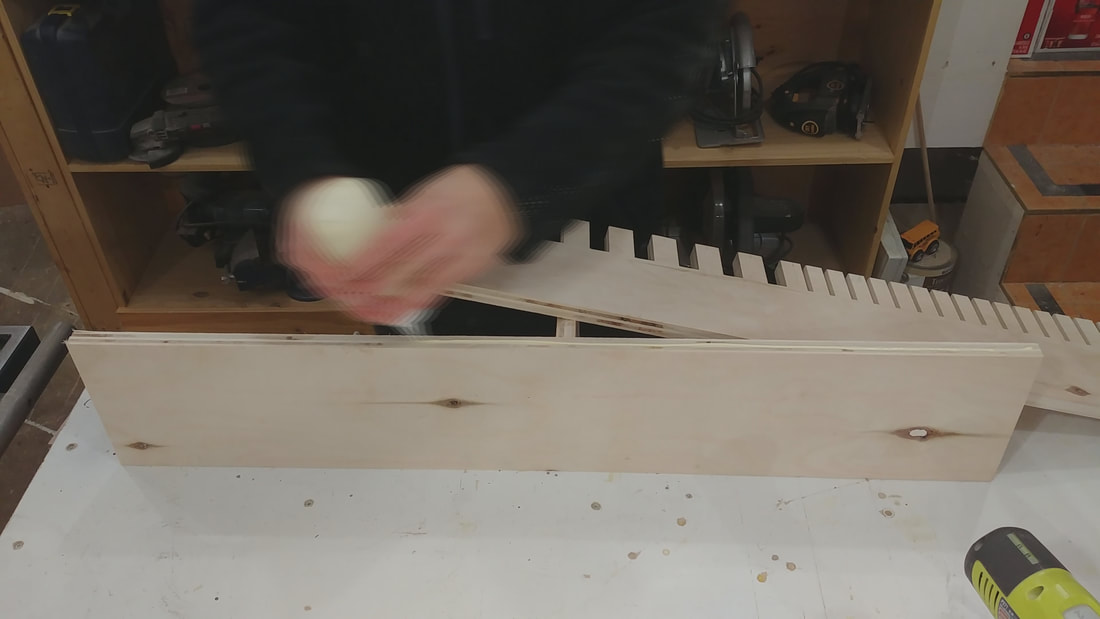
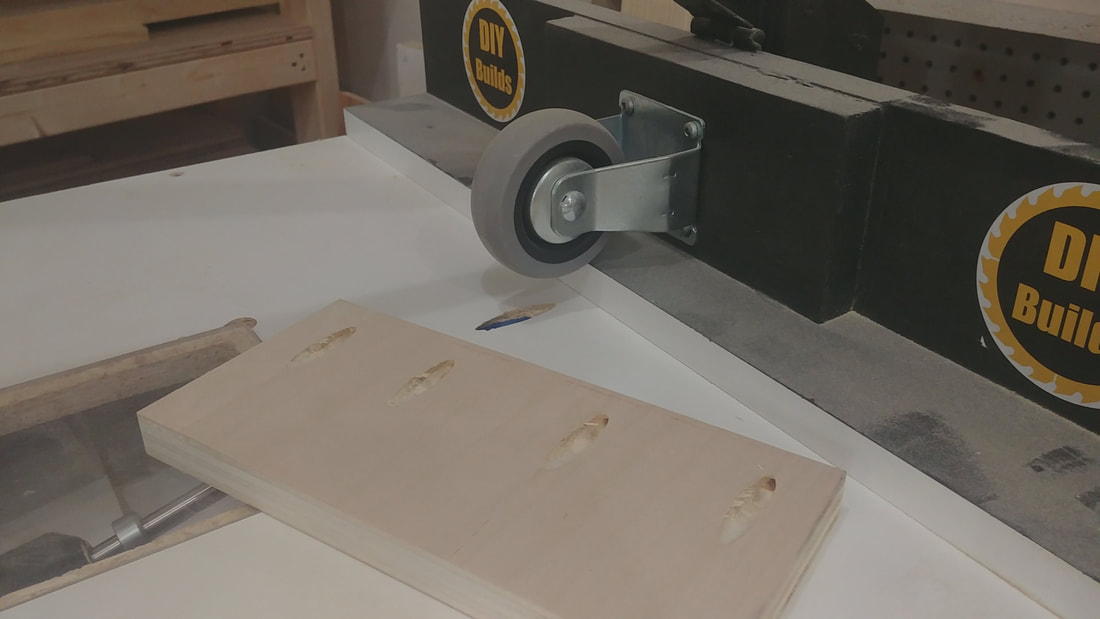
I attached a large piece of MDF roughly the same width as the top piece to my miter gauge and started making 2" deep cuts.
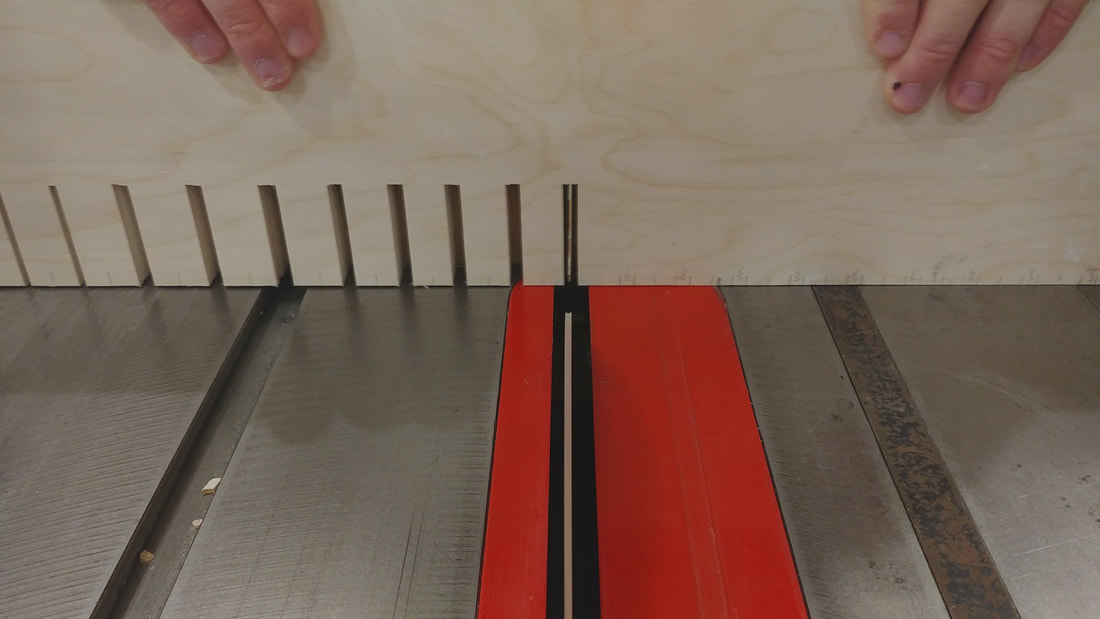
The width of the regular f clamps and quick clamps was 1/4" or 2.5 of my saw blade kerfs.
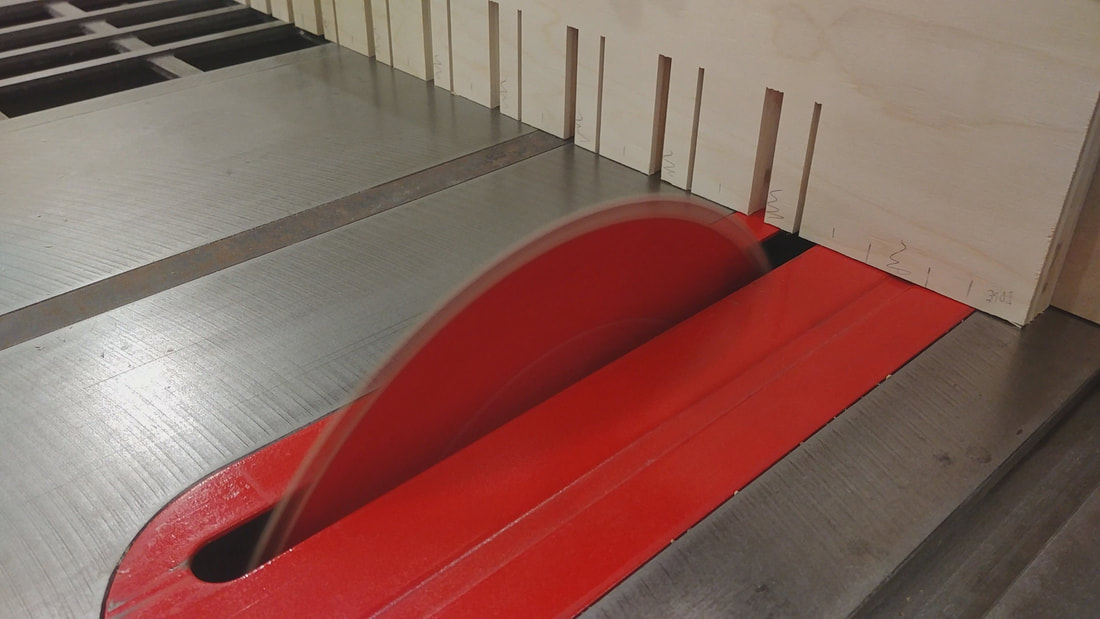
For the large bar clamps I cut away just over 1/4" of material at full depth on one side and a single pass on the other side.
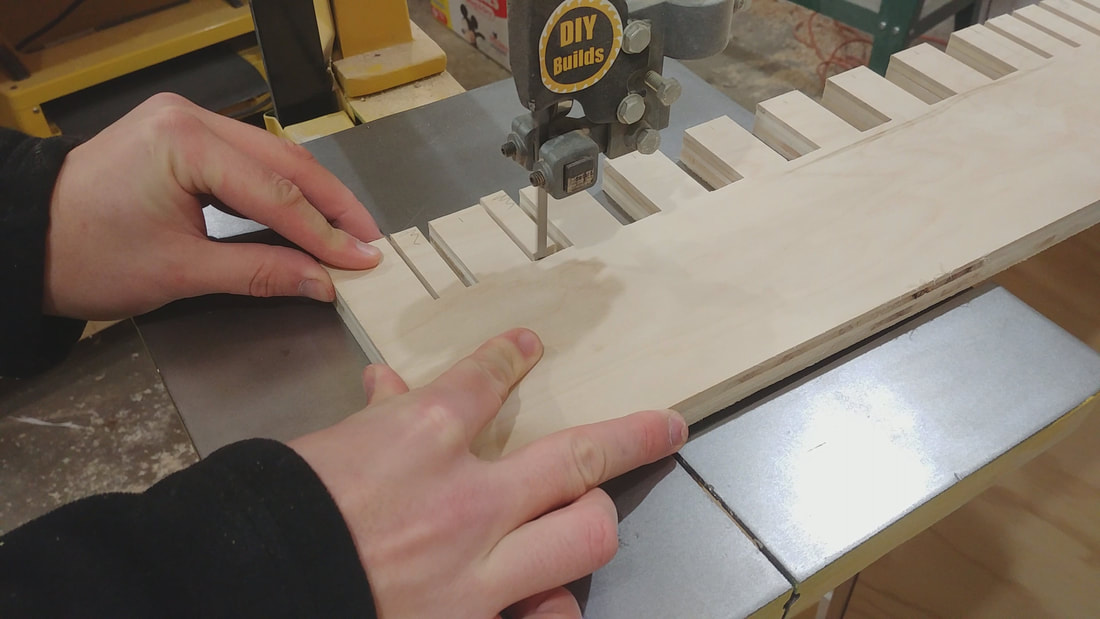
The previous step allows me to finish the cut on the band saw saving time.
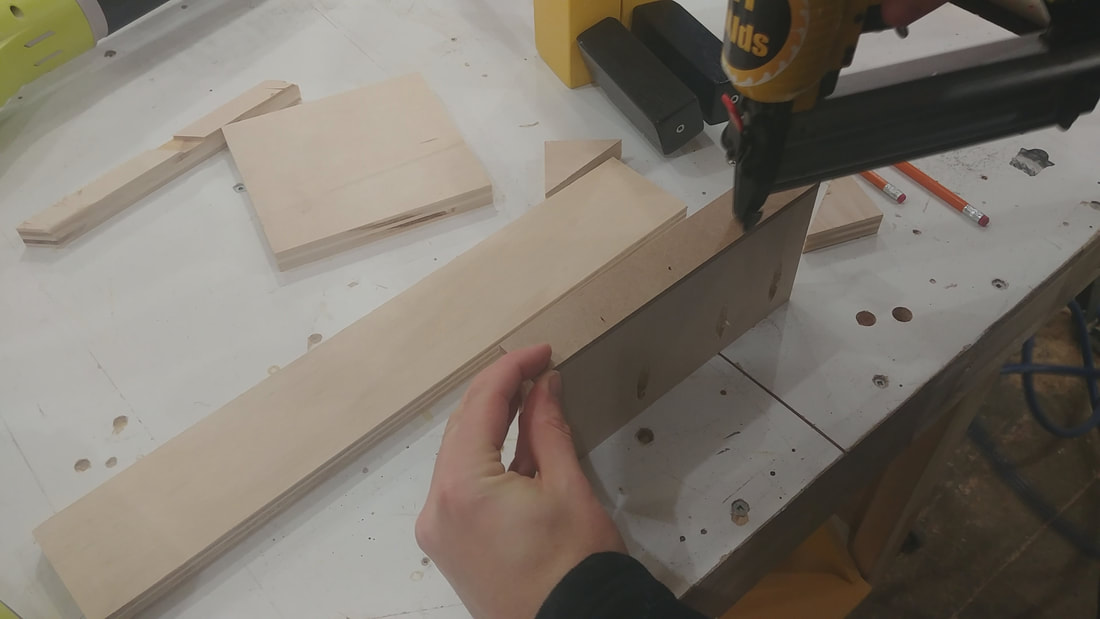
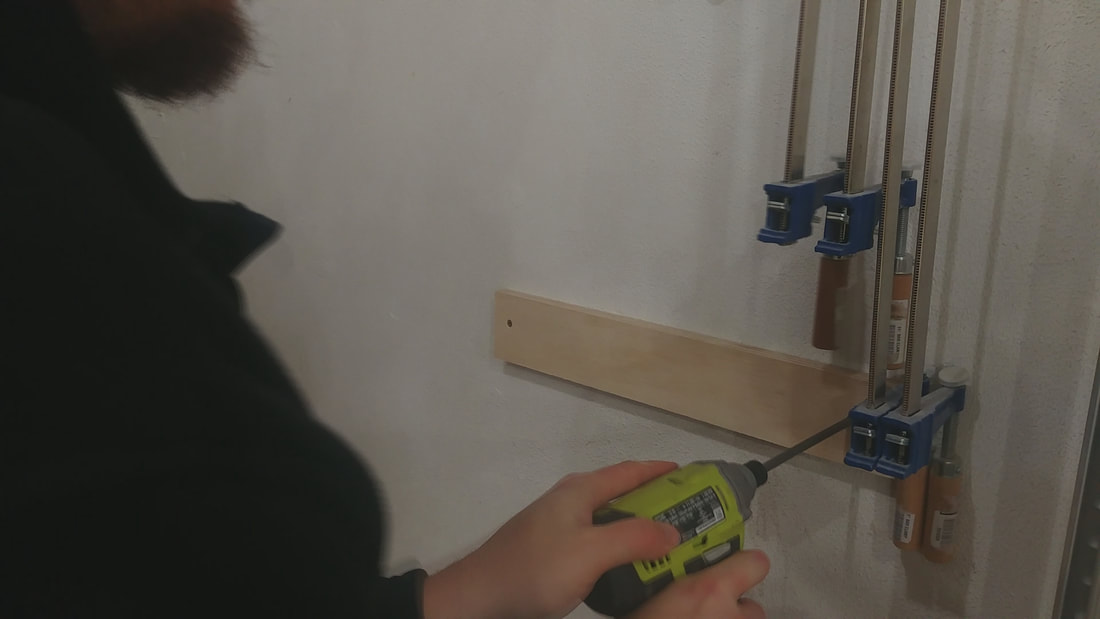
I then cut to length the back piece.
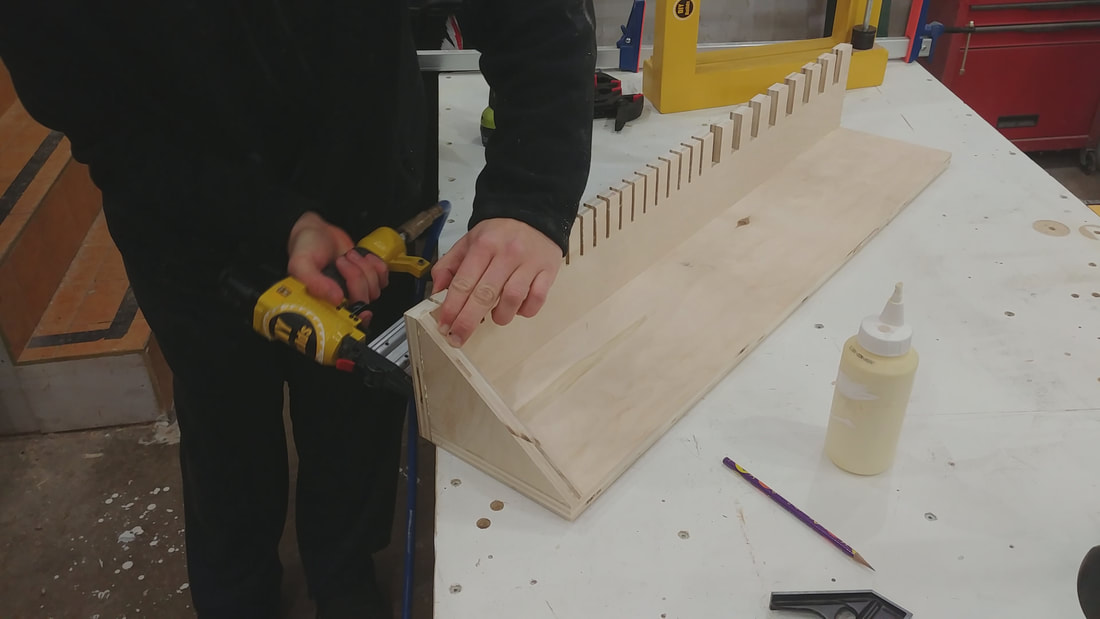
I added some glue to the butt joint of the top and back pieces.
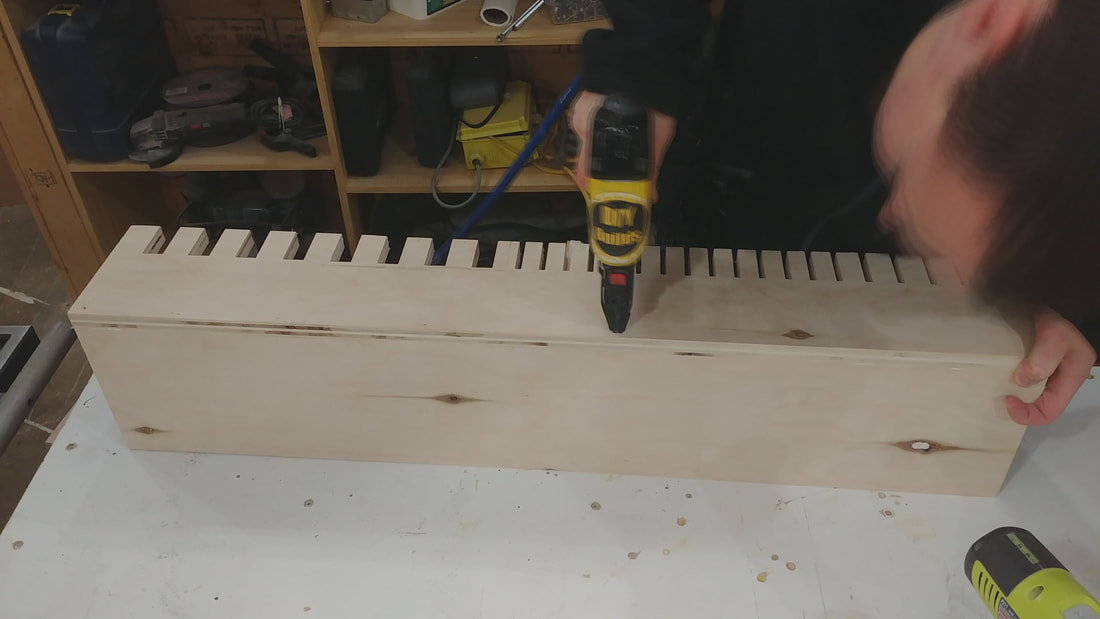
Then drove several 1.5" brad nails along the joint.
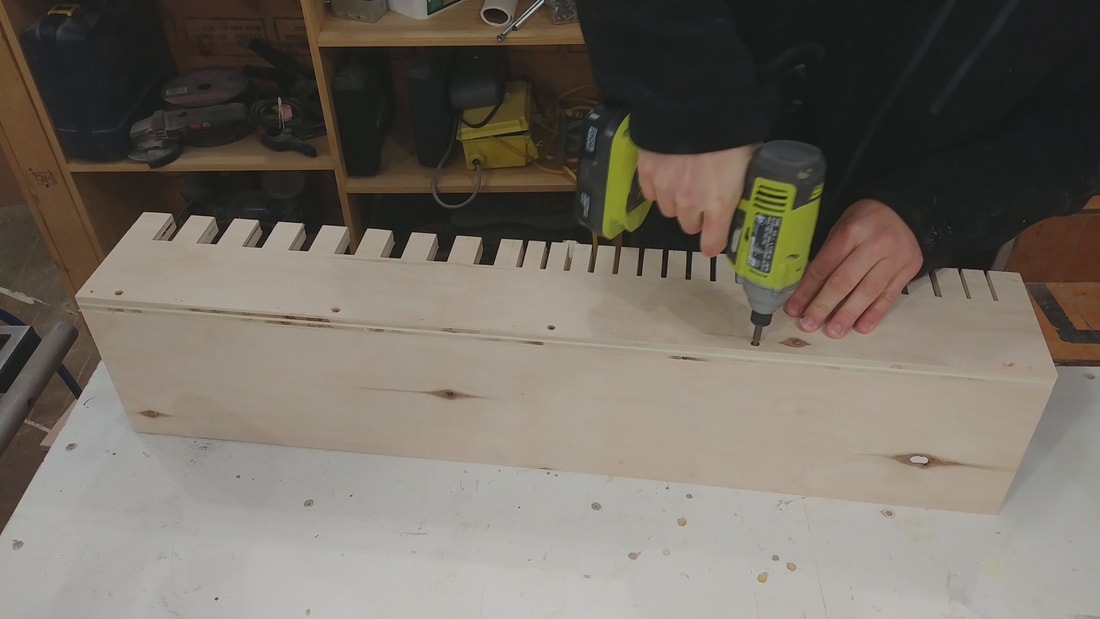
I then drilled and counter sunk 5 holes to then drive 5 2" screws into the joint.
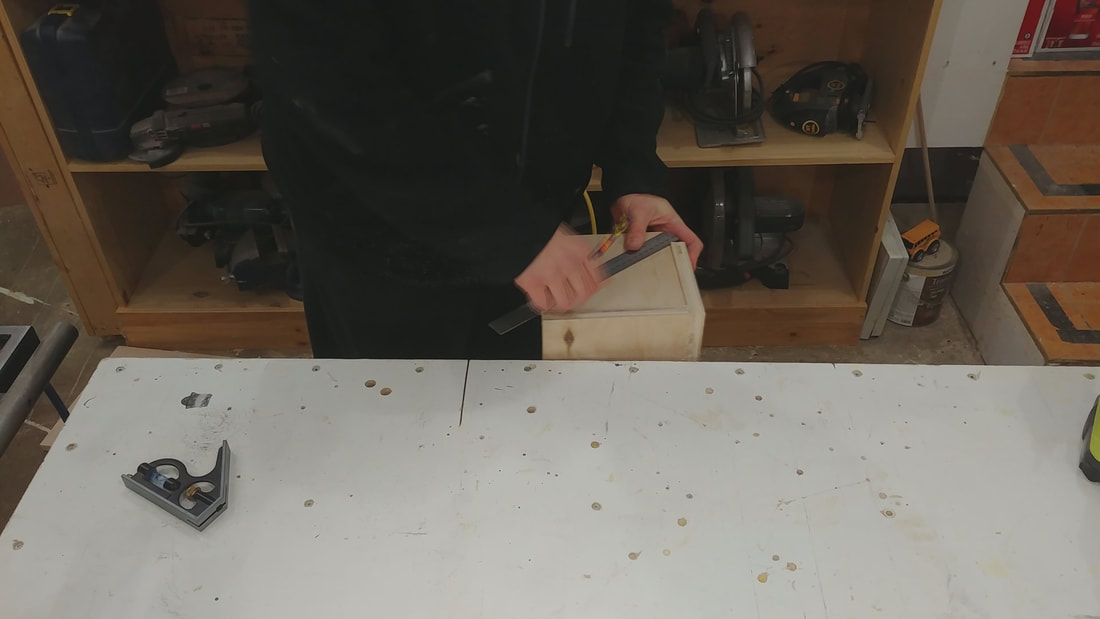
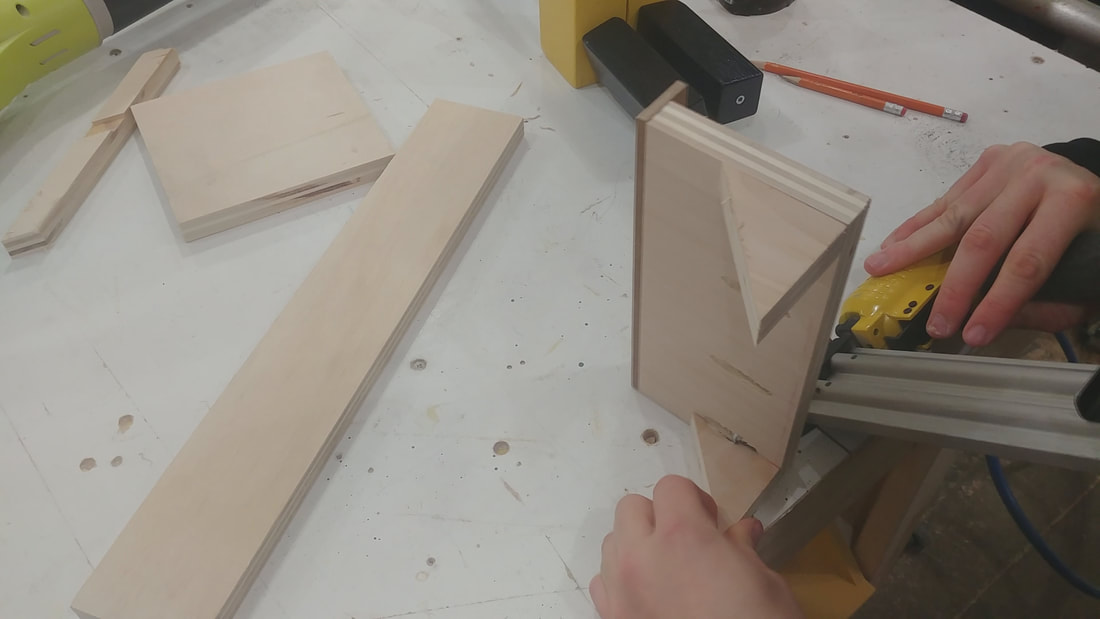
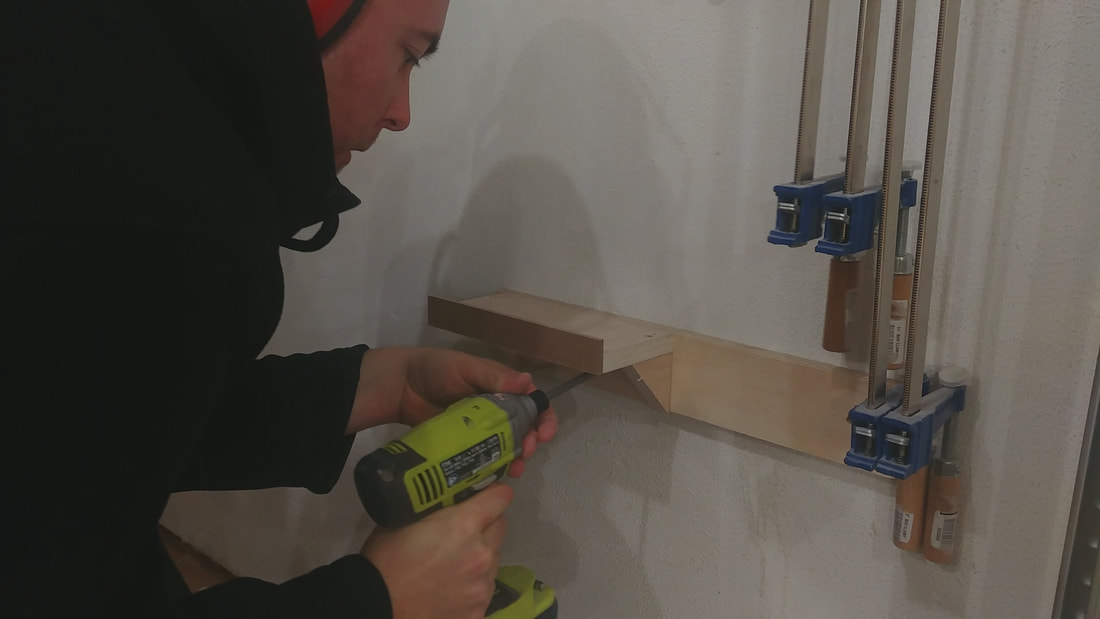
I took the off cut from the back and laid it in the corner to draw a line to create a triangle to help support the rack.
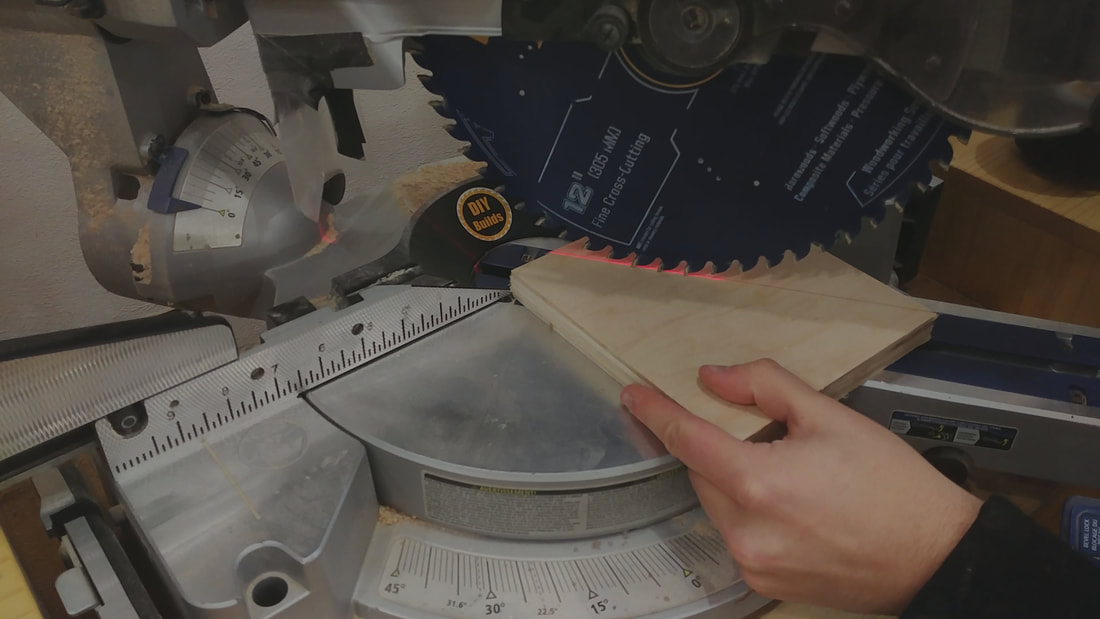
I used the laser on my miter saw to find the angle required to cut off my triangle piece.
I added glue along the triangle piece and shot several brad nails into it.
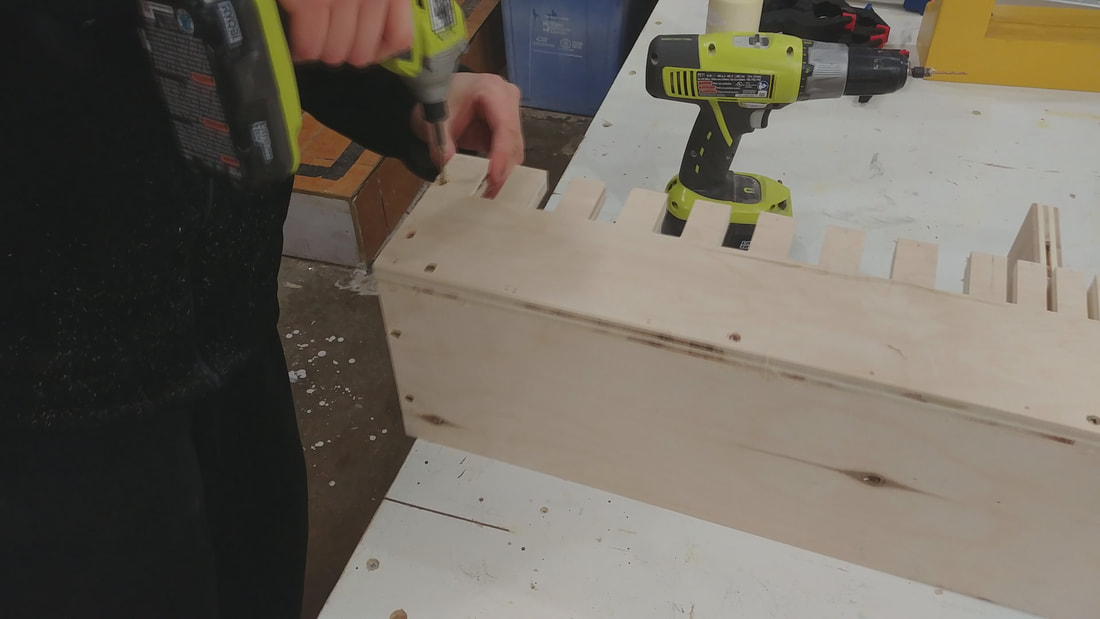
I then added 4 screws to each triangle to keep it rock solid.
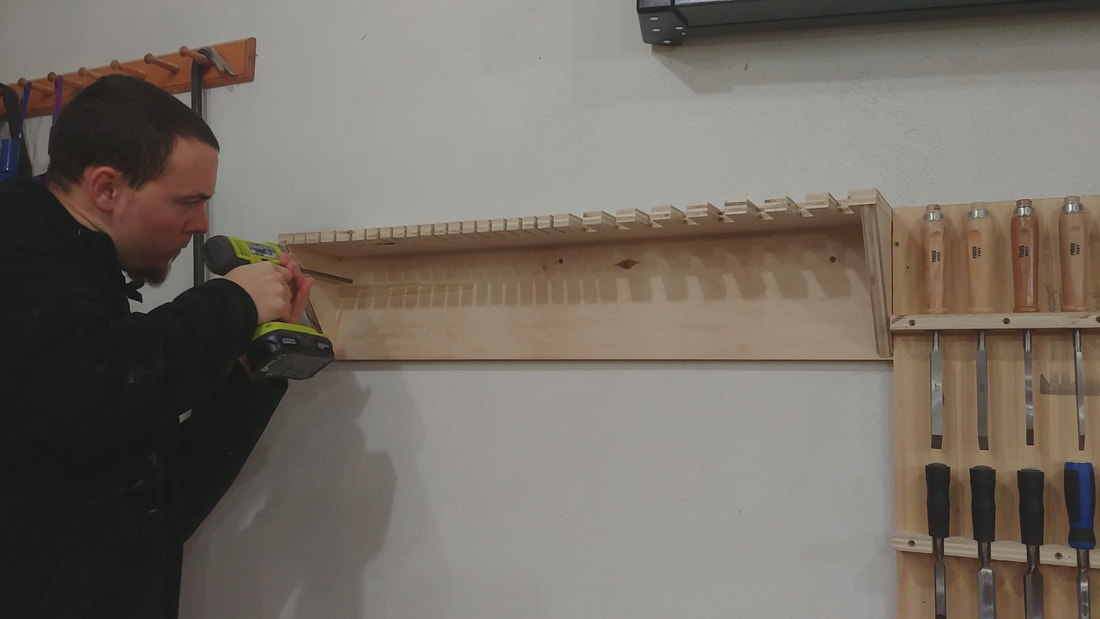
I found 3 studs in my wall and drove in 3 3" screws to hold it in place securely.
I started on a second clamp holder for my homemade long reach clamps. I used my pocket hole machine to drill 4 pocket holes along a small piece of scrap plywood I had cut to length and width to hold 2 clamps.
I then nailed on a small strip of hard board to stop the clamps from slipping off the rack.
I cut a couple small triangles from plywood to act as braces to the rack. These were simply brad nailed on.
I attached a 18" piece of scrap plywood to the wall to 2 studs with 3" screws.
I attached the rack with 4 pocket screws to the backer board.
This shows how the rack works for the long reach clamps.
I then started on the 3rd rack which will hold my spring clamps. I cut a piece of 3/4" plywood to length on the miter saw after laying out the placement of the clamps first.
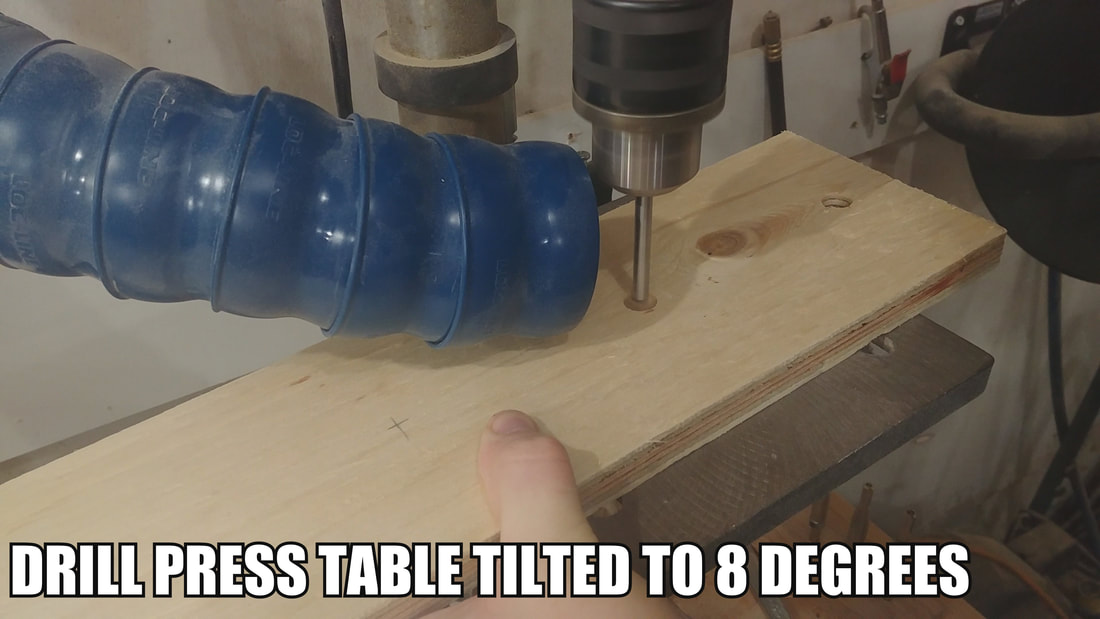
I adjusted my drill press table to 8 degrees to give the dowels that will be inserted a slope so the clamps don't fall off the wall by accident.
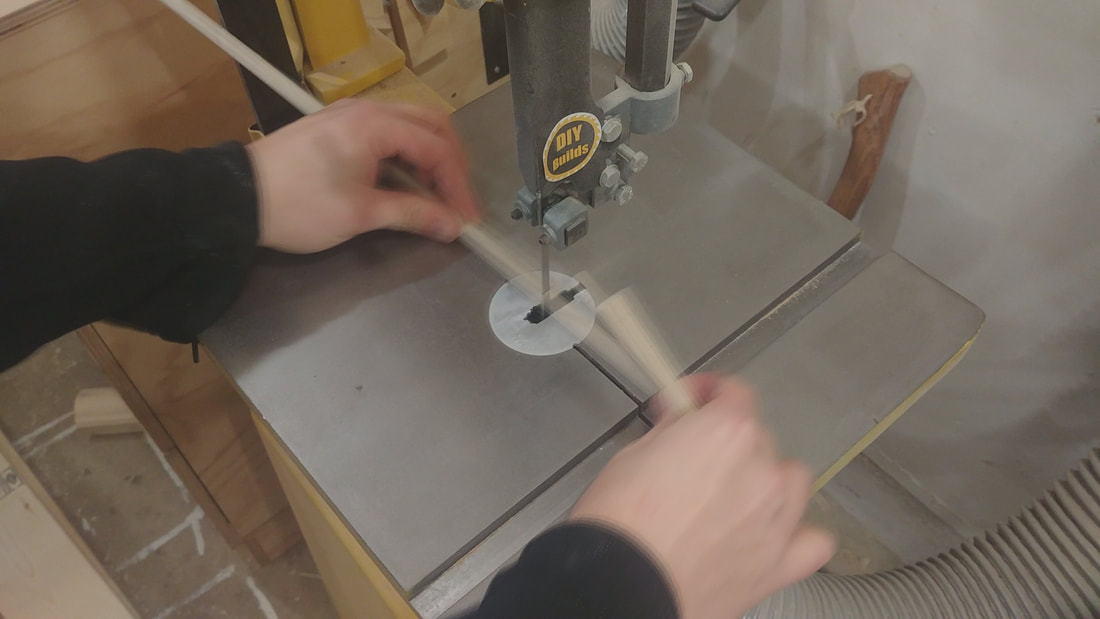
I then cut 6 1/2" dowels to length on the band saw.
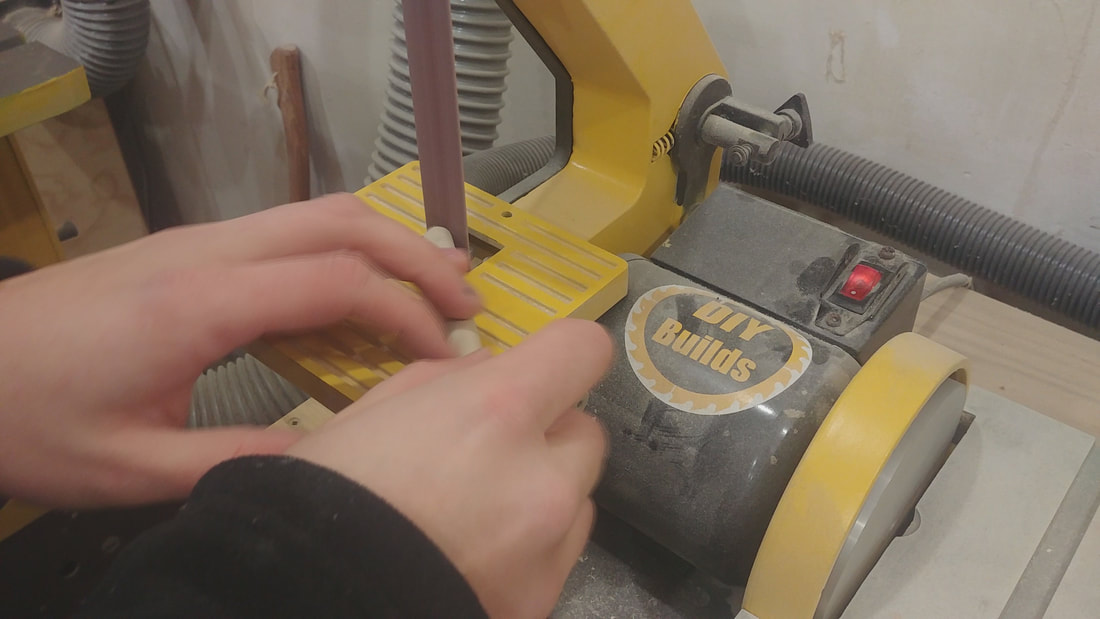
I spun the dowels against the belt sander to create a taper on both ends.
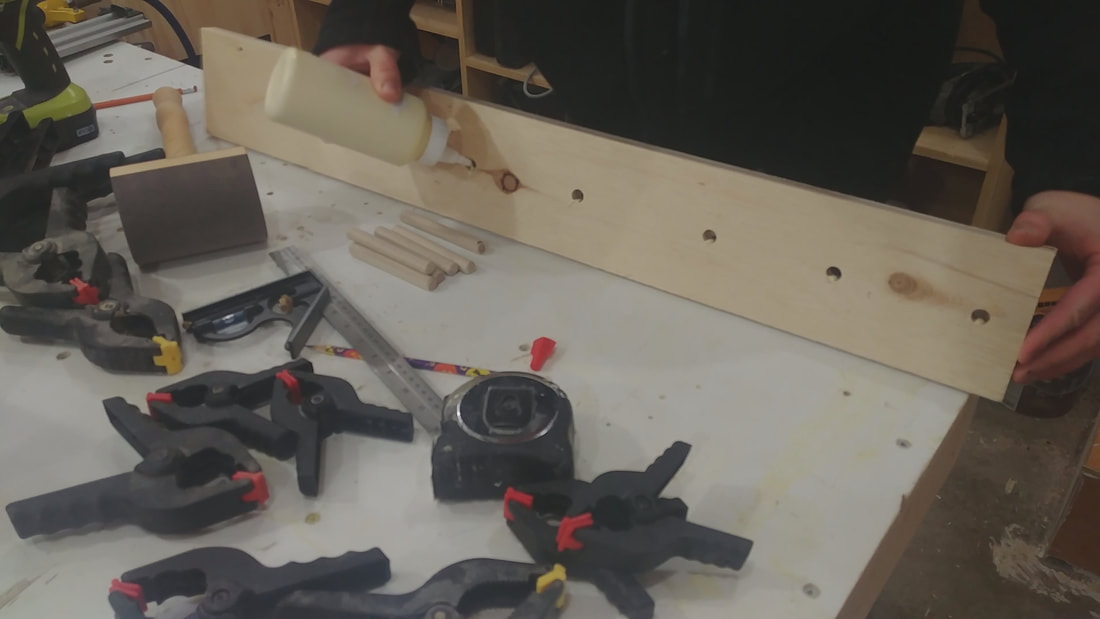
I added a small amount of glue to each hole.
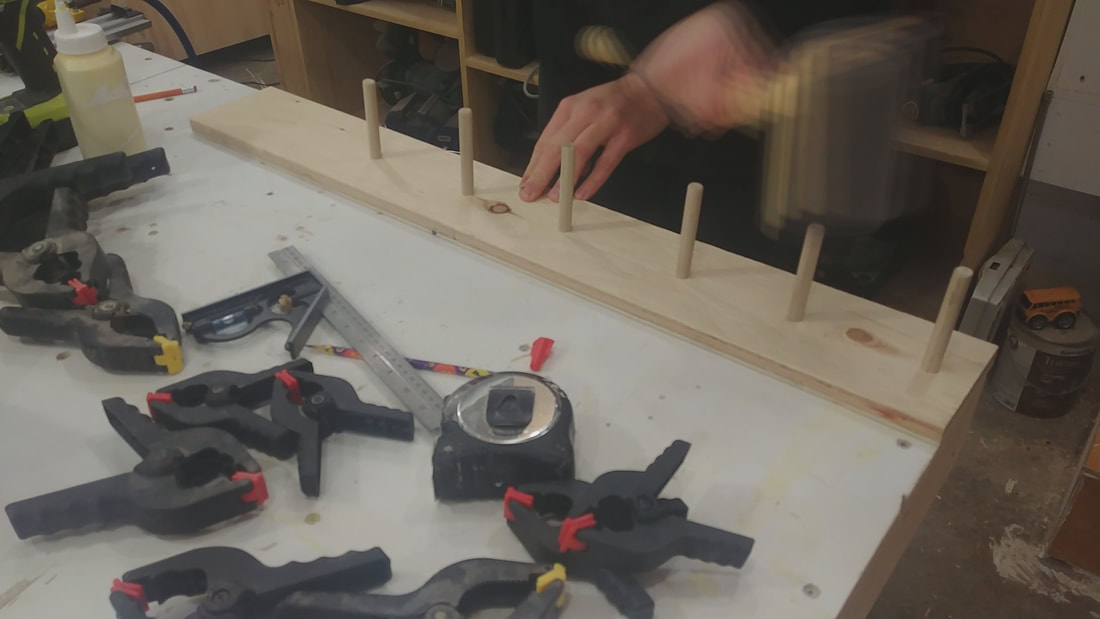
I then pounded the dowels into the holes with a mallet.
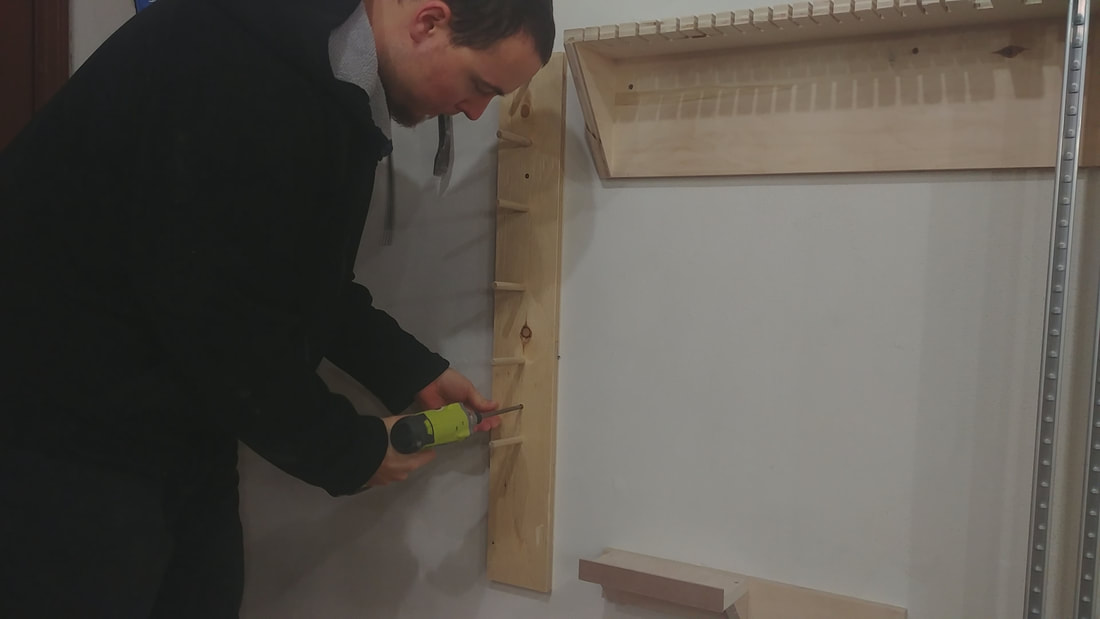
The rack was attached to the wall with a couple 2" screws into wall hangers.
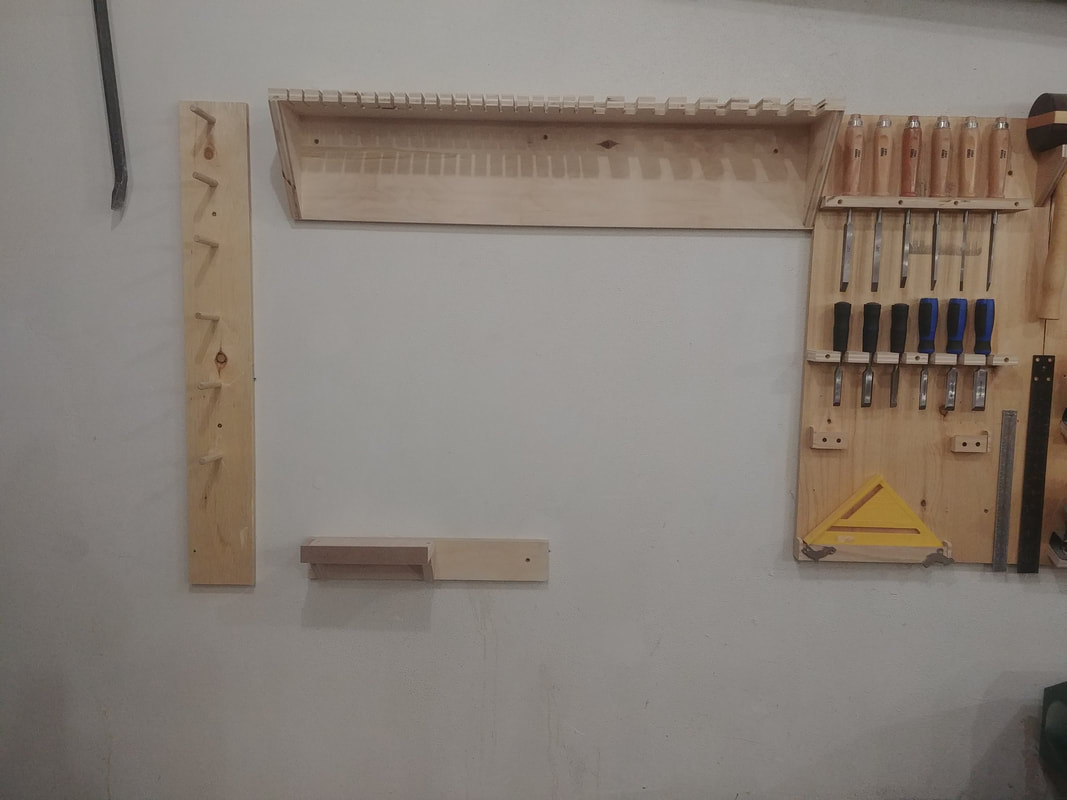
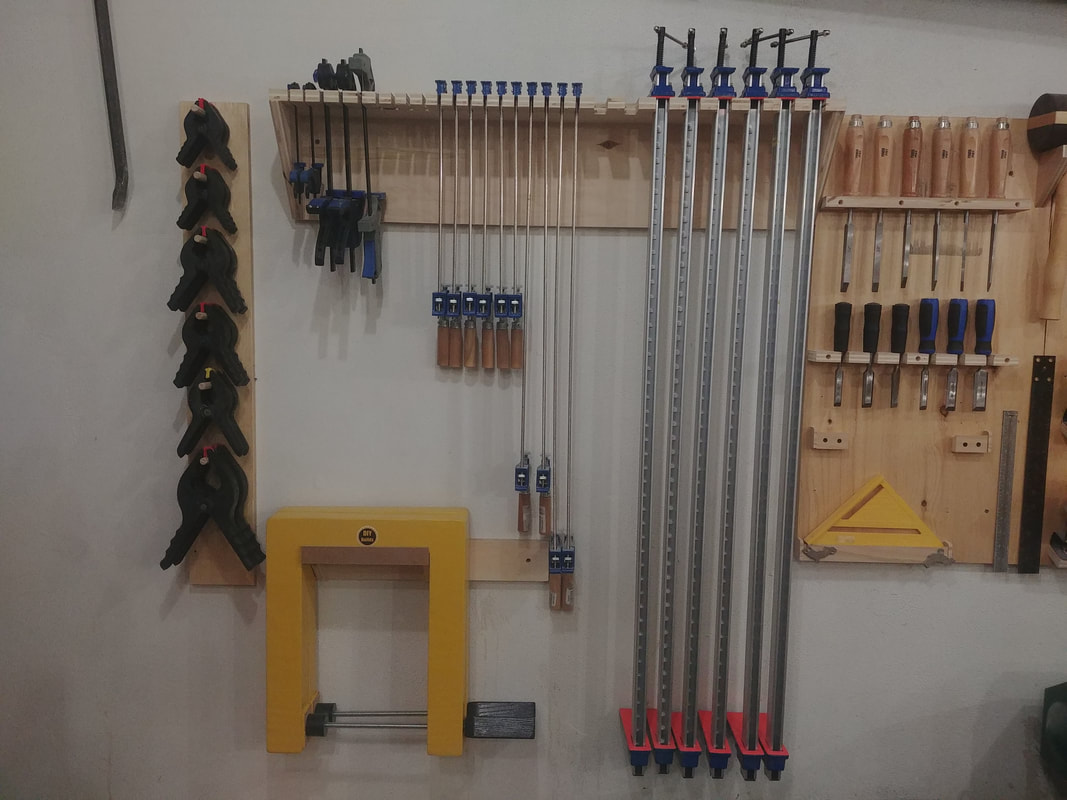
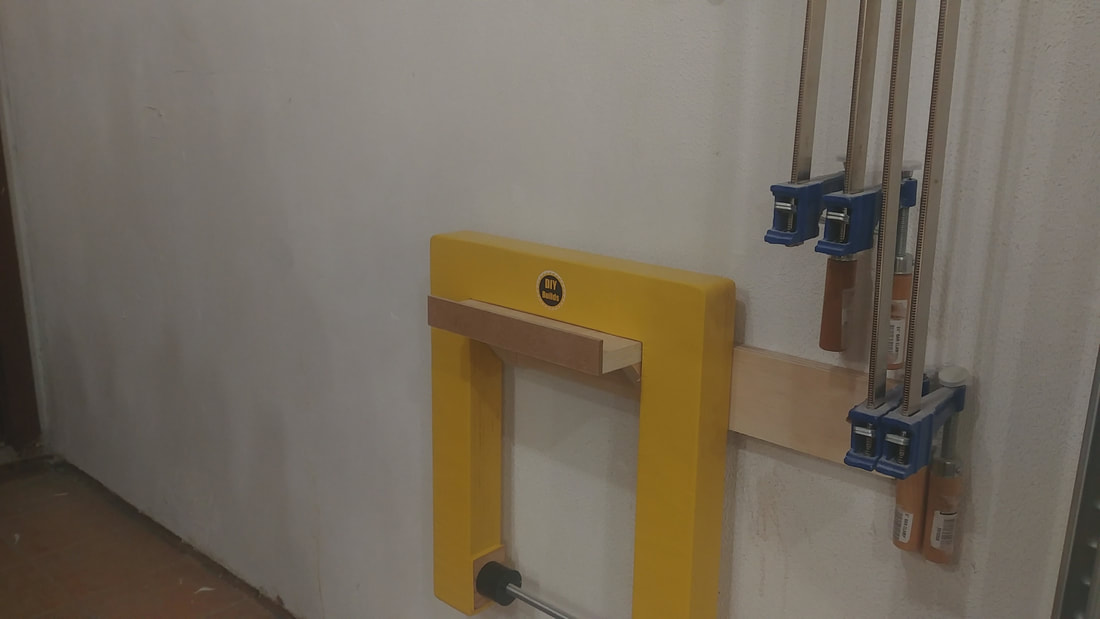
Finished empty rack.
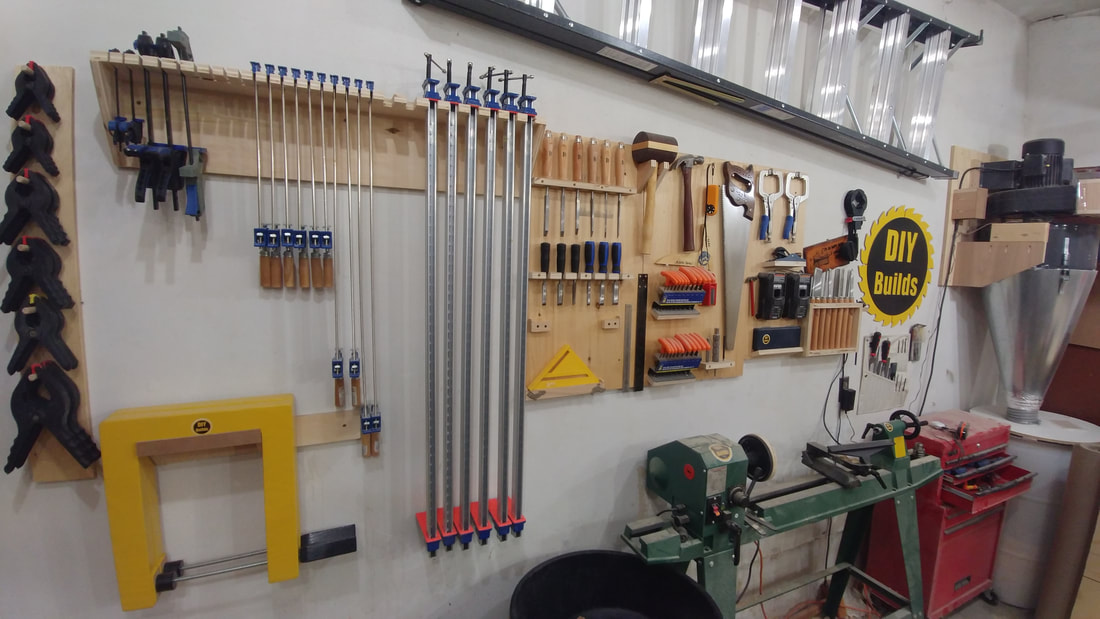
Finished racks.
|
|
Copyright © 2018